Unity engine setup: save and reopen a manual practice scene
A documentation-based beginner walkthrough from Hub setup to a persistent floor-and-cube scene.
Last updated
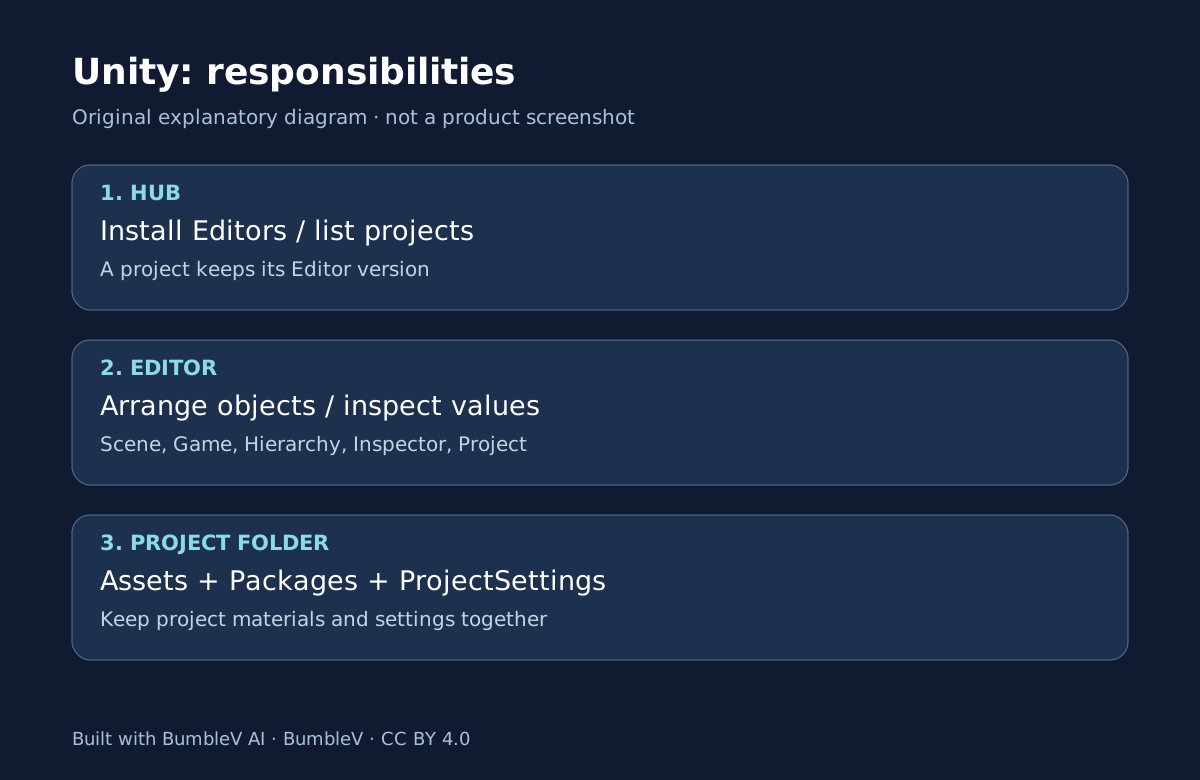
This is engine preparation, not an AI tool review. The course below covers the separate CoplayDev MCP for Unity integration.
The goal is one saved Unity scene: a cube resting on a floor, visible through a camera, that you can close and reopen. Starting with placement and persistence makes later coding questions easier to diagnose. This is a documentation-based walkthrough for Unity 6.3, not a claim that we installed the Editor or tested it on your hardware. The states below are expected results for you to check.
1. Install Hub and check your license
Open the official Windows/macOS installation guide, download the appropriate installer, install Hub, and sign in with your Unity account. Follow the official account creation flow if needed. Hub and the Editor have separate system requirements: a working Hub is not proof that every Editor version will run on a machine.
If a Personal license is not activated automatically, open Hub Settings → Licenses → Add license → Get a free personal license. Read the conditions and, if eligible, choose Agree and get personal edition license. Check the active license list. Users of an organization-assigned license should follow that organization’s seat allocation instead. License management
2. Install an Editor and create FirstGame
In Hub, select Installs → Install Editor → Official releases, then choose a 6.3 LTS Editor. Record the full patch version you actually select. Installing every mobile build module is unnecessary for this local scene exercise. Wait for installation to complete and confirm the Editor appears in Installs. Editor installation
Select Projects → New project, choose that Editor version, and pick a Core template intended for 3D work. Use Read more to inspect its description and packages. Universal 3D is suitable when offered for your selected version. Use Download template if it has not been downloaded. Set Project name to FirstGame, choose a local Location you can find again, and select Create project. Record the folder path. Let initial package processing finish; this guide does not promise a fixed installation time. Project creation
3. Place and name the objects
Inspect the initial camera and lighting in Hierarchy; do not delete them indiscriminately. Select GameObject → 3D Object → Plane. With the new object selected, rename it Floor at the top of Inspector. Then create GameObject → 3D Object → Cube and name it Crate. Enter these Transform values for each object. Primitive objects
| Object | Position X, Y, Z | Rotation X, Y, Z | Scale X, Y, Z |
|---|---|---|---|
| Floor | 0, 0, 0 | 0, 0, 0 | 1, 1, 1 |
| Crate | 0, 0.5, 0 | 0, 0, 0 | 1, 1, 1 |
| Main Camera | 0, 3, -6 | 20, 0, 0 | 1, 1, 1 |
These are suggested values for this exercise, not mandatory product defaults. Keep the objects at the scene root rather than parenting them under another object: with a parent, position values can be relative to that parent. A default cube is one unit tall. Placing its center at Y = 0.5 puts its bottom at the floor’s Y = 0 plane. If you change its scale, check that relationship again. Transform reference
4. Check the working view and camera view
Hierarchy should contain Floor and Crate. Select Crate and compare its Inspector values with the table. In Scene, inspect the arrangement. In Game, inspect what Main Camera sees. A static floor and cube are the expected outcome: no movement controls or Rigidbody have been added, so a cube that does not fall or respond to keys is not a failed result.
If Game looks empty, check the camera position and rotation and whether the objects are active before adding duplicates. If Scene shows the cube but Game does not, investigate the camera side first. The Play button previews execution. For this exercise, return to editing before making the final value and save checks, so temporary runtime state is not mistaken for the authored scene.
5. Save a scene, then reopen it
Choose File → Save Scene. Save the first scene as FirstScene.unity inside this project’s Assets folder; if you create a subfolder, record its exact path. For subsequent saves use Ctrl+S on Windows or Cmd+S on macOS. Confirm that the scene file appears in Project. Working with scenes
Close the Editor and open FirstGame again from Hub Projects. If another scene appears, double-click FirstScene in Project or use File → Open Scene. Check that Floor, Crate, and the camera values remain. That closes the persistence check. A .unity file is a scene asset, not a standalone game executable to send to another player.
Troubleshoot the smallest failing step
If the project is missing from Hub, select Projects → Add → Add project from disk and choose the FirstGame root containing Assets, Packages, and ProjectSettings. Do not select only Assets. If an Editor is missing, check the recorded version rather than immediately upgrading the project. Managing projects
For an invisible cube, inspect selection, Transform, and camera. For apparently lost work, check the project path and scene file. Record the complete Editor version, the action that failed, and the actual error message before seeking help. Continue with new versus existing projects or explore how images, code, and audio connect in the SpAIceRocks source analysis.
Sources & further reading
- https://docs.unity.com/en-us/hub/install-hub-win-mac
- https://docs.unity.com/en-us/hub/add-editor
- https://docs.unity.com/en-us/hub/manage-license
- https://docs.unity.com/en-us/hub/project-create
- https://docs.unity.com/en-us/hub/project-manage
- https://unity.com/products/unity-personal
- https://docs.unity.com/en-us/engine/6000.3/manual/working-with-gameobjects/gameobject-fundamentals/primitive-objects
- https://docs.unity.com/en-us/engine/6000.3/manual/working-with-gameobjects/gameobject-fundamentals/class-transform
- https://docs.unity.com/en-us/engine/6000.3/manual/working-with-scenes/scenes-working-with
- https://docs.unity.com/en-us/engine/6000.3/manual/unity-editor
- https://unity.com/legal/docs-terms