Unity AI, step 3: create and preserve a floor-and-cube scene through MCP
Compare the AI request with actual tool calls, then verify Hierarchy, Transform, Console, saving, and reopening.
Last updated
Menus and supported features can change. Compare the source-check date below with your current app version.
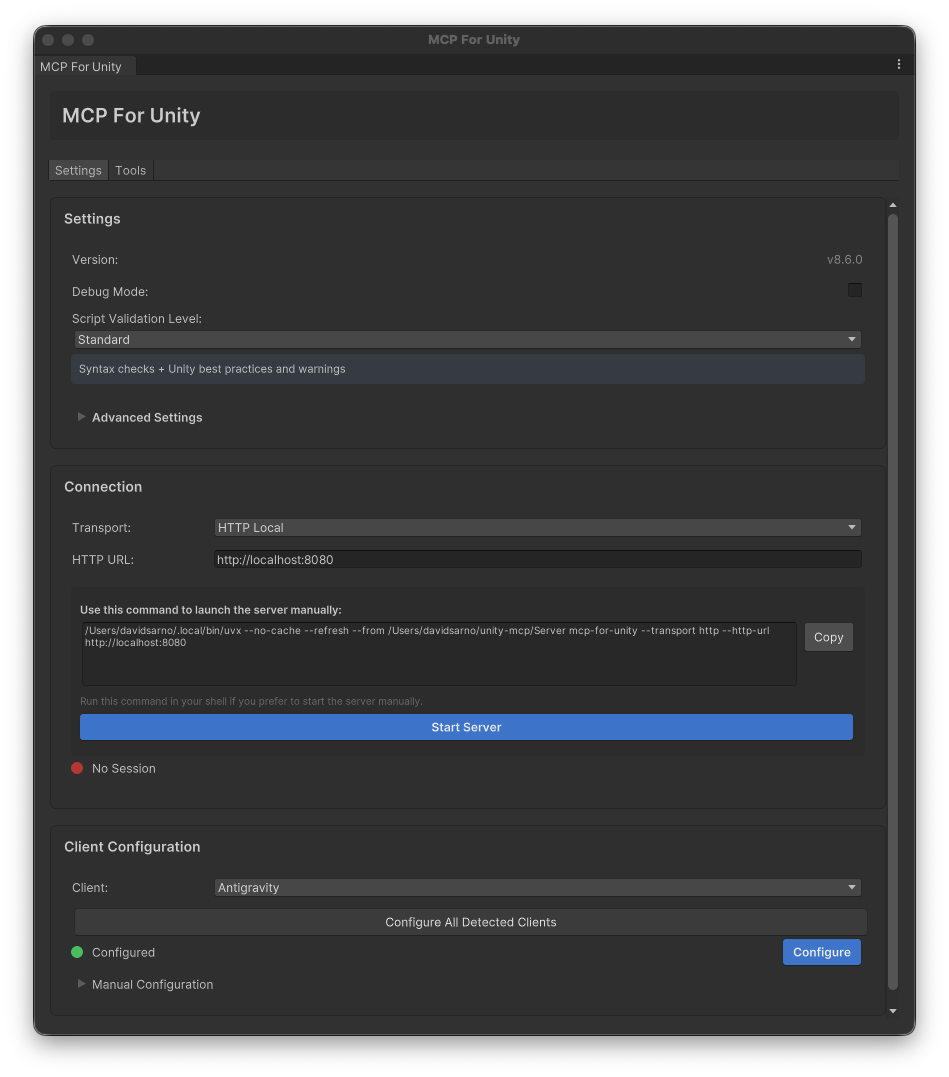
The cover is the repository’s developer example from v8.6, not our capture of the current 10.3.0 interface. MIT · Media credits
This task checks whether an AI-requested change reaches the actual scene and its saved file. The intended output is Assets/McpPractice.unity, containing a floor and a cube named AI_Crate. Movement controls and paid artwork generation are separate tasks.
First complete the successful active-scene query in step 2. These are expected Editor steps based on the 10.3.0 tool definitions. We tested server initialization, not creation or saving inside Unity. The names and coordinates below are original practice inputs, not a captured result.
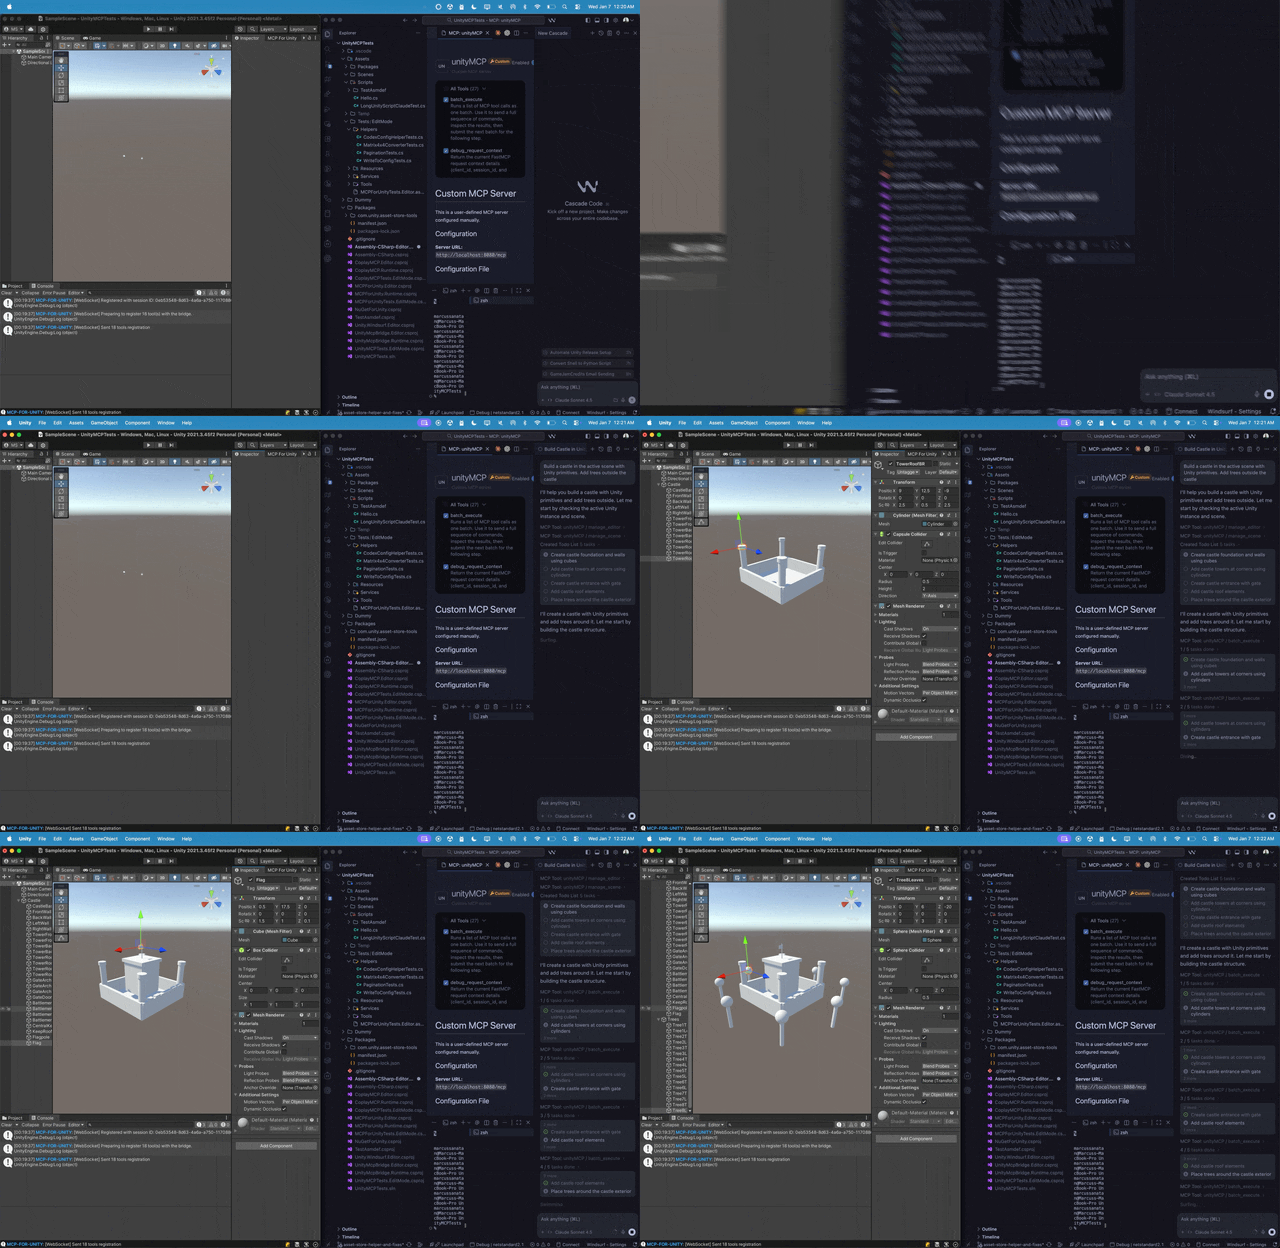

How to use the demonstration: Watch the overall flow between an AI request and changes in Unity. The exercise below is separate and need not match the video exactly. If animation is uncomfortable or fails to load, use the original link or follow the text steps below.
1. Inspect the destination first
Ask Cursor to read the active scene’s name and path. Inspect the manage_scene call with get_active and compare its response with your practice project. Correct a wrong project before requesting creation. If several Editors are connected, explicitly select the intended instance.
Save any existing scene changes in Edit mode. This exercise opens a new practice scene, so unresolved changes should not be left behind accidentally. Record the project folder and previous scene path. No deletion or bulk cleanup is needed.
2. Request a new scene and two objects
Ask for a new 3D practice scene at Assets/McpPractice.unity without overwriting existing scenes. If that path already exists, choose another filename and use it consistently in your notes. Request two unparented root objects with these values:
| Object | Primitive | Position X, Y, Z | Scale X, Y, Z |
|---|---|---|---|
| Floor | Plane | 0, 0, 0 | 1, 1, 1 |
| AI_Crate | Cube | 0, 0.5, 0 | 1, 1, 1 |
If an object with either name already exists, inspect it before creating duplicates. An assistant’s completion sentence is insufficient: inspect the tool-call record. Scene operations use manage_scene, while primitive creation can use manage_gameobject. The examples below are documented argument shapes, not a transcript of successful execution, and do not belong in the client’s MCP connection configuration.
Full task brief and tool argument examples
Read the current Unity project and scene first.
If this is the practice project, create Assets/McpPractice.unity using the 3D basic template without overwriting existing scenes.
Create an unparented Floor Plane at (0,0,0) and AI_Crate Cube at (0,0.5,0), both scaled (1,1,1).
If either name exists, report it before creating a duplicate.
Read the hierarchy and transforms, save the scene, and report tools used, changed objects, saved path, and remaining errors.
Do not use paid generation services or free-form code execution.manage_scene, creation:
{"action":"create","path":"McpPractice.unity","template":"3d_basic"}manage_gameobject, floor then cube:
{"action":"create","name":"Floor","primitive_type":"Plane","position":[0,0,0],"scale":[1,1,1]}{"action":"create","name":"AI_Crate","primitive_type":"Cube","position":[0,0.5,0],"scale":[1,1,1]}manage_scene, inspection then saving:
{"action":"get_hierarchy","include_transform":true,"page_size":100}{"action":"save"}A bare scene path is relative to Assets. Confirm the actual destination in the response and Project window.
3. Compare the Editor state yourself
On screen: Hierarchy lists scene objects, Scene is the editing view, and Inspector shows the selected object’s properties. Their positions depend on your layout. Select AI_Crate in Hierarchy and compare each X, Y and Z field under Position and Scale with the table.
Find Floor and AI_Crate in Hierarchy. Select the cube and inspect Inspector → Transform against the table. Use Scene to inspect their arrangement. Setting the default cube’s center to Y = 0.5 is intended to place its bottom at the floor’s Y = 0 surface.
No Rigidbody or movement script is part of this task; a stationary cube is expected. If Game does not show the objects, distinguish camera framing from object existence. Inspect Hierarchy before requesting duplicates. The manual engine exercise explains the relevant panels.
4. Verify saving separately from visibility
Save check: In Project, find Assets and the .unity scene file; compare its path with the save response. After reopening the file, check Hierarchy and Inspector again. The demonstration alone cannot establish that your own save succeeded.
Check the save call, its success state, and the returned practice-scene path. Find McpPractice.unity in Project. A visible object does not establish that its scene was saved. Return from Play mode to editing before checking final values and saving.
Close the Editor, reopen the same project through Hub, and double-click the saved scene. Confirm both names and Transform values remain. If you have not done that, record reopening as unverified. A .unity scene file is not a standalone executable game.
5. Read diagnostics and preserve the result
Ask for recent errors through read_console with its get action. Do not begin by clearing Console: that removes diagnostic evidence. A clean query means no matching errors in that query’s scope, not proof that an entire game is bug-free.
Record the path, two created objects, Transform check, save response, reopen result, and remaining errors. Preserve success:false or an incorrect destination as an incomplete step rather than a successful result. Continue to diagnosis to separate connection, visibility, and project-error problems.
Next step: 4. Diagnose and recheck.
Sources & further reading
- https://github.com/CoplayDev/unity-mcp/blob/aa5fc638d623f56178d50329d9ad8c541a57fe66/MCPForUnity/package.json
- https://github.com/CoplayDev/unity-mcp/blob/aa5fc638d623f56178d50329d9ad8c541a57fe66/website/docs/getting-started/install.md
- https://github.com/CoplayDev/unity-mcp/blob/aa5fc638d623f56178d50329d9ad8c541a57fe66/website/docs/getting-started/clients.md
- https://github.com/CoplayDev/unity-mcp/blob/aa5fc638d623f56178d50329d9ad8c541a57fe66/website/docs/getting-started/first-prompt.md
- https://github.com/CoplayDev/unity-mcp/blob/aa5fc638d623f56178d50329d9ad8c541a57fe66/website/docs/reference/tools/core/manage_scene.md
- https://github.com/CoplayDev/unity-mcp/blob/aa5fc638d623f56178d50329d9ad8c541a57fe66/website/docs/reference/tools/core/manage_gameobject.md
- https://github.com/CoplayDev/unity-mcp/blob/aa5fc638d623f56178d50329d9ad8c541a57fe66/website/docs/reference/tools/core/read_console.md
- https://github.com/CoplayDev/unity-mcp/blob/aa5fc638d623f56178d50329d9ad8c541a57fe66/website/docs/guides/troubleshooting.md
- https://github.com/CoplayDev/unity-mcp/releases/tag/v10.3.0
- https://cursor.com/docs/mcp
- https://github.com/CoplayDev/unity-mcp/blob/aa5fc638d623f56178d50329d9ad8c541a57fe66/LICENSE