Upscayl: what changes when a small image becomes larger?
Explore the open-source Upscayl desktop app, with hardware requirements, real upstream UI, scale calculations and model-license checks.
Last updated
Menus and supported features can change. Compare the source-check date below with your current app version.
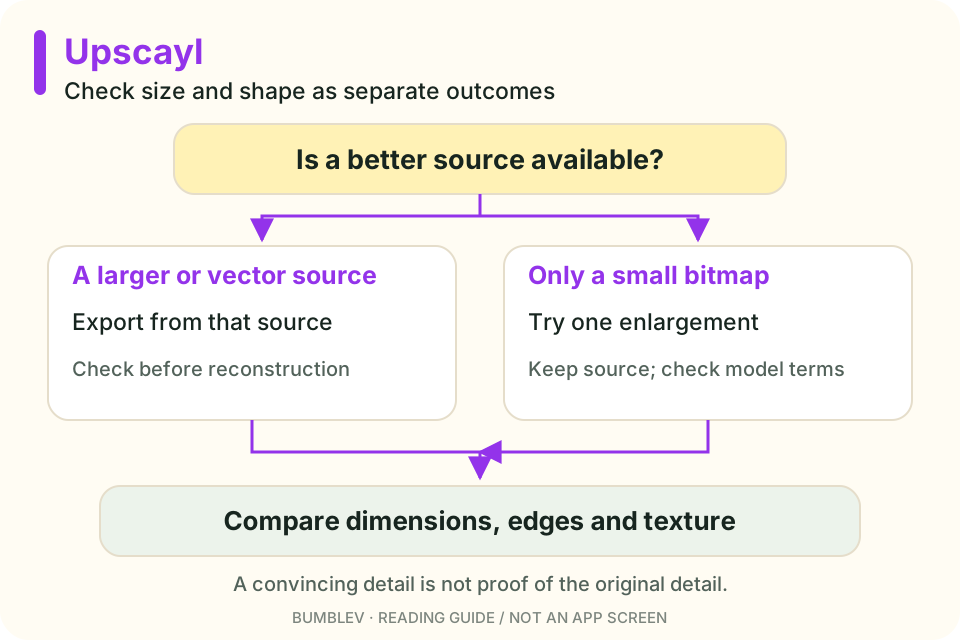
A small image can look rough when you place it in a larger layout. Upscayl offers a model-based way to explore enlargement rather than simply changing the width and height.
I reviewed v2.15.0, released December 25, 2024. This is a useful-project discovery, not a claim that the app has just launched. I have not run an enlargement test for this article.
Bigger dimensions are not recovered facts
Ordinary resizing computes a larger image from existing pixels. AI upscaling also uses learned patterns to estimate detail. A result may look more convincing without reproducing the details that originally existed. The project’s own FAQ describes this guessing process. README and FAQ
That makes the tool interesting for a small illustration or a visual asset. I would not use a plausible new letter or facial detail as evidence about the original. A model can fill an ambiguous area in a way that looks convincing but is wrong.

Low resolution and missed focus differ
The FAQ distinguishes low-resolution or pixelated images from badly blurred, out-of-focus images. It explicitly says Upscayl is not a focus-adjustment tool. Project FAQ
| What you have | First thing to consider |
|---|---|
| A small illustration you own | Keep the original and try a controlled enlargement |
| A larger original elsewhere | Use that source first |
| An editable vector file | Export again at the required dimensions |
| A badly out-of-focus photograph | Do not expect enlargement to recover the original detail |
| Important text or numbers | Obtain and check the source instead of trusting inferred marks |
I would establish why the image is small before choosing a processing method. If the larger original is available, there may be no need to infer new detail.
Check the GPU requirement first
The project requires a Vulkan-compatible GPU and warns that many integrated GPUs or CPU-only setups do not work. An open-source license does not mean every computer can run the workload. Inspect compatibility before spending time on a large batch. Hardware guidance
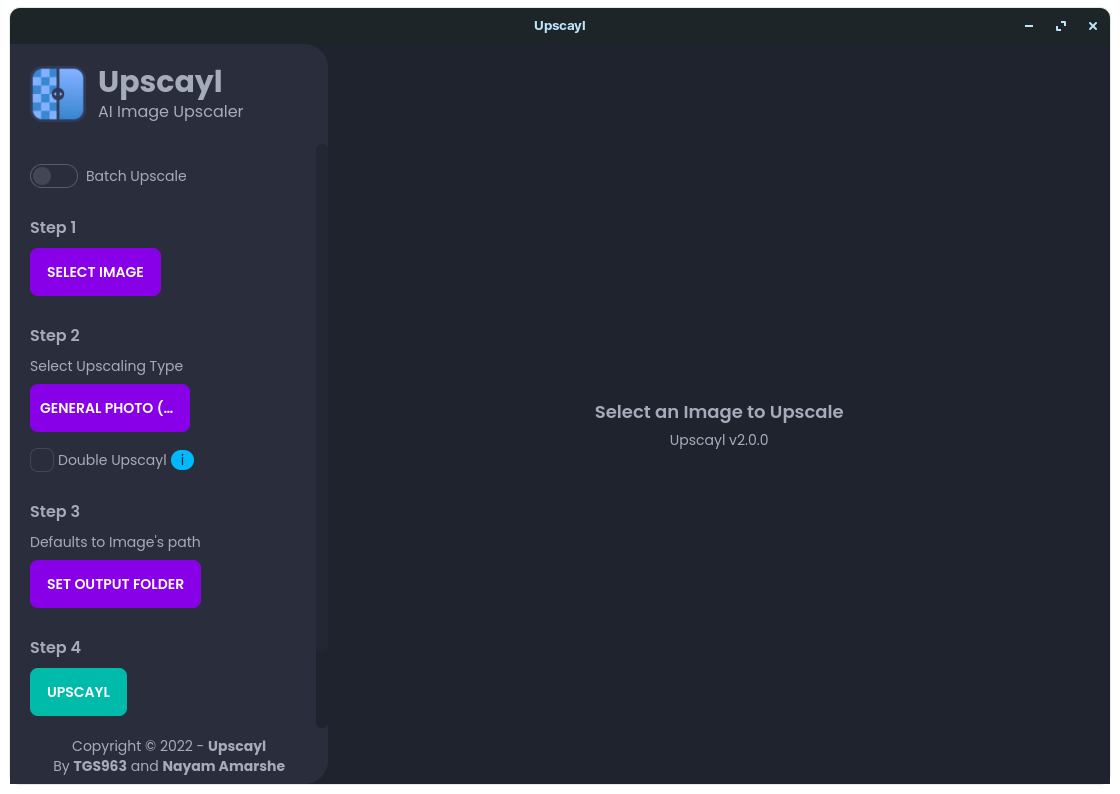
Windows, macOS and Linux installers are available. Start with one file and a known output location. Batch processing and a second upscaling pass can wait until that single result opens correctly.
The model has its own terms
The application code is AGPL-3.0. Its model list also contains labels such as Remacri (Non-Commercial), Ultramix (Non-Commercial) and Ultrasharp (Non-Commercial). Those labels matter if your output is for sale or advertising. The app’s code license does not settle every model’s terms. Version-pinned model labels
Our tutorial begins with Upscayl Standard to keep the settings concrete. That is not blanket permission for every commercial use: check the actual model and original terms for the intended project.
What 4× means
A 400×300 input enlarged by 4× along each dimension has a target of 1600×1200. Pixel count rises from 120,000 to 1,920,000: sixteen times as many pixels. File size is not guaranteed to follow that ratio because encoding and compression also matter.
The version’s UI defines PNG, JPG and WebP output, scale settings and Double Upscayl. I would start with one PNG and a single 4× pass. UI settings
The tutorial includes an original geometric practice image you can download. It is clearly labeled as input. We do not present a fabricated before/after result; the point is to let you run a matched example and inspect both the dimensions and the shapes.
Check a file you can reuse
A good-looking preview is not the finish line if you cannot find the output or its dimensions differ from the requirement. Separate source and output folders make later checks easier.
The UI includes batch mode and Double Upscayl; the latter adds a second pass and can increase processing burden. Leave those for after one result works. Also inspect the image at its intended display size: a difference visible only at an extreme zoom may not matter in the actual layout.
Continue with this tool
Sources & further reading
- https://github.com/upscayl/upscayl/releases/tag/v2.15.0
- https://github.com/upscayl/upscayl/blob/4f39acfc6f88260d105920a64deff8431d5e1544/README.md
- https://github.com/upscayl/upscayl/blob/4f39acfc6f88260d105920a64deff8431d5e1544/LICENSE
- https://github.com/upscayl/upscayl/blob/4f39acfc6f88260d105920a64deff8431d5e1544/docs/Guide.md
- https://github.com/upscayl/upscayl/blob/4f39acfc6f88260d105920a64deff8431d5e1544/renderer/locales/en.json