Upscayl tutorial: enlarge one PNG by 4× and check it
Download an original practice image, choose the model and scale, save a PNG and compare the actual output with its source.
Last updated
Menus and supported features can change. Compare the source-check date below with your current app version.
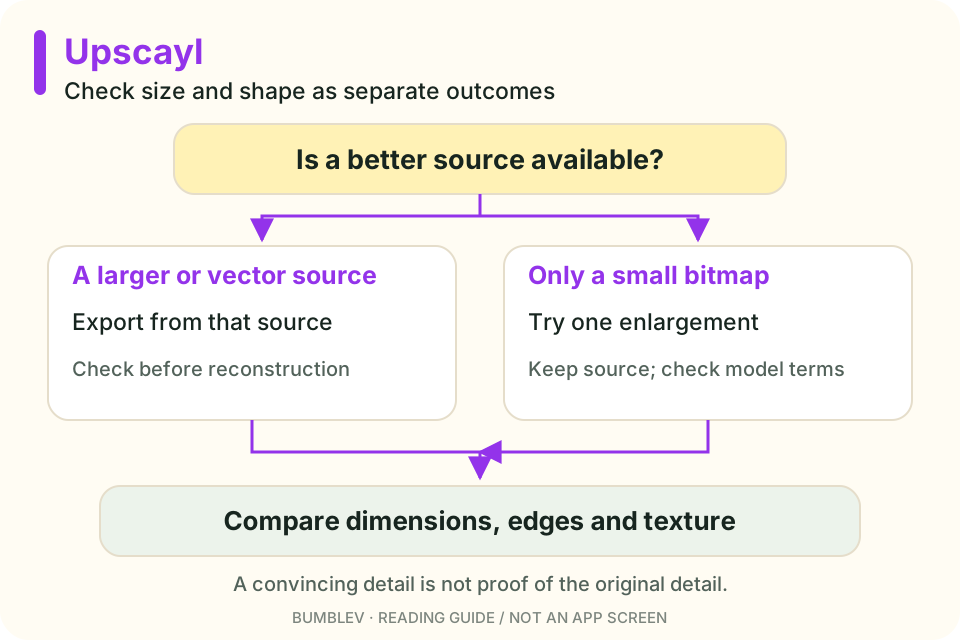
The goal is one PNG enlarged by 4×, saved in a known folder and checked against its original. Start with that before a folder of images or custom models.
This guide follows v2.15.0 and its documented UI. I have not executed the upscale. The practice picture is an original input asset, not a processed result.
1. Check the computer
The README requires a Vulkan-compatible GPU and warns that many CPU or integrated-graphics configurations will not work. Check the documented compatibility information and your graphics device first. Requirements
This exercise does not assume buying new hardware. Establish whether your current computer is suitable before deciding where to test.
2. Choose a release package
Open the official release page and expand Assets.
| Platform | v2.15.0 file |
|---|---|
| Windows | upscayl-2.15.0-win.exe |
| Mac | upscayl-2.15.0-mac.dmg |
| Linux AppImage | upscayl-2.15.0-linux.AppImage |
| Debian/Ubuntu-based Linux | upscayl-2.15.0-linux.deb |
| RPM-based Linux | upscayl-2.15.0-linux.rpm |
Follow the platform installation guidance in the version-pinned README. You do not need a source ZIP or a development build for this exercise.
3. Save the practice image
This is an original 400×300 PNG made from simple shapes, not a photograph. It gives us edges and curves we can compare. Open the practice PNG and save it.

Keep it as practice-original.png and create a separate upscayl-output folder. You can use your own file instead, but a simple PNG makes the first check easier than a file with transparency, tiny text and several other requirements.
4. Select one image and one model
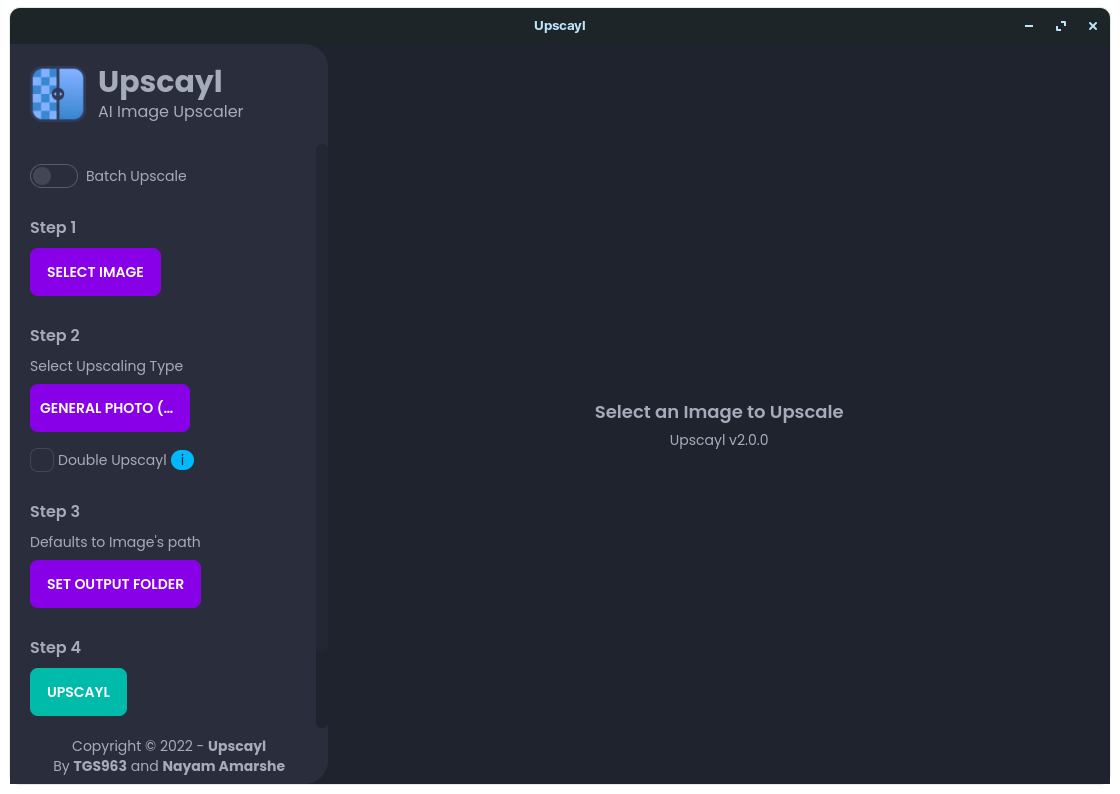
Use single-image mode rather than Batch Upscayl. Choose Select Image and open the PNG.
Under Select AI Model, begin with Upscayl Standard. Record it and keep other settings fixed. Some alternative model names include Non-Commercial, so inspect their terms before using a result in a commercial project. Official labels

5. Set the output deliberately
| Setting | Value for this run | Purpose |
|---|---|---|
| Input | One practice PNG | Keep the task controlled |
| Model | Upscayl Standard | Record one model |
| Image Scale | 4× | Check four times the width and height |
| Double Upscayl | Off | Avoid a different two-pass task |
| Custom Output Width | Not enabled | Avoid overriding the scale |
| Save Image As | PNG | Avoid adding JPEG recompression |
| Set Output Folder | upscayl-output | Keep source and result separate |
The official UI explains that Custom Output Width overrides scale. If a 4× run produces unexpected dimensions, check that setting too. Configuration text
6. Run and reopen the file
Select Upscayl and wait for completion. Open the resulting PNG in your output folder. The generated filename can depend on app suffixes and settings, so find the actual saved file rather than relying on one invented exact name.
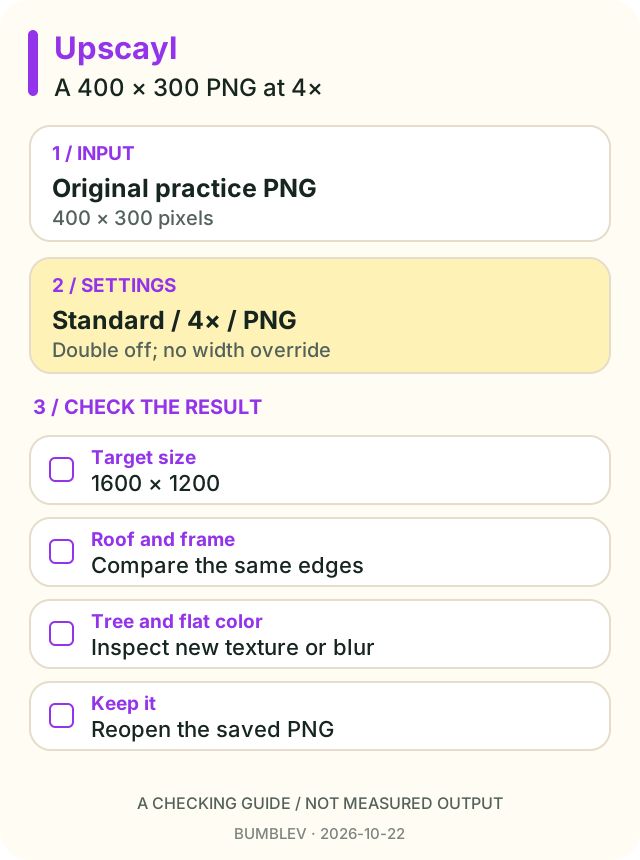
Inspect the image properties. For this input and scale, the target is 1600×1200. That is an arithmetic expectation, not a measurement recorded from running the app here.
7. Compare the same details
Start with the roof diagonal, window frame and curved tree edge. A fit-to-window view can hide differences; inspect the same feature at an appropriate zoom in both files.
| Feature | Question |
|---|---|
| Roof diagonal | How did the stair-stepped edge change? |
| Frames and outlines | Did lines thicken or acquire new patterns? |
| Tree edge | Is the curve natural or smeared? |
| Flat color | Did unwanted texture appear? |
| Saved file | Does it reopen as a 1600×1200 PNG? |
Keep “looks sharper” separate from “preserves the shape.” The model can produce attractive detail that was not in the input. Simple shapes make unintended changes easier to spot.
If the run fails
Check Settings logs and graphics-device recognition. The GPU-ID guide explains selection, but another person’s numeric ID can refer to a different device on your computer. GPU and logs guide
For a surprising result, inspect input, model, scale, custom width and Double Upscayl in that order. Once the file reopens at the expected dimensions and you have checked the important shapes, the exercise is complete. Keep the original when moving to one of your own images.
Continue with this tool
Sources & further reading
- https://github.com/upscayl/upscayl/releases/tag/v2.15.0
- https://github.com/upscayl/upscayl/blob/4f39acfc6f88260d105920a64deff8431d5e1544/README.md
- https://github.com/upscayl/upscayl/blob/4f39acfc6f88260d105920a64deff8431d5e1544/LICENSE
- https://github.com/upscayl/upscayl/blob/4f39acfc6f88260d105920a64deff8431d5e1544/docs/Guide.md
- https://github.com/upscayl/upscayl/blob/4f39acfc6f88260d105920a64deff8431d5e1544/renderer/locales/en.json