Upscayl or ordinary resizing: separate larger from better
A controlled comparison plan for ordinary resizing and AI upscaling, covering dimensions, shape fidelity, saved files and correction work.
Last updated
Menus and supported features can change. Compare the source-check date below with your current app version.
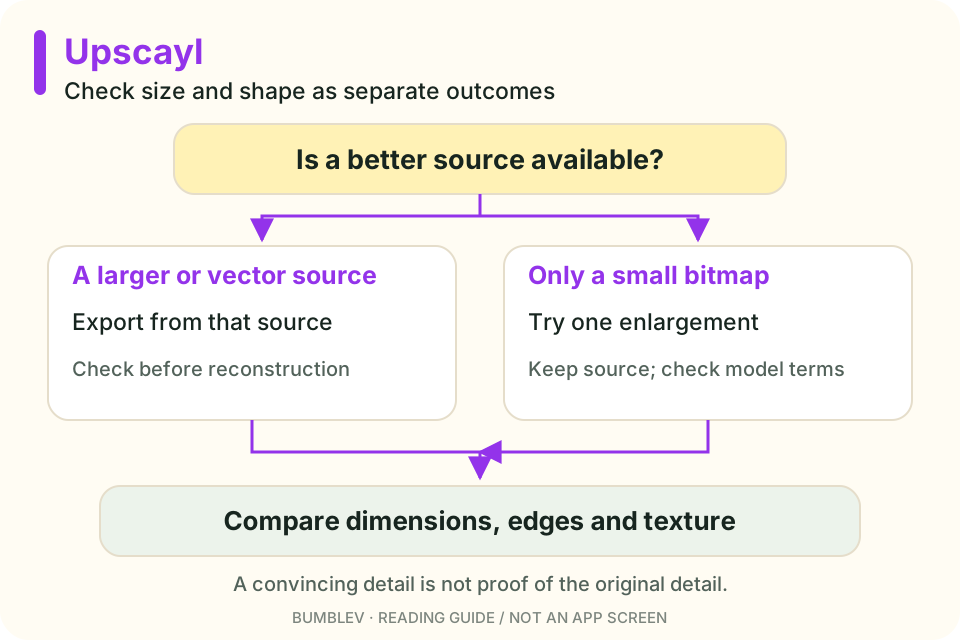
A larger file is not automatically a better image. I would check dimensions, preservation of important shapes and unwanted new texture separately.
This comparison uses Upscayl v2.15.0 and official documentation. It provides a procedure to try, not a measured before/after result.
The methods do different things
Ordinary resizing calculates new pixels from the existing image. Model-based upscaling also draws on learned patterns to estimate detail. Upscayl’s FAQ describes that inference and says the tool does not solve badly missed focus. README and FAQ
That means a pleasing edge and a faithful edge are different judgments. A model might introduce convincing texture or an incorrect character. If an image is evidence of a real detail, a plausible reconstruction should not be treated as the original fact.
Match the input and target size
Use the tutorial’s 400×300 PNG. In your usual image editor, resize it to 1600×1200 PNG. Record the editor/version and interpolation method, meaning how it calculates the new pixels.
For the other path, use Upscayl Standard, 4×, PNG, Double Upscayl off and no custom-width override. Those settings come from the version’s UI definitions. Do not add separate sharpening or filters to the first comparison, because that introduces another difference. UI source
| Item | How to inspect it |
|---|---|
| Output | Compare the same outline, edge and flat-color area |
| Time | Processing plus any correction |
| Compatibility | Reopened PNG with the correct dimensions |
| Friction | GPU errors, output discovery and settings changes |
| Automation | Decide whether folder processing is needed after one file works |
| Audience | Visual enlargement or strict fidelity to the source |
This is a record sheet. It is intentionally not filled with performance claims we have not measured.
Read the scale correctly
A 400×300 image has 120,000 pixels. Multiplying width and height by four gives 1600×1200, or 1,920,000 pixels. The pixel count is sixteen times larger. Neither file size nor useful detail is guaranteed to rise by that factor.
PNG, JPG and WebP encode images differently. Keep both comparison files as PNG first, then prepare the final web-delivery size separately. Upscayl’s UI distinguishes format and compression settings. Encoding options
When a new export is the better first move
If an editable vector or other larger source exists, export again from the authoring tool before reconstructing a small bitmap. Drawing the original curve at a new size differs from estimating it from a small raster.
With only a small bitmap available, an Upscayl experiment makes more sense. A badly out-of-focus photograph is outside the FAQ’s stated use, and tiny text or numbers still need an original-source check. Limitations
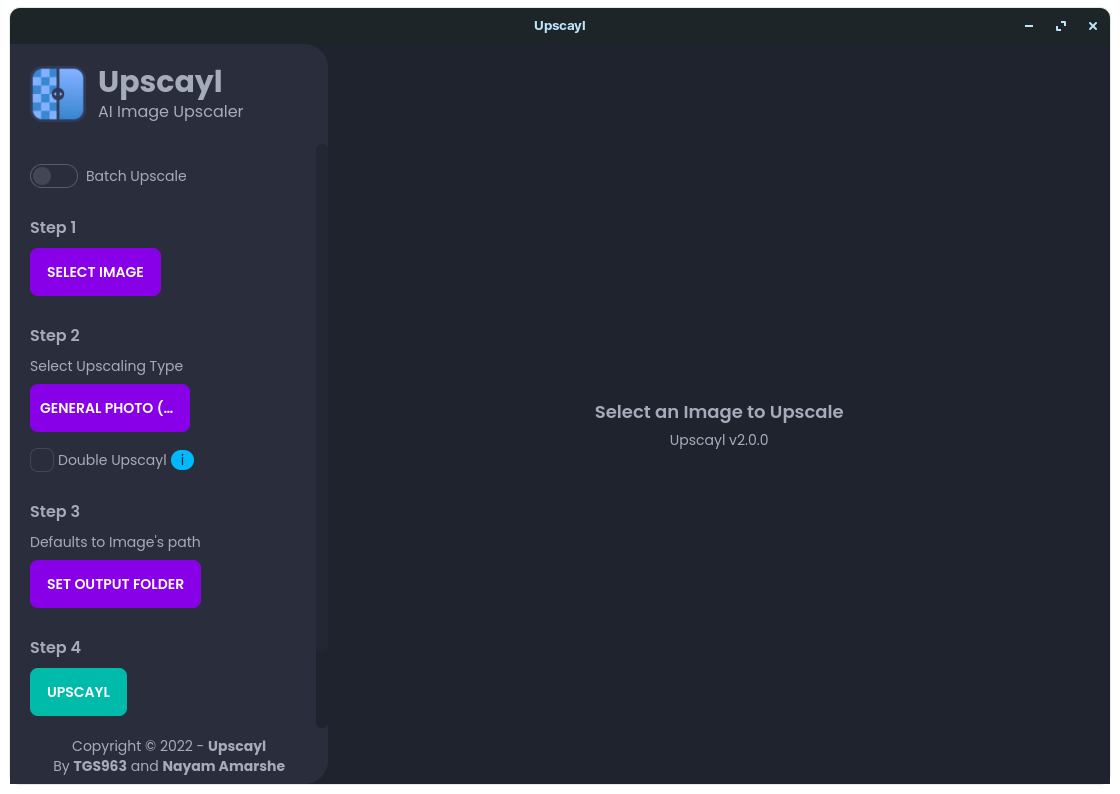

Record the chosen model for commercial work
The app uses AGPL-3.0, while model conditions remain separate. The v2.15.0 list labels Remacri, Ultramix and Ultrasharp Non-Commercial. Keep the model name with your settings and check its original terms for an image you will sell or use in advertising. Model labels
I would look for the original first, then test a single bitmap at a matched output size. Only after checking appearance and shape preservation would I move to a batch. That makes the choice about the file and the job, rather than assuming that AI processing is an upgrade in every case.
Compare matching views
Do not compare a source fitted into a small window with an output filling the screen. Match the output dimensions and inspect the same roof edge or frame. Keep any extra sharpening out of one-sided comparisons.
Then view the image where it will actually be used. A small web image and a large print have different delivery requirements. Keep the original so a different output size or model remains an option.
Continue with this tool
Sources & further reading
- https://github.com/upscayl/upscayl/releases/tag/v2.15.0
- https://github.com/upscayl/upscayl/blob/4f39acfc6f88260d105920a64deff8431d5e1544/README.md
- https://github.com/upscayl/upscayl/blob/4f39acfc6f88260d105920a64deff8431d5e1544/LICENSE
- https://github.com/upscayl/upscayl/blob/4f39acfc6f88260d105920a64deff8431d5e1544/docs/Guide.md
- https://github.com/upscayl/upscayl/blob/4f39acfc6f88260d105920a64deff8431d5e1544/renderer/locales/en.json