OpenCode 2 tutorial: change one button label and verify the result
A documentation-derived walkthrough from a bounded HTML edit to diff inspection, browser checks and rollback limits.
Last updated
Menus and supported features can change. Compare the source-check date below with your current app version.
Instead of asking for a complete app, let’s define one small task: change a button label in an HTML file, then verify exactly what changed. An agent saying “done” is not the same as seeing the correct result in a browser. This guide combines the documented connection, file-context and inspection workflows for OpenCode 2.0.30.
This is a documentation-derived walkthrough, not a record of a model request I executed. Changes described below are expected outcomes and acceptance checks. Start with the introduction for access and costs, then use the direct-editing comparison to judge whether this workflow is worthwhile.
Requirements and acceptance criteria
Prepare Git, a text editor, a modern terminal, a browser and an available model connection. Use a new disposable directory, not a live service. Installing dependencies, creating accounts, deploying and enabling remote access are outside the task. The npm installation route also requires Node.js and npm.
Success means changing Start to Open guide while preserving href="#guide", styling, headings and layout. Extra files or dependencies need explanation rather than automatic acceptance. This article does not test a model’s language understanding or coding quality.
1. Establish the version
If V1 is already installed, back up its setup and read the official migration guide. Both versions use the same default command name. For the npm route on macOS or Linux, pin the package:
npm install -g @opencode/cli@2.0.30
opencode --version
I verified that this package version exists in public npm metadata, but did not install it. On Windows, consult the official V2 downloads for a standalone CLI or desktop build matching the OS and CPU. A “latest” link may now deliver a later version. Check the app’s version rather than relying on its filename, and do not combine V1 installation instructions with V2 commands.
2. Prepare a small project and input file
Create a new button-demo directory and save the following as index.html in a text editor. This is a reader-prepared input fixture, not an output generated by an agent.
<!doctype html>
<html lang="en">
<meta charset="utf-8">
<title>Button demo</title>
<style>
.cta {display:inline-block;padding:12px 18px;background:#ffd34d;color:#202020}
</style>
<h1>Button demo</h1>
<a class="cta" href="#guide">Start</a>
<section id="guide"><h2>Guide</h2><p>Keep this content unchanged.</p></section>
</html>
This is the real file your browser will open; there is no separate OpenCode project export. In this new example directory only, record a Git baseline:
git init
git add index.html
git commit -m "Add button demo baseline"
Do not run these instructions blindly inside an existing project. If the commit fails because Git has not been configured, resolve that before continuing. You do not need to publish personal Git configuration or send it to the model.

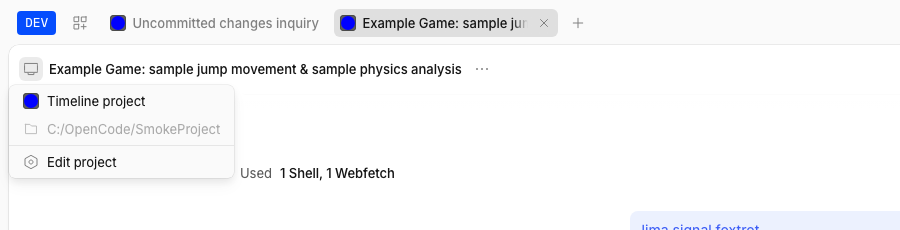
The example project menu illustrates where a working directory appears. Verify your own disposable folder rather than copying the developer fixture’s path.
3. Require approval for edits and commands
Create opencode.jsonc beside the HTML file. It configures the agent; it is not a webpage delivery file. In a real project with existing configuration, review and merge rules rather than replacing the entire file.
{
  "$schema": "https://opencode.ai/config.json",
  "permissions": [
    {"action": "shell", "resource": "*", "effect": "ask"},
    {"action": "edit", "resource": "*", "effect": "ask"}
  ]
}
V2 uses the last matching rule. Agent-specific rules, managed policies and saved approvals can also affect the effective behavior. This example is not an OS sandbox or a block on every other tool and network operation. Keep sensitive files out of the exercise. Plan restricts normal project edits but should not be treated as a guarantee that no commands can run.
4. Connect, attach the file and request the edit
Run opencode in the directory. Enter /connect, choose a provider and follow its supported authentication method. Then use /models to select and record the actual model. Enter secrets only through the authentication flow, never in the prompt, HTML or configuration file. Stop to check costs if continuing requires a new paid plan.
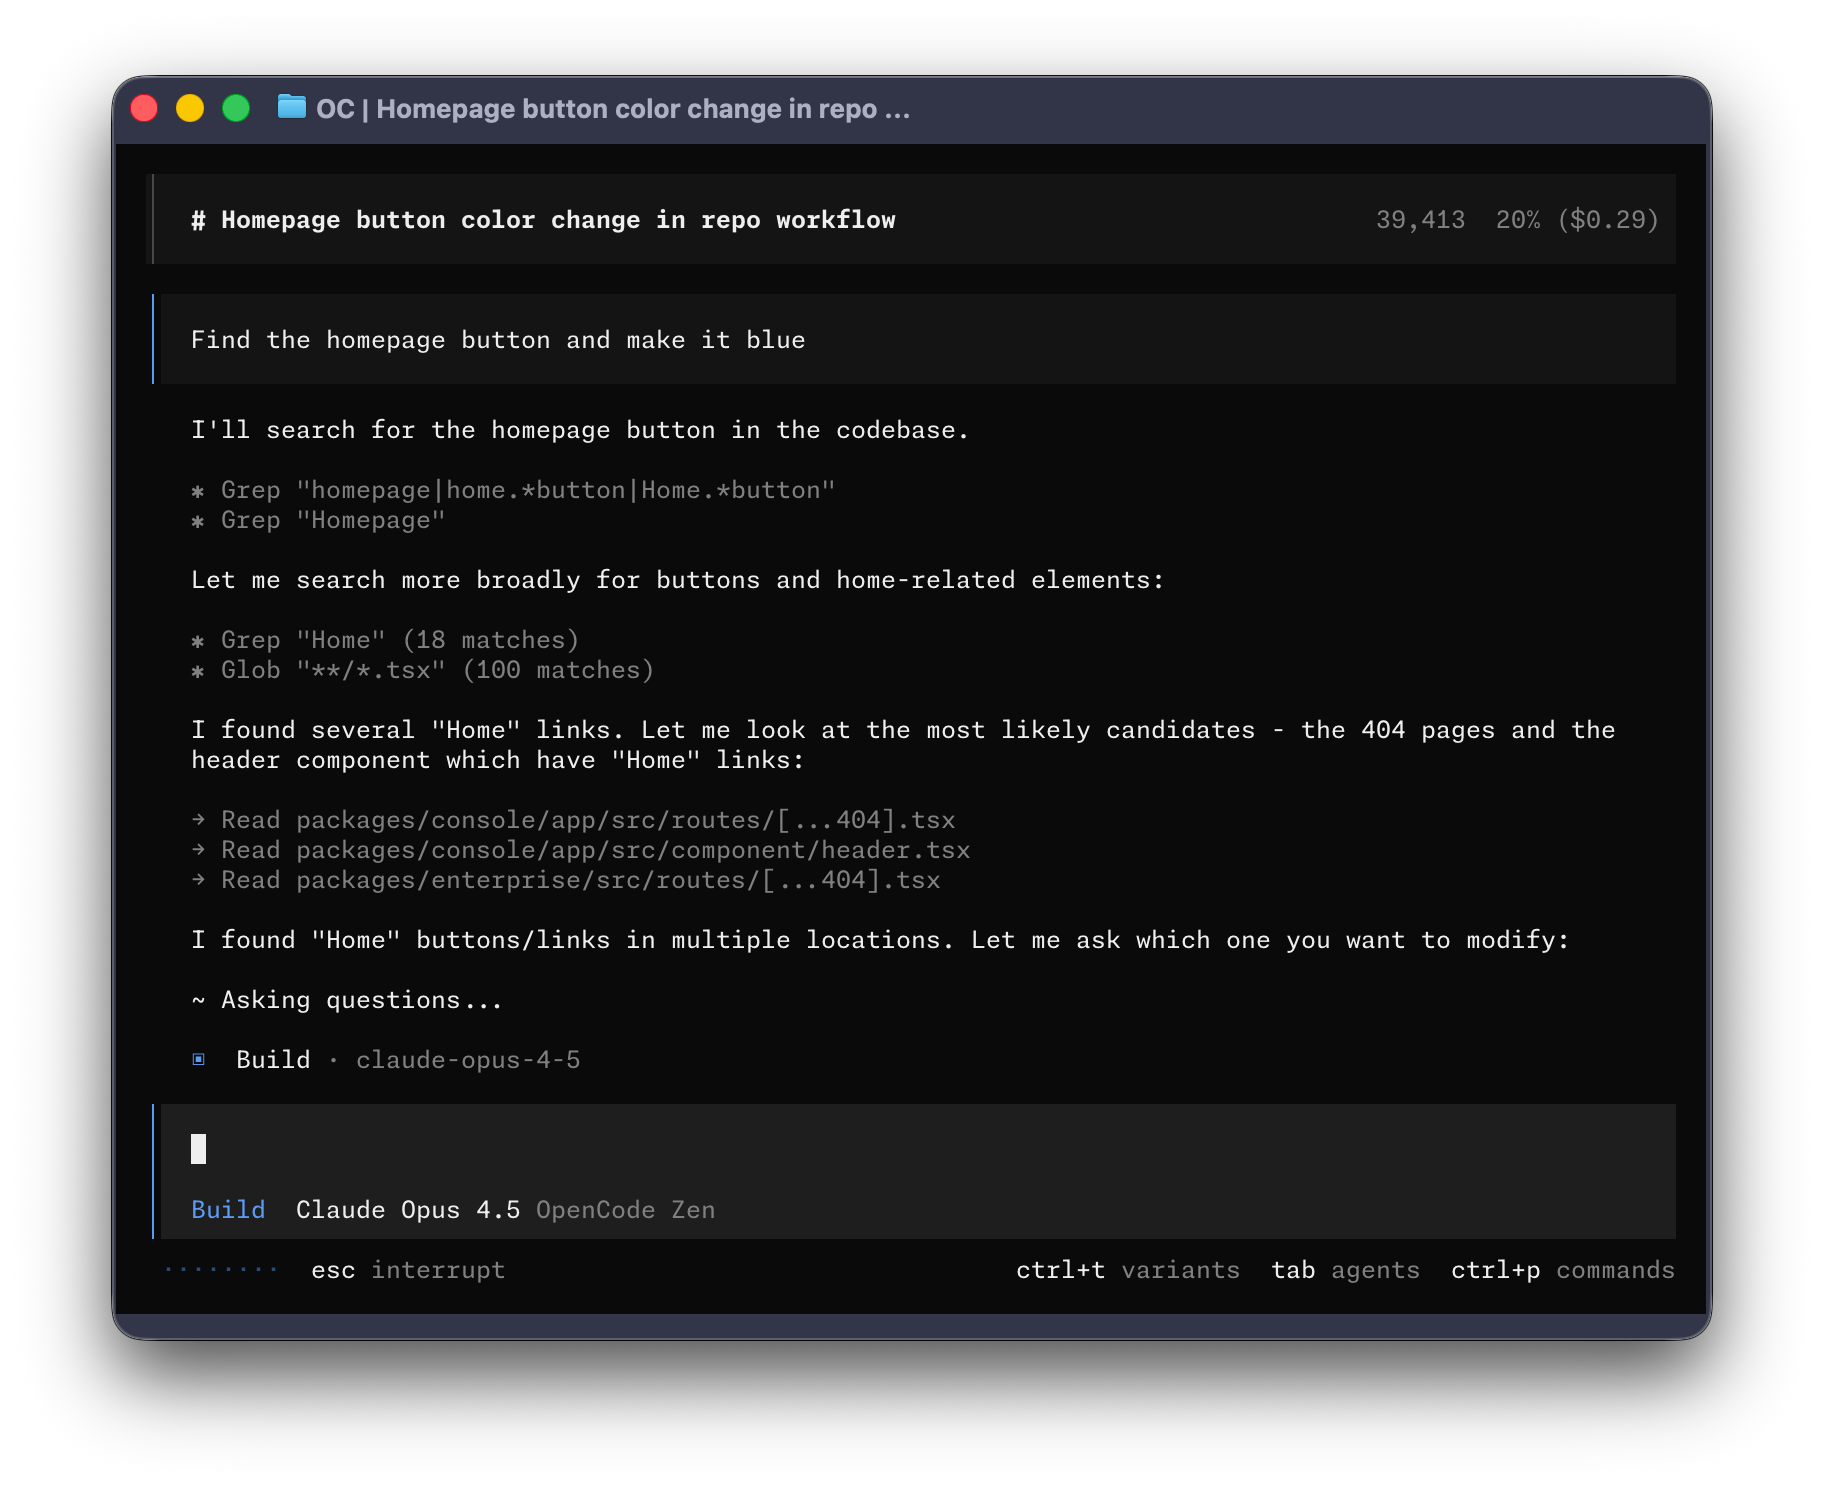
You can select Plan through /agents and ask it to locate the link in @index.html without changing anything. Typing @ opens file search; select the real file. Then choose Build and send:
In @index.html, change only the visible label of the a.cta link
from Start to Open guide. Keep href="#guide", all CSS, headings,
and other content unchanged. Do not install dependencies, run shell
commands, create other files, commit, push, or deploy.
Summarize the exact edit and tell me how to verify it in a browser.
A prompt is not a permission boundary. If an approval appears, inspect the proposed file and operation and approve only the intended action. Reject unexpected installs, commands or file creation and investigate why they were proposed.

5. Inspect the change and reopen the result
The expected edit is one text node in the link. In a terminal session, open /diff and press f if you need more room. On desktop, enable Settings → Preferences → Timeline → Changed files, then inspect the completed turn’s file list and expanded diff. I did not obtain a firsthand screenshot of that new panel.
Independently run git diff -- index.html. Reopen the file in your editor, then open it in the browser. Confirm that Open guide is visible, clicking still navigates to Guide, and the label remains readable at a narrow window size. Those checks, rather than the assistant’s completion message, finish the task.
6. Separate rollback from troubleshooting
After the active request ends, /undo stages a rollback. Before sending a new prompt, /redo cancels it. Back up important work first. File snapshots require a Git worktree, have scope limitations and do not reverse external side effects.
If no model appears, check /connect and /models for the current project and server. A session that looks stalled may be waiting for an approval. If file restoration is unavailable, check the Git directory and snapshot coverage. If the source looks correct but the browser does not, compare the saved path with the tab’s actual file path.
Keep a record of the version, model, exact prompt, changed files, manual corrections and verification result. Record setup separately from model response and review time. This walkthrough contains no measured response, duration or success rate.
Official sources
Sources & further reading
- https://opencode.ai/changelog#v2-0-30
- https://opencode.ai/v2/docs/
- https://github.com/anomalyco/opencode/blob/f16ef9ad8878279ea2be3cfab7baeed97aef61aa/services/www/src/docs/content/cli/tui.mdx
- https://github.com/anomalyco/opencode/blob/f16ef9ad8878279ea2be3cfab7baeed97aef61aa/services/www/src/docs/content/permissions.mdx
- https://github.com/anomalyco/opencode/blob/f16ef9ad8878279ea2be3cfab7baeed97aef61aa/services/www/src/docs/content/snapshots.mdx
- https://github.com/anomalyco/opencode/blob/f16ef9ad8878279ea2be3cfab7baeed97aef61aa/services/www/src/docs/content/migrate-v1.mdx
- https://github.com/anomalyco/opencode/blob/f16ef9ad8878279ea2be3cfab7baeed97aef61aa/services/www/src/docs/content/cli/providers.mdx
- https://github.com/anomalyco/opencode/blob/f16ef9ad8878279ea2be3cfab7baeed97aef61aa/services/www/src/docs/content/cli/index.mdx
- https://github.com/anomalyco/opencode/blob/f16ef9ad8878279ea2be3cfab7baeed97aef61aa/LICENSE
- https://registry.npmjs.org/@opencode%2fcli/2.0.30
- https://api.github.com/repos/anomalyco/opencode
- https://github.com/anomalyco/opencode/blob/f16ef9ad8878279ea2be3cfab7baeed97aef61aa/README.md