REA Tutorial: Trace One Export Button, Then Check the CSV
Follow six steps through setup, static analysis and a CSV helper check. Learn to distinguish expected behavior from observed execution.
Last updated
Menus and supported features can change. Compare the source-check date below with your current app version.
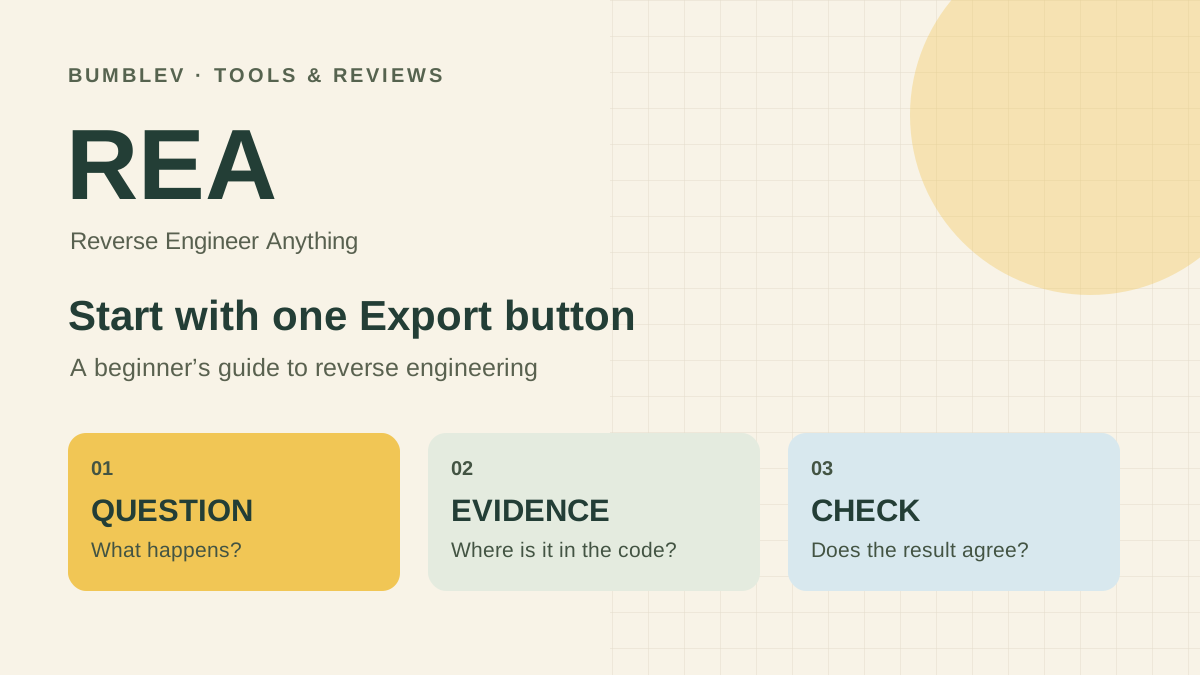
Your first REA investigation can be a small question: where does the Export button save the notes? The official example lets you follow that behavior across a few files, then check how its CSV formatter handles a title containing commas and quotation marks.
This is a documentation-based tutorial using REA 6.7.0 and the official example source. Expected analysis findings come from the developer’s recorded example and inspected code, not our own REA run. Read the beginner explanation for context or begin with the prerequisites below.
Preparation and finish line
The example is an Electron application: a desktop app built with web technologies. You do not need to install or launch Electron for static file analysis or the CSV helper check. Running the complete app and verifying an actual saved file is a separate exercise.
| Requirement | Purpose |
|---|---|
| Node.js and npm | Run REA and a small JavaScript helper. |
| A coding agent with local tool access | Invoke REA against the supplied path and explain the findings. |
| Official Notes example ZIP | Keep the investigation scope clear. |
| A separate practice folder | Keep example files apart from your projects. |
Finish when you can identify the destination code, explain the quoted-title output, and state what you actually checked. A generic “analysis successful” message is not the finish line.
1. Check your terminal and Node.js version
Node.js runs JavaScript code. npm obtains packages, and npx invokes commands supplied by those packages. Their similar names describe different parts of the setup.
Open PowerShell on Windows or a terminal on macOS/Linux. These commands belong in that command window rather than the agent’s chat:
node -v
npm -v
REA 6.7.0 supports Node.js 22.x from 22.19.0, 24.x from 24.11.0, or 26 and later. Versions 23 and 25 are not within those supported branches. If needed, install a supported version from the official Node.js site, reopen the terminal and check again.
If PowerShell reports that scripts are disabled when invoking npm or npx, the official setup guide suggests using npm.cmd and npx.cmd. You do not need to change the system-wide execution policy for this exercise.
2. Connect REA to your coding agent
To follow this article’s version reference, run:
npx rea-agents@6.7.0 setupThe official rolling setup command is npx rea-agents@latest setup. Here the explicit version keeps the tutorial’s reference clear. If you choose a newer version later, check its prerequisites and output differences.
Choose the agent to configure and review the proposed configuration paths and investigation instructions. npm’s package-download confirmation and REA’s configuration approval are separate steps. Restart the selected agent after setup, then ask it to check whether the REA tools are available.
The MCP connection supplies callable tools. The accompanying skill supplies investigation instructions. Installing instructions alone does not establish a working tool connection. Readers using only the CLI can skip agent registration and use the static-analysis command in step 4.
3. Unpack the official example
Download the official Notes example ZIP into your practice area and unpack it. The notes-example folder contains six files: package.json, main.js, preload.js, renderer.js, csv.js and index.html.
Give the agent the absolute path to that folder: its complete address from the drive or root directory. State that the task is file analysis of the Export behavior. You do not need dependency installation or npm start for this stage.
The downloadable ZIP can change. This article checks the example source pinned to the 6.7.0 release. If your files differ, record the download date and version before interpreting output differences.
4. Ask one concrete question
The following is a new reader example, not a private prompt copied from a personal project conversation:
Copy example · investigate an export
For direct CLI analysis, replace the quoted placeholder with your extracted folder’s absolute path:
npx rea-agents@6.7.0 analyze-javascript-application "/absolute/path/to/notes-example" --jsonKeep quotation marks around paths containing spaces. The --json option requests structured output. It does not mean the program was launched or the button clicked.
Focus on the IPC summary under normalized_result.summary.ipc and source locations in normalized_result.graph. The developer’s recorded small example shows one message channel and one corresponding handler. You do not need to understand every field in the full report to follow that connection.
5. Connect the explanation to the files
| Step | File | What to locate |
|---|---|---|
| Button event | renderer.js | The call to notes.exportCsv. |
| Message bridge | preload.js | The named notes:export message. |
| Save operation | main.js | The handler, destination construction and file-writing call. |
| CSV formatting | csv.js | Conversion of id and title into CSV text. |
IPC, or inter-process communication, means separate parts of the app exchange messages. Here you can think of the page asking the main application process to perform an export. Matching the request name with its handler matters more than memorizing the acronym.
The official main.js asks the operating system for the Downloads folder and joins it with notes.csv. It passes the note list to the formatter and writes the returned text as UTF-8. Do not replace that explanation with a fixed C-drive location: the actual Downloads path depends on the user’s environment.
At this point, you have read the behavior expressed in code. You have not verified that saving actually succeeds on a particular computer. That requires executing the application and inspecting the resulting file separately.
6. Change an input and check a prediction
For this check, run only the CSV helper. Create a separate file named check-csv.cjs beside csv.js with the following contents:
const { toCsv } = require('./csv.js');
process.stdout.write(toCsv([{ id: 1, title: 'Hello, "REA"' }]));
Then run:
node check-csv.cjsThis prints CSV text to the terminal; it does not create notes.csv or alter the original app. A small file also avoids shell-specific quotation differences on older PowerShell versions.
The expected output from the official formatter is:
id,title
1,"Hello, ""REA"""
There is also a final newline. CSV uses commas between fields, so the title is quoted to keep its comma inside one field. Each quotation mark inside that title is doubled.
A matching result checks this helper with this input. It does not verify the operating system’s Downloads path, write permissions or the full application interface. Record only the conditions you actually exercised.
Troubleshooting
| Problem | First check |
|---|---|
| No REA tools in the agent | Was this the agent selected during setup, and was it restarted? |
| Target not found | Does the absolute path point to the folder containing the six files? |
| Node.js error | Does node -v in this terminal show a supported version? |
| Missing Hopper or Ghidra | Did the task accidentally select native analysis instead of JavaScript inspection? |
| A long answer omits the destination | Ask for the path calculation and file-writing call with file and line references. |
| Explanation disagrees with source | Confirm the file/version inspected and leave unsupported claims unresolved. |
For a focused registration check, use npx rea-agents@6.7.0 doctor --client codex --json. Substitute cursor if that is your selected client. Doctor checks configuration and prerequisites; it does not establish that your entire application investigation or live agent connection succeeded.
Keep a short investigation note
Record the example version, path, files examined, changed input, predicted output, actual output and remaining questions. Mark unexecuted checks explicitly. This makes later follow-up questions easier to compare against the same target.
The useful change is moving from “the AI says it saves a file” to “this code constructs the output, and these are the conditions I checked.” For another target, start by deciding which behavior deserves investigation.
Official basis
We checked the installation guide, CLI guide, first investigation, pinned formatter and save handler. The official web guide’s recorded analysis used REA 4.1.0; this tutorial reads it alongside the 6.7.0 commands and source.
Sources & further reading
- https://github.com/morluto/rea/releases/tag/rea-agents-6.7.0
- https://github.com/morluto/rea/blob/27dc42d10249f0410904a75c0997842eb03b931c/README.md
- https://github.com/morluto/rea/blob/27dc42d10249f0410904a75c0997842eb03b931c/package.json
- https://github.com/morluto/rea/blob/27dc42d10249f0410904a75c0997842eb03b931c/docs/installation.md
- https://github.com/morluto/rea/blob/27dc42d10249f0410904a75c0997842eb03b931c/docs/cli.md
- https://rea.tools/first-investigation/
- https://rea.tools/guides/javascript/
- https://github.com/morluto/rea/blob/27dc42d10249f0410904a75c0997842eb03b931c/website/public/examples/notes-electron/csv.js
- https://github.com/morluto/rea/blob/27dc42d10249f0410904a75c0997842eb03b931c/website/public/examples/notes-electron/main.js
- https://nodejs.org/