Install InvokeAI, Add Your Own Font, and Save a Canvas Text Design
Follow a source-checked workflow from the official Launcher to custom fonts, Canvas lettering, a downloaded image, and a reusable .invk project.
Last updated
Menus and supported features can change. Compare the source-check date below with your current app version.
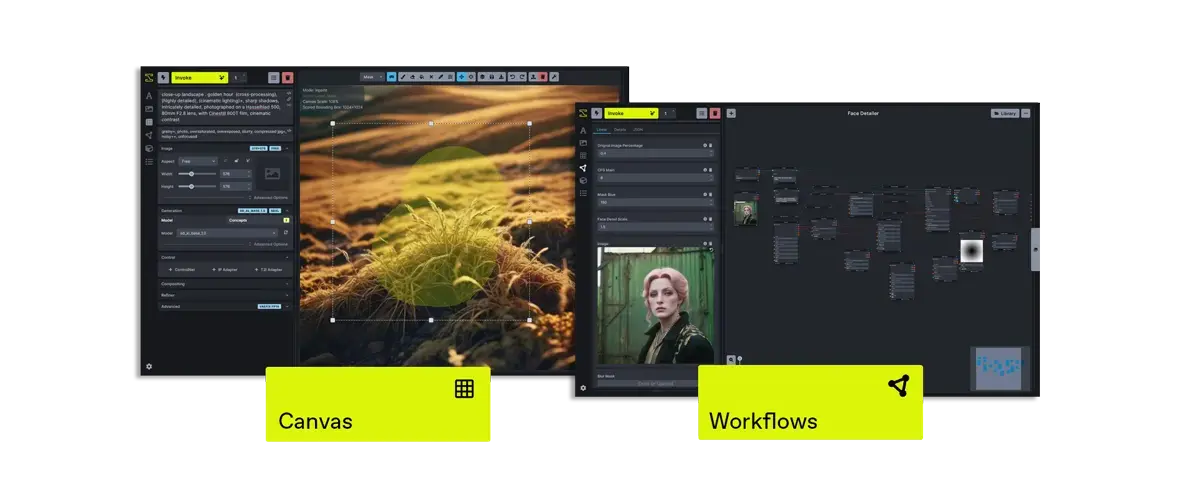
Make a small promotional image with a background you control and lettering from your own font file. This guide takes you from installing InvokeAI to placing text on Canvas, downloading the finished image, and keeping a project you can reopen.
Scope: InvokeAI Community Edition v6.14.2, checked on October 26, 2026. Its release notes introduce custom-font support. The instructions below were checked against that release’s documentation and interface source code; we did not run a generation or perform this exercise in the app. The sample design is an original practice brief, not a tested output. Release notes
Prepare a manageable first project
Use a photograph you own, a font file you are allowed to use, and this simple brief:
| Item | Practice choice |
|---|---|
| Background | A cup on the right, clear space on the left |
| Heading | MORNING, MADE SLOW |
| Supporting line | Small rituals. A better start. |
| Deliverables | One flattened image and one reusable Canvas project |
Put your photo and font in a working folder. Keep the wording in a text document too: this gives you an easy source for later corrections.
Check the version-specific hardware requirements before installing models. The guide lists Windows 10+, macOS 14+, and Linux; memory needs depend on the model. Its SDXL guideline is 8 GB VRAM and 16 GB RAM on Windows/Linux. These are planning figures, not a promise of speed on your machine.
The Community software is described as free to use in the project README. Local work still needs storage and computing resources. External API models use the provider’s account and billing; this exercise does not require connecting one. External-model explanation
1. Install through the official Launcher
- Open the official installation page and follow the download for your operating system.
- On Windows, run the EXE. On macOS, open the DMG and move the app to Applications. On Linux, make the AppImage executable if required, then run it.
- Open the Launcher, choose Install, and follow its installation instructions.
- Note the installation directory you chose. You will need the actual InvokeAI root directory when adding fonts.
- Launch the installed application through the Launcher.
The Launcher handles Python, so the separate manual-Python instructions are not part of this route. Keep installation and model downloading as separate checkpoints: seeing the interface does not mean an image-generation model is ready. Launcher setup · Python requirement
Checkpoint: the application opens, and you know which installation the Launcher is managing.
2. Choose a background before adding text
For the shortest first exercise, use your own photograph. Open Canvas and drag the photo from your computer onto it. Choose the New Raster Layer drop target. InvokeAI documents this target for creating a normal image layer. Canvas drop targets
If you also want to try image generation, first open Model Manager → Starter Models, install a model suitable for your machine, then select it for generation. Model licenses and requirements vary. Starter models
An original background prompt to try is:
Use the selected model’s normal starting settings and generate one candidate. Evaluate the space for the heading before spending time on variations. The image-generation guide explains how prompts, models, and generation settings interact; it does not guarantee that a particular prompt produces the composition above.
Bring the chosen image into Canvas as a raster layer. Keep the unlettered original. It is the easiest recovery point if you later want to change the layout.
3. Put your font in the correct folder
The InvokeAI root contains items such as invokeai.yaml, models, outputs, and the database. It may differ from the folder where you downloaded the Launcher. Use the installation you noted earlier; do not create a second folder merely because its name looks plausible. Root-directory explanation
Inside that root, use the default fonts directory, unless fonts_dir has already been configured elsewhere. Add an actual .ttf, .otf, .woff, or .woff2 file, then refresh the app. A downloaded ZIP must first be unpacked. The official Text Tool guide documents the directory, accepted font files, and refresh requirement.
For this first attempt, add one font. A small font list makes it much easier to confirm that you are seeing the file you intended. If you run InvokeAI on another machine, this is the server’s font directory, not the browser computer’s Downloads folder.
4. Place the heading
- Select Text on Canvas and click where the heading should begin.
- Open Font and find the font under User Fonts.
- Type or paste
MORNING, MADE SLOW. - Adjust Size. Start with a readable heading, then reduce it until comfortable margins remain.
- Use Spacing for multiline text and the alignment controls if needed.
The Text tool’s click-to-start behavior and these control names are confirmed in the Canvas text implementation and font/control component. We have not verified them through a live session.
Before committing, hold Ctrl on Windows/Linux or Command on macOS and drag the text to position it. Check spelling, line breaks, and overlap with the cup. Press Enter to commit; Esc cancels the current text. Switching tabs before committing discards the unfinished text. Text behavior
Add the supporting line as a second text entry. Make it smaller than the heading and leave enough space that the two lines read as separate levels of information.
Checkpoint: the heading and supporting line are legible at approximately the size someone will see in a feed. Font installation alone does not guarantee that the font contains every character you type; check your actual wording before finalizing.
5. Save the composed image, then download it
After committing the text, open the Canvas context menu and choose Save To Gallery → Save Canvas To Gallery. This saves the composition of visible raster layers. The separate Save Bbox To Gallery action saves the bounded region, so choose the whole-Canvas action for this exercise. These actions are confirmed in the version-pinned menu and save implementation.
Then find the newly saved composite in the Gallery. Open its context menu and choose Download Image. Make sure the preview contains the lettering: downloading your original photo would not include the new composition. Gallery download
Give the downloaded file a meaningful name, such as morning-poster-v1, while preserving its extension. Open it outside InvokeAI and inspect the corners, the complete heading, and the smallest text. This independent check is part of the exercise; it is not a claim that we tested your file.
6. Keep an editable project and reopen it
Use Project → Save Canvas Project from the Canvas context menu, name it, and save the .invk file. Later, choose Project → Load Canvas Project and select that file. Loading replaces the current Canvas, so save any other work first.
The project stores Canvas state and can include the layer images. It does not bundle model weights or the Workflow Editor’s state. Committed lettering is raster content, so retain the source wording and font for revisions. Canvas project guide
Keep these together:
- Original background.
- Font filename and its license information.
- Heading and supporting copy.
- Downloaded finished image.
- Saved
.invkproject.
If something goes wrong
| Symptom | What to check next |
|---|---|
| Font is absent | Confirm the active root, unpack the font file, check its extension, and refresh. |
| Font appears but cannot be selected | Look for a loading/error state; try one known-good font file before adding a collection. The font control disables fonts that are not ready. |
| Some characters look wrong | Compare the actual phrase in another font and check whether your chosen font includes those characters. Do not treat a successful Latin test as proof of Korean coverage. |
| Text disappeared | If it was uncommitted, check whether you switched tabs or pressed Esc. Paste the saved wording again. |
| Download has no text | Save a new Canvas composite after committing the text, then download that new Gallery item. |
| Canvas save reports an empty region | Confirm that the intended raster layers are visible and that you chose the correct save region. Save behavior |
| Image generation fails | Return to the model’s requirements and installation status. You can still plan the lettering exercise around an existing background instead of repeatedly generating. |
Try one useful variation
Make a second version with exactly the same photo and copy, changing only the font. Compare letter shapes, line length, and readability at small size. Write down why you prefer one version. This produces a repeatable design decision, rather than a folder of unrelated outputs.
When you need to repeat image-generation operations across many inputs, continue with the series’ Canvas-versus-Workflow comparison. For a single image that needs carefully placed wording, finish the composition and its saved project first.
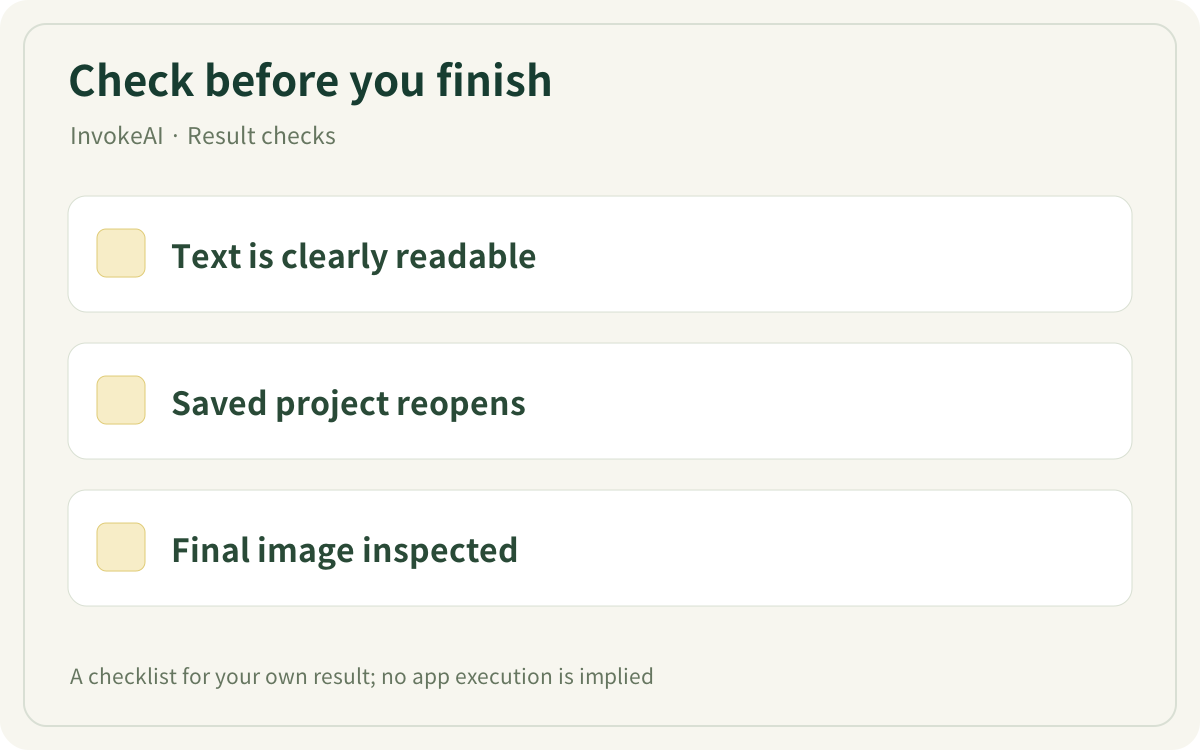
This original checklist helps you inspect your own result. It is not an app screenshot or a generated result.
Sources & further reading
- https://github.com/invoke-ai/InvokeAI/releases/tag/v6.14.2
- https://github.com/invoke-ai/InvokeAI/blob/11b6ee6e2b7bb2dfb4f9f8714525f2fdc62e591f/README.md
- https://github.com/invoke-ai/InvokeAI/blob/11b6ee6e2b7bb2dfb4f9f8714525f2fdc62e591f/docs/src/content/docs/start-here/system-requirements.mdx
- https://github.com/invoke-ai/InvokeAI/blob/11b6ee6e2b7bb2dfb4f9f8714525f2fdc62e591f/docs/src/content/docs/start-here/installation.mdx
- https://github.com/invoke-ai/InvokeAI/blob/11b6ee6e2b7bb2dfb4f9f8714525f2fdc62e591f/docs/src/content/docs/concepts/models.mdx
- https://github.com/invoke-ai/InvokeAI/blob/11b6ee6e2b7bb2dfb4f9f8714525f2fdc62e591f/docs/src/content/docs/concepts/image-generation.mdx
- https://github.com/invoke-ai/InvokeAI/blob/11b6ee6e2b7bb2dfb4f9f8714525f2fdc62e591f/docs/src/content/docs/configuration/invokeai-yaml.mdx
- https://github.com/invoke-ai/InvokeAI/blob/11b6ee6e2b7bb2dfb4f9f8714525f2fdc62e591f/docs/src/content/docs/features/Canvas/text-tool.mdx
- https://github.com/invoke-ai/InvokeAI/blob/11b6ee6e2b7bb2dfb4f9f8714525f2fdc62e591f/docs/src/content/docs/features/Canvas/layers-and-drops.mdx
- https://github.com/invoke-ai/InvokeAI/blob/11b6ee6e2b7bb2dfb4f9f8714525f2fdc62e591f/invokeai/frontend/web/src/features/controlLayers/konva/CanvasTool/CanvasTextToolModule.ts
- https://github.com/invoke-ai/InvokeAI/blob/11b6ee6e2b7bb2dfb4f9f8714525f2fdc62e591f/invokeai/frontend/web/src/features/controlLayers/components/Text/TextToolOptions.tsx
- https://github.com/invoke-ai/InvokeAI/blob/11b6ee6e2b7bb2dfb4f9f8714525f2fdc62e591f/invokeai/frontend/web/src/features/controlLayers/components/CanvasContextMenu/CanvasContextMenuGlobalMenuItems.tsx
- https://github.com/invoke-ai/InvokeAI/blob/11b6ee6e2b7bb2dfb4f9f8714525f2fdc62e591f/invokeai/frontend/web/src/features/controlLayers/hooks/saveCanvasHooks.ts
- https://github.com/invoke-ai/InvokeAI/blob/11b6ee6e2b7bb2dfb4f9f8714525f2fdc62e591f/docs/src/content/docs/features/gallery.mdx
- https://github.com/invoke-ai/InvokeAI/blob/11b6ee6e2b7bb2dfb4f9f8714525f2fdc62e591f/docs/src/content/docs/features/Canvas/canvas-projects.mdx
- https://github.com/invoke-ai/InvokeAI/blob/11b6ee6e2b7bb2dfb4f9f8714525f2fdc62e591f/docs/src/content/docs/features/External%20Models/index.mdx