Instant Soundtracks Tutorial: Upload Video, Refine Cues, and Export
Use an original coffee-video exercise to plan music and SFX, review timing, finish in Studio when needed, and verify the exported file.
Last updated
Menus and supported features can change. Compare the source-check date below with your current app version.
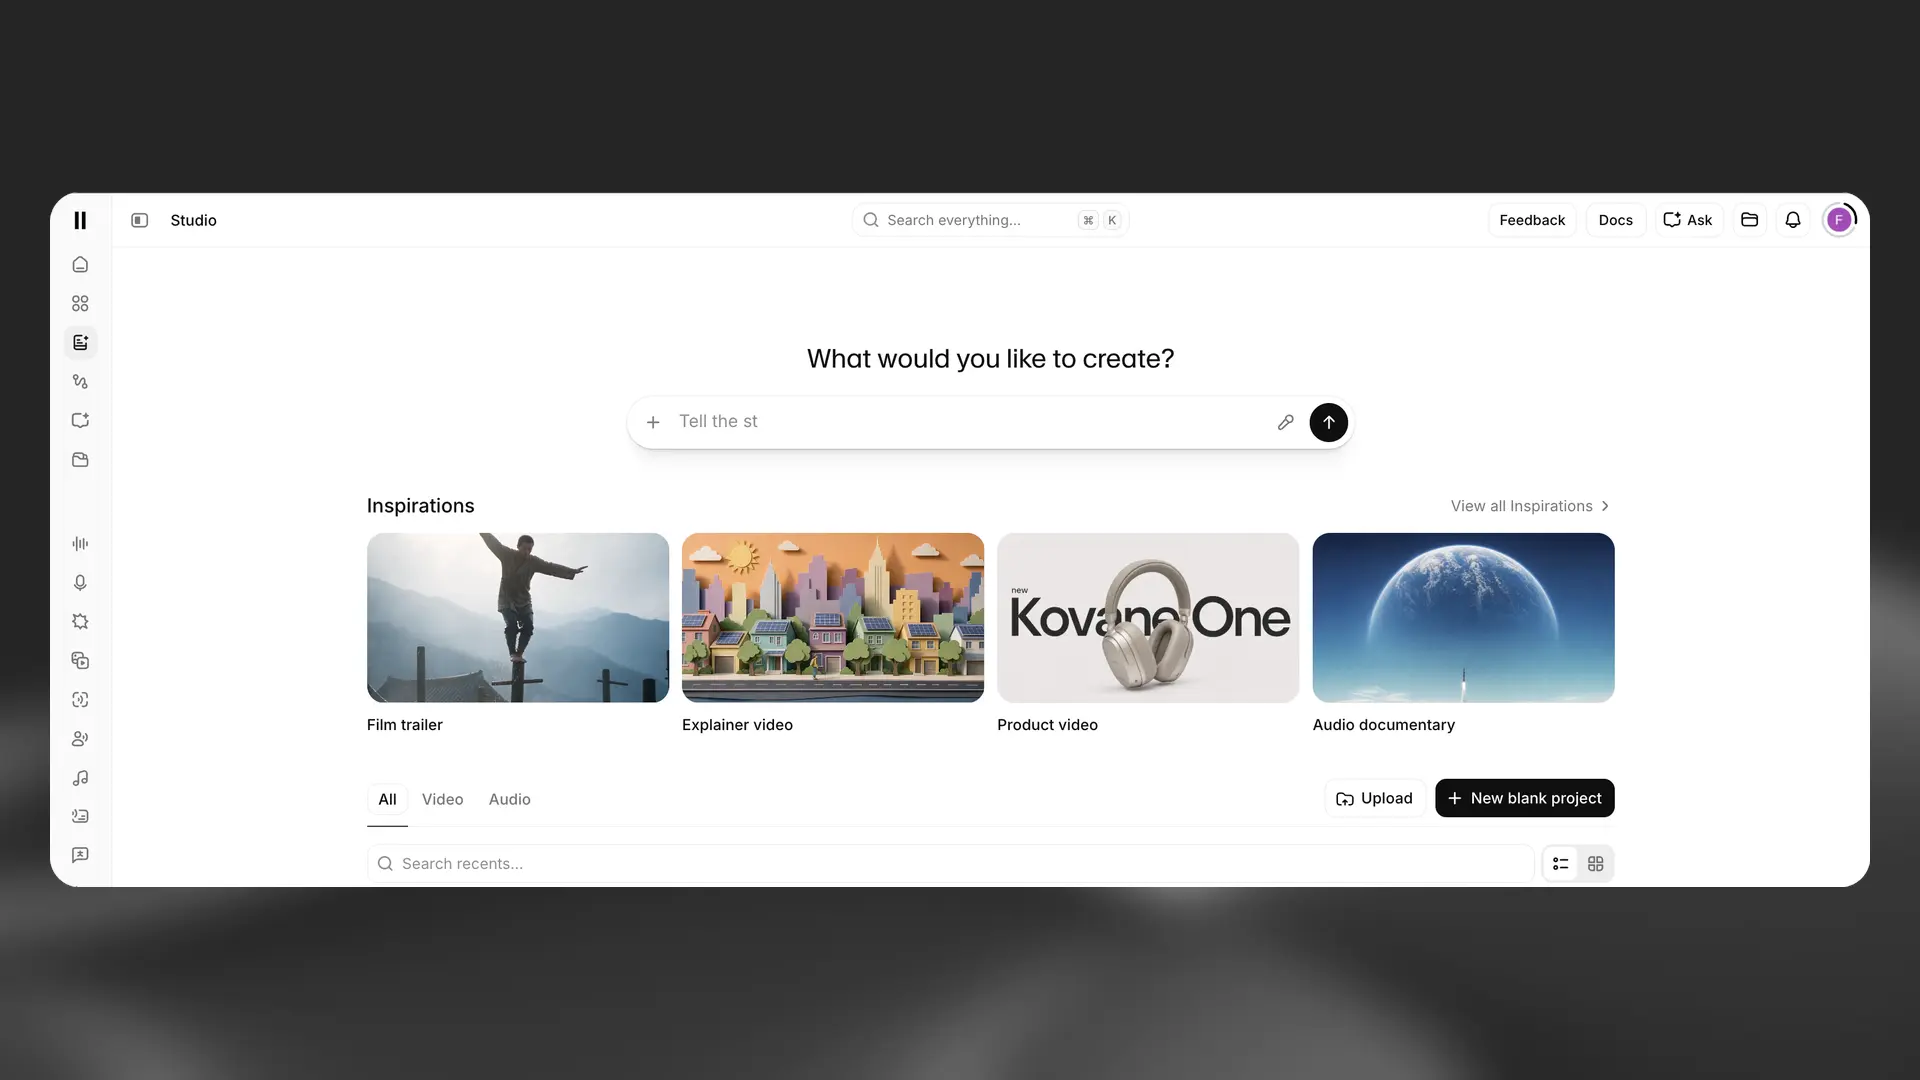
Give a short video a deliberate soundtrack: choose the musical direction, review the suggested sound effects, fix the moments that matter, and check the exported file. This guide uses a 20-second coffee video as an original exercise.
Checked October 26, 2026. This is a guide based on official sources, not a recording of a completed session. We did not sign in, generate media, spend credits, or test an export. The automatic scoring step uses Music Video Editor; the optional finishing step uses Studio. Their controls should not be treated as interchangeable.
Prepare the video and a cue sheet
Finish the visual edit first. Moving a cut after choosing sound effects creates another timing decision.
Use a clip you own with three clear actions. Here is a practice cue sheet; replace the times with those in your footage.
| Time | Picture | Intended sound |
|---|---|---|
| 00:00–00:04 | Cup is placed on a table | One restrained ceramic contact |
| 00:04–00:13 | Coffee is poured | A gentle pouring sound |
| 00:13–00:17 | Finished drink | Music continues without another impact |
| 00:17–00:20 | Title appears | A short, soft transition; room for the ending |
These are editorial targets, not generated timestamps. Keep a copy of the original video, this sheet, and a folder for downloaded audio. Listen to the video’s existing sound before uploading: decide which parts you want to preserve.
1. Check access and the next generation’s cost
Open your ElevenLabs account and confirm you are in the intended workspace. Check the current ElevenCreative pricing page and the cost displayed before you generate. This article does not promise that every control is available on every plan.
Music cost depends on duration and variants; the Music help page explains how to inspect the generation estimate. Sound Effects has its own settings-dependent cost. Avoid estimating the total from a single example price. Music cost · Sound Effects cost
For a public advertisement or client delivery, check the usage category for your subscription in Music Terms. A successful download alone does not establish the commercial rights for every use.
2. Upload to Music Video Editor
Open Music → Music Video Editor, upload the finished clip, and start music/SFX generation after checking the displayed cost. Review the separate music and effect layers. Instant Soundtracks announcement
The public announcement does not fix every toggle label or export format. Follow the labels your editor actually displays. If this editor is absent, use the fully documented manual route in steps 4–5 rather than searching for an invented menu.
Keep this original brief beside the video. If your editor presents a description field, use it there; otherwise use it when making a replacement music track:
The description states the role of the music, the instruments, and the ending you want. Those are useful decisions to make before asking for alternatives. ElevenLabs’ Music prompting guidance discusses specifying musical intent; the text above is our own example.
3. Review timing before asking for another soundtrack
Watch the whole result once without interrupting it. Then revisit only the three moments on your cue sheet.
At the cup contact, ask whether the audible impact starts at the contact or seems to anticipate it. During the pour, listen for a convincing duration rather than a brief unrelated splash. At the title, decide whether the effect helps the message or distracts from it.
Use the editor’s timing controls to revise a problem cue. Public documentation does not specify a universal gesture or button for every edit. Editor capabilities
For each revision, write one sentence: “The cup sound is late,” “The title effect is too sharp,” or “The music competes with the original audio.” A specific diagnosis makes the next change easier to judge.
When using the video’s existing audio as a reference, decide whether its musical character is actually useful. Reference guidance does not mean that a song will be copied or remixed. The separate Audio Reference explanation describes that distinction. Do not assume its plan eligibility or upload limits are identical to this video editor.
4. Make replacement assets only when needed
If a cue needs replacing, generate it separately so you can place it deliberately. The official sound-effects prompting help recommends individual effects for sequences that will be assembled in an editor.
Use one of these original prompts at a time:
One ceramic cup placed gently on a wooden tabletop.
A small dry contact sound, close perspective, quiet room.
No music, no voices, no repeated taps.
A short continuous pour of coffee into a ceramic cup.
Close perspective, soft liquid detail, quiet room.
No music, no talking, no running faucet.In Sound Effects under Playground, enter the description, choose a duration or Auto, and generate with the arrow control. Review the results in History, then download the chosen effect. The product guide documents MP3 and WAV choices there. Sound Effects product guide
For replacement music, open the ordinary Music editor, paste the brief, and select Duration and Variants before generating. Use Download to retain the chosen audio. These are Music-editor controls, not asserted labels for Music Video Editor. Music guide
If you edit a song’s composition or style, the change must be generated before it exists in the audio. Saving text instructions alone does not render them. Music editing help
Name assets by purpose, such as coffee-music-v1, cup-contact-v1, and pour-v1, keeping the downloaded extensions.
5. Use Studio for an explicit manual finishing pass
This is a separate workflow. Use it when you want to arrange downloaded assets yourself or when the automatic editor is unavailable.
- In Studio, choose + New blank project → Video project (New).
- In Library, choose Create + → Upload and add your original video.
- Place the video on the timeline. Official video-project setup
- Upload your downloaded music and effects through the Library’s upload action, then arrange the available assets on separate timeline tracks. Studio documents reusable media and multiple tracks. Studio guide
- Use the timeline’s zoom controls to inspect the cup contact and move the relevant clip until it matches your cue sheet. Timeline help
If you only downloaded a mixed soundtrack, its baked-in effects are not independent clips. Use separately available assets or the replacement files from step 4 for independent timing. Do not label a web download a “stem ZIP” merely because the API supports separate tracks.
A useful arrangement is one continuous music bed plus a small number of purposeful effects. First align the cup contact, then the pour, then the title. Listen again in context after each move. The desired timing in this exercise is a creative target, not a guarantee of automatic synchronization.
6. Export and inspect the actual file
If you finish inside Music Video Editor, use its displayed export action and inspect the offered output before confirming. Web editor export announcement The documented API’s separate-track ZIP is not evidence of the same web export menu. API distinction
In Studio, select Export and choose an available video output for the project containing your video track. Read the format and any cost notice before confirming. The official guide says Free-plan Studio video exports carry a watermark. Studio export guidance
Open the downloaded file in a separate player and check:
- Does it contain the full picture and sound?
- Is the first cup contact aligned?
- Does the pour end with the visible action?
- Is the title still easy to follow?
- Does the ending sound intentional?
- Is the format and any watermark suitable for the planned use?
Use coffee-film-v1 for your first review file. After a change, export a new version rather than replaying the old download.
7. Keep enough material to resume
Record the project’s name and editor URL, the workspace, chosen audio files, and the cue sheet. Before ending the session, confirm that you can return to the project you created. We have not verified a dedicated Music Video Editor save/reopen control.
For Studio, the help center documents previous downloads under Export → History; the overview also lists Project options → Exports. Use the entry present in your version. A revised project needs a fresh export before its changes appear in a download. Export history and updates
Keep the source video and separate audio files outside the finished video. That makes a later change—such as moving the title two seconds earlier—much easier to reconstruct.
Troubleshooting
| Problem | Next check |
|---|---|
| Upload fails | Read the current uploader’s file/size message. API limits are not a promise of web limits. |
| Music feels wrong | Change one decision in the brief, such as instrumentation or energy, before generating again. |
| One effect is wrong | Replace that cue and keep the parts you already like. |
| A mixed file cannot be edited by layer | Return to separate assets; moving the entire mix also moves its music. |
| The downloaded file has old timing | Export the revised project again, then open the newly downloaded file. |
| You cannot find the project | Confirm the workspace and recorded editor URL; retain local source assets instead of relying on a download as an editable backup. |
For the next exercise, keep the same visual edit and create a calmer music direction. Compare how the soundtrack changes the story while the pictures stay fixed.
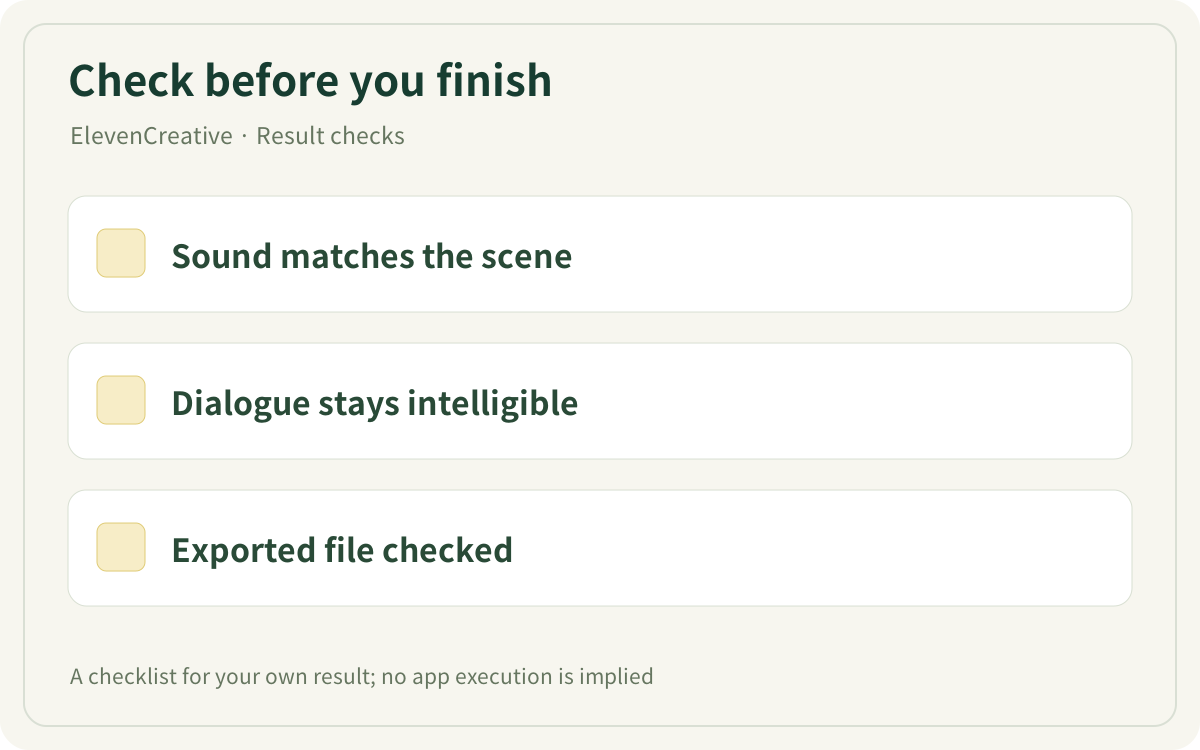
This original checklist helps you inspect your own result. It is not an app screenshot or a generated result.
Sources & further reading
- https://elevenlabs.io/pricing
- https://elevenlabs.io/docs/help-center/product/core-capabilities/music/how-much-does-eleven-music-cost
- https://elevenlabs.io/docs/help-center/product/core-capabilities/sound-effects/how-much-does-it-cost-to-generate-sound-effects
- https://elevenlabs.io/music-terms
- https://elevenlabs.io/blog/introducing-instant-soundtracks
- https://elevenlabs.io/docs/overview/capabilities/music/best-practices
- https://elevenlabs.io/docs/help-center/product/core-capabilities/music/what-is-audio-reference
- https://elevenlabs.io/docs/help-center/product/core-capabilities/sound-effects/how-do-i-prompt-for-sound-effects
- https://elevenlabs.io/docs/eleven-creative/playground/sound-effects
- https://elevenlabs.io/docs/eleven-creative/products/music
- https://elevenlabs.io/docs/help-center/product/core-capabilities/music/how-can-i-edit-my-track-add-or-remove-sections-or-change-the-style-of-a-specific-part-in-eleven-music
- https://elevenlabs.io/docs/help-center/product/studio/studio/how-can-i-create-a-voiceover-for-my-video-using-studio
- https://elevenlabs.io/docs/eleven-creative/products/studio
- https://elevenlabs.io/docs/help-center/product/studio/studio/what-is-the-timeline-in-studio
- https://elevenlabs.io/docs/api-reference/music/video-to-music
- https://elevenlabs.io/docs/help-center/product/studio/studio/why-arent-my-changes-reflected-in-my-download-from-studio