Photoshop Relight: add one light to a photo and save a PNG
A focused desktop workflow from access and layer selection to lighting, a layered PSD, a separate PNG and checks against the original.
Last updated
Menus and supported features can change. Compare the source-check date below with your current app version.
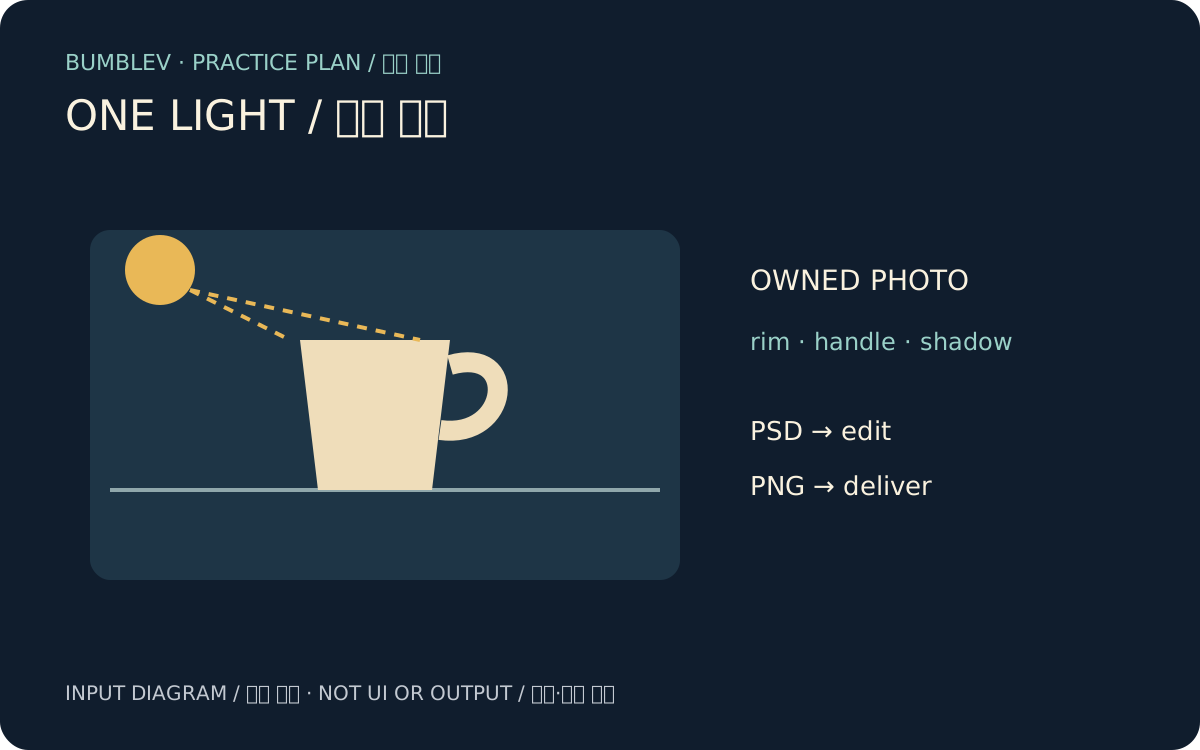
A photo can have a useful composition but still need a different lighting mood. This exercise uses Relight to place one light in a photograph, checks the subject against the original, and finishes with a layered PSD plus a separate PNG. Starting with one light makes it easier to tell what each change is doing.
This guide is based on Adobe documentation and its official demonstration checked on November 16, 2026. Adobe’s November desktop update lists Relight in Photoshop 28.0. We have not generated or exported this practice photo in an authenticated Photoshop session. The checks below describe what you should verify, rather than results we measured.
Watch the official demonstration first
Open Adobe’s original video · Official instructions containing this video
Adobe uses a living-room photograph to demonstrate the connection between the canvas light and the Properties controls. We confirmed advancing playback in the original player. This is an Adobe example, not our cup photograph or a completed result from this exercise. The values shown are not prescribed settings. Use the original link if the embedded player is unavailable.
Install Photoshop and prepare a photo
Sign in with your Adobe ID at Adobe Home and choose Apps → Photoshop → Download. If Creative Cloud desktop is already installed, use Apps → All apps → Photoshop → Install. Open Photoshop after installation and check the available version. This is a desktop workflow; do not assume the web or mobile app has equivalent menus. Compare your Windows or macOS computer with the current system requirements before installing.
You need an Adobe account and permission to use the app. Adobe currently specifies an internet connection and 30 generative credits for a Relight generation. An app subscription and a credit allowance are separate considerations. Check access with a school or organization account, and investigate version and entitlement before purchasing anything to make a missing menu appear.
Choose an owned photograph with edges you can inspect, such as a cup on a table. The following is a preparation brief for your own file. It is not a supplied photograph or a recipe we have successfully run.
Practice input: cup-original.jpg, 1600 x 1200 pixels.
One owned photograph of a plain cup on a table; no private details.
Keep the original file unchanged.
Goal: add one warm light from the upper left.
Check the cup rim, handle, table edge and existing lettering at 100%.
Working file: cup-relight-v1.psd
Delivery file: cup-relight-v1.png
Place and adjust one light
- Use File → Open. Select an unlocked image layer in Layers; Adobe supports Pixel, Rotate Object and Smart Object layers for this operation.
- Choose Layer → New Relight Layer. Expect a separate Relight Layer and an on-canvas light control.
- Move the control toward the upper left. Adjust Color, Intensity and Diffusion, keeping one light for this exercise. These control its color, strength and spread. Record your actual choices; there is no universal numeric setting for every photo.
- Judge whether the cup rim remains readable. The adjustment preview is low resolution; use Done for final processing.
- Inspect the final image enlarged. To revise it, select the Relight Layer and use Edit Lighting in Properties. Check credit information again before an edit that generates another result.
The operation affects the active layer. Selecting the top layer of a composite does not mean every underlying photograph will be relit together. A single-photo document makes that boundary easier to understand. Adobe supports up to three lights, but adding them is outside this first exercise: decide whether the first light achieves your goal before introducing another variable.
Decide whether the result is usable
Do more than decide that the picture looks brighter. This is a generative edit, so newly plausible detail is not evidence of the subject’s true hidden texture or lettering. For a product photograph, a changed shape can make an attractive image unsuitable for representing the real item.
| Inspect | Your acceptance check |
|---|---|
| Cup rim and handle | Compare continuity and shape with the original. |
| Lettering or pattern | Read the same text and compare its placement. |
| Table shadow | Look for a coherent light direction and distracting double shadows. |
| Bright areas | Check that useful surface detail has not disappeared into white. |
| Original layer | Confirm it remains separate from the generated version. |
These are proposed completion checks, not a test score. If the problem is only that the whole photo is too dark, consider whether an ordinary brightness adjustment is enough. Changing the apparent light direction and correcting exposure are different tasks. Compare them on the same input without assuming a speed or quality winner.
Keep a PSD and save a separate PNG
First choose File → Save As and save cup-relight-v1.psd, retaining layers. The PSD is the working document; the PNG is a delivery image. Use a new name rather than replacing the original JPG. Adobe’s saving guide distinguishes saving with a new name, location or format from making a copy while preserving the open document.
For delivery, use File → Save a Copy, choose PNG, and save cup-relight-v1.png separately. If PNG is not offered, check the document’s color mode and the actual saving dialog against Adobe’s PNG instructions. Keep the PSD first so a flattened delivery file does not become your only remaining version.
Open the PNG in another image viewer and check dimensions, color and edges. Then reopen the PSD in Photoshop and check that the original and Relight Layer remain distinguishable. The exercise is complete when both files open and you know which is for editing and which is for delivery.
If a menu is missing or the result looks wrong
For a missing New Relight Layer, check the desktop version, selected layer type and lock state. Older beta demonstrations can differ from the current release; use the 28.0 update notes alongside the current task documentation. Do not label another effect a Relight result when this feature is unavailable.
A soft preview may simply be the low-resolution state before Done. If final edges still look wrong, return to the original and reassess one lighting change before adding more lights. For credit or connection errors, check entitlement, balance and connectivity rather than repeatedly submitting. This guide does not establish processing time or output quality.
For a separate editing task, continue to the Photoshop Beta text-layer conversion guide. It walks through changing a date in a flat PNG and keeping separate editable PSD and delivery PNG files.
Sources & further reading
- https://helpx.adobe.com/photoshop/desktop/repair-retouch/clean-restore-images/relight-images-with-interactive-lighting-controls.html
- https://helpx.adobe.com/photoshop/desktop/whats-new/whats-new-in-adobe-photoshop-on-desktop.html
- https://helpx.adobe.com/download-install/apps/download-install-apps/creative-cloud-apps/download-creative-cloud-apps.html
- https://helpx.adobe.com/photoshop/desktop/get-started/technical-requirements-installation/adobe-photoshop-on-desktop-technical-requirements.html
- https://helpx.adobe.com/photoshop/desktop/save-and-export/save-files/save-your-work.html
- https://helpx.adobe.com/photoshop/desktop/save-and-export/save-files/save-in-png-and-gif-formats.html
- https://community.adobe.com/announcements-710/bad-lighting-photoshop-relight-has-your-back-1652101
- https://video.tv.adobe.com/v/3507097?end=nothing&learn=on