Premiere Generative Remove: erase one distraction and verify an MP4
Mask, track and remove one object in a five-second practice clip, with beta requirements, credit checks, restoration and export verification.
Last updated
Menus and supported features can change. Compare the source-check date below with your current app version.
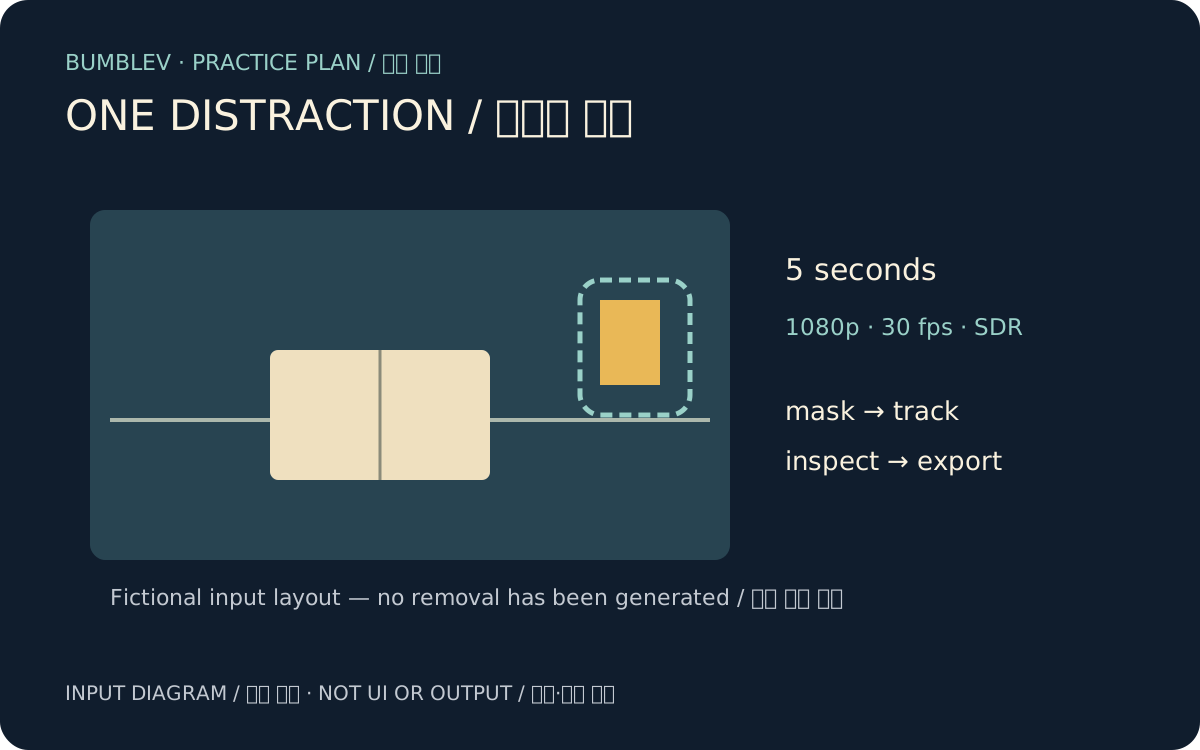
A small object at the edge of a shot can be easy to overlook while filming. Generative Remove in Premiere beta uses a tracked mask to identify an unwanted area and fill it with generated background detail. This exercise removes one small distraction from one short clip, then checks the exported MP4 rather than stopping at the timeline preview.
The guide uses Adobe instructions checked on November 16, 2026. We have not generated a removal or exported this practice clip in an authenticated account. The acceptance checks describe what you should verify; they are not measured success rates or processing times.
Watch the real official demonstration
Open Adobe Video’s original recording · Adobe’s masking and removal instructions
The recording is Generative Remove in Premiere (beta) made waves at Adobe MAX, published by Adobe Video. It is an external official demonstration, not our desk clip or our generated result. We verified the original page’s title and channel. Playback stayed at zero seconds in our verification browser, so we could not confirm it. We retain an original-video link rather than presenting it as a verified working embed. Use the current help page’s procedural screens alongside the recording. Generated detail should not be treated as a factual restoration of an event.
Install the beta and check eligibility
Following Adobe’s beta instructions, sign in to Creative Cloud desktop and use Apps → Beta → Premiere (beta) → Install. Adobe’s public-beta overview specifies a Creative Cloud app subscription. Open the installed beta using Open in that list. The release and beta can be installed separately. Work with copied practice material rather than the only copy of an important production project.
Compare your Windows or macOS computer with the official requirements. If the feature is missing, check that you opened the beta, its version and account entitlement. Ask the administrator about an organization-managed installation. This guide does not require an automatic subscription or credit purchase.
The current help page specifies up to 10 seconds, 480p–1080p and up to 30 fps. HDR, 10-bit footage and Team Projects are unsupported. Internet and cloud processing are required. An owned, non-sensitive practice shot is more appropriate than private client material for this exercise.
Prepare a five-second clip and project
Record a simple locked-camera shot with one small object to remove. This is a brief for a reader-supplied file, not a downloadable or tested clip. Keeping the distraction away from the main subject makes preservation easier to assess.
Practice input: desk-original.mp4, 5 seconds, 1920 x 1080, 30 fps, SDR.
An owned locked-camera shot of a notebook on a desk.
One small colored card sits in a background corner, away from the notebook.
Goal: remove the card and its visible shadow without changing the notebook.
Keep the source file unchanged and retain original audio if present.
Project name: desk-remove-practice
Delivery file: desk-remove-v1.mp4
Choose New Project on the home screen, set a project name and location, select the clip, enable Create new sequence, and choose Create. Adobe’s new-project instructions explain that this option bases sequence settings on the first selected asset. Check that your first file actually is 1080p at 30 fps.
Keep the project and source media distinguishable within a practice folder. Importing does not necessarily copy all source footage into the project file. Generated media and the delivery MP4 also serve different purposes.
Mask, track and remove
- Select the practice clip in the timeline. Use Object Mask or a shape mask to include the card and its visible shadow.
- Use the mask’s Track control in the Program Monitor. Scrub through the shot to check that the object stays inside the mask.
- Choose Remove from the masking controls. Read the credit confirmation before deciding to process.
- Monitor the clip or Progress panel. Do not submit the same generation again simply because it is slow.
- Play the completed result and inspect individual frames. Use the clip’s AI badge → Revert to Original if you need the original back.
Adobe’s listed rate is 40 generative credits per second. For a full five-second operation, simple arithmetic gives 200 credits, but the actual processed range and confirmation dialog take precedence. The help page’s example showing 400 credits is not a flat fee for every clip. Another generation can consume more credits, so check the mask first.
Inspect the whole shot
A card disappearing in one frame does not establish a good video result. Watch the complete five seconds at normal speed, then inspect any suspicious section slowly. A clean still and stable motion are different acceptance criteria.
| Inspect | Expected completion condition |
|---|---|
| Card and shadow | No visible remnants throughout the chosen interval. |
| Desk edge and texture | No sudden changes in generated patterns between frames. |
| Notebook and lettering | Compare shape and text with the original. |
| Mask boundary | Check for glowing edges and spreading smears. |
| Audio and duration | Preserve existing audio and the intended five-second range. |
This is not a quality guarantee. Adobe cautions that separately processing sections can create fills that do not match at cuts. Treat this five-second exercise as one removal span and revisit the input or mask if it looks wrong. If the card is only at the edge, compare ordinary cropping as another approach, including its effect on composition. Neither method is declared a winner here.
Save, export and reopen
Save the project with Ctrl+S (Windows) or Command+S (macOS) and record its location. Use File → Save As for a separate version. These operations are listed in Adobe’s default keyboard reference. Adobe stores generated media in the location under Project Settings → Scratch Disks → Generated Media. Retain the source, project and generated files. Moving footage while keeping only the project can cause a missing-media prompt when reopening.
Select the sequence and use File → Export → Media. Choose Format: H.264 and, for example, Match Source – Adaptive High Bitrate. Check the filename and location, verify 1920 × 1080 and 30 fps under Video, and check Audio when the input has sound. Select Export for a local MP4. No social publishing destination is needed. See Adobe’s video/audio export instructions.
Open desk-remove-v1.mp4 in a separate player and watch from start to finish. An output with missing sound, a wrong range or visible smears is not complete just because the editing preview looked fine. Then use File → Open Project to reopen the saved project and confirm the media remains connected. A playable MP4 and an editable project are two separate checks.
Where to look when it fails
If Remove is absent, check the beta app, selected clip, mask state and supported media conditions. If traces remain, inspect whether shadows or reflections were excluded. For an accepted operation that is still pending, inspect its existing progress before deciding whether to revert or generate again. This article does not establish your account’s real entitlement or the exact Korean interface translation; compare the English control names with your current installation.
Sources & further reading
- https://helpx.adobe.com/premiere/desktop/edit-projects/edit-with-generative-ai/generative-remove.html
- https://community.adobe.com/announcements-732/now-in-beta-generative-remove-in-premiere-1654360
- https://helpx.adobe.com/x-productkb/global/creative-cloud-beta.html
- https://helpx.adobe.com/creative-cloud/apps/manage-apps/creative-cloud-apps/beta.html
- https://helpx.adobe.com/premiere/desktop/organize-media/create-projects/create-new-project.html
- https://helpx.adobe.com/premiere/desktop/organize-media/create-projects/open-projects.html
- https://helpx.adobe.com/premiere/desktop/render-and-export/export-files/export-video-and-audio-files.html
- https://helpx.adobe.com/premiere/desktop/get-started/technical-requirements/adobe-premiere-pro-technical-requirements.html
- https://www.youtube.com/watch?v=lffF6W7IsZw
- https://helpx.adobe.com/premiere/desktop/get-started/keyboard-shortcuts/default-keyboard-shortcuts.html