Photoshop Beta: turn a flat poster's text into editable layers
Change one date with Convert to text layers, from Beta access and credit checks to a real usage video, a layered PSD and a separately checked PNG.
Last updated
Menus and supported features can change. Compare the source-check date below with your current app version.
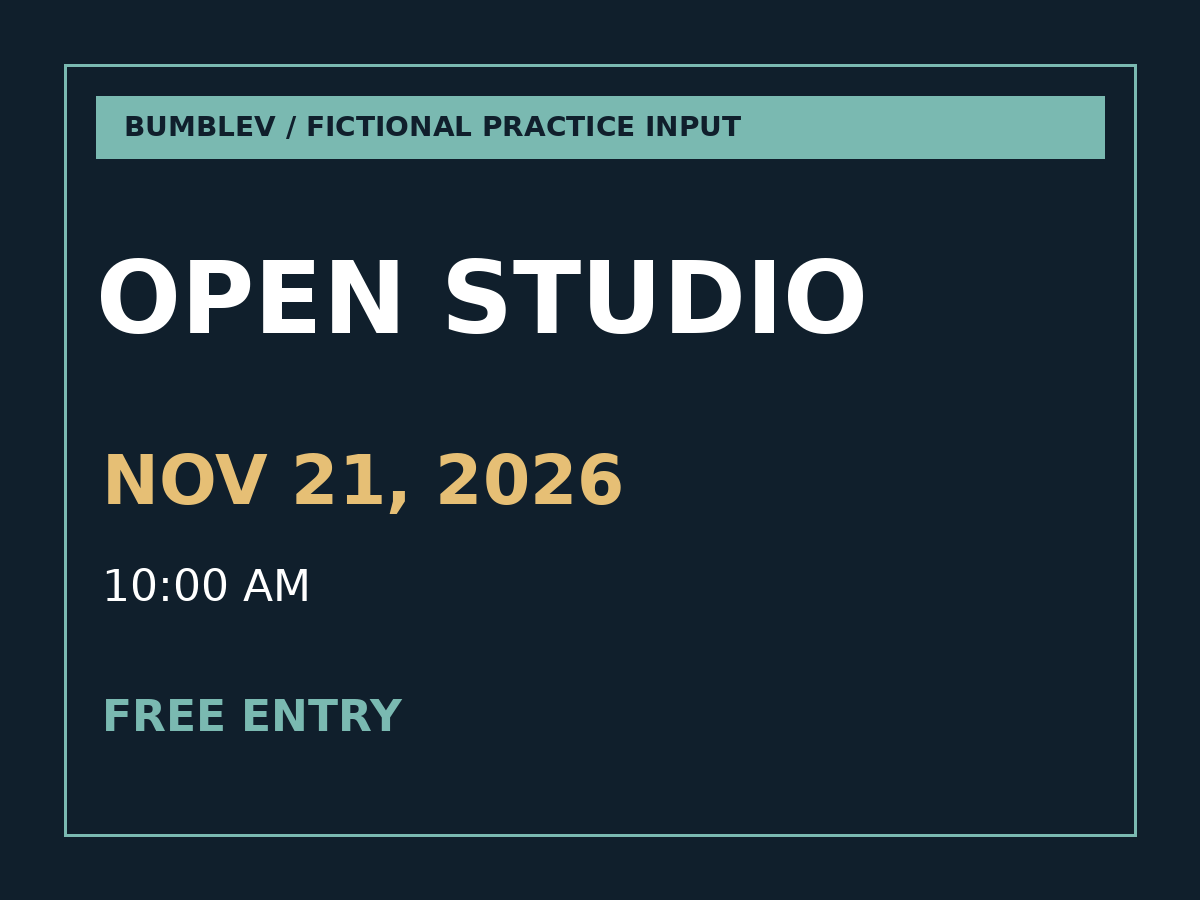
You need to change a date on a poster, but only a flattened PNG remains. Rebuilding the whole design is an awkward way to fix one line. This exercise aims to recover editable type, change the date, and keep both a layered PSD and a separate delivery PNG. The useful result is text you can select and type into again, rather than a newly drawn picture of different letters.
This is a documentation-based guide checked on November 19, 2026. Adobe’s product-manager announcement, dated November 18 UTC, specifies Photoshop Beta 28.2 and 10 generative credits per conversion. Do not assume the feature exists in every release, the web app or mobile. We have not run this conversion or saved this practice project in Photoshop. The input and acceptance criteria below are an exercise for the reader, not our measured results. Korean recognition, processing time and font-match accuracy remain untested.
1. Watch a real usage demonstration
Open the original YouTube video at 24:20 · PiXimperfect · published November 13, 2026 · chapter 19 – Convert to Text Layers.
This is an external creator’s Photoshop Beta demonstration, not BumbleV’s execution or an Adobe-produced video. Its beta build and Adobe’s current 28.2 notice should be distinguished. Use the conversion and text-editing segment as visual context; it does not verify saving and reopening our exercise. We verified the title, channel and chapter, but buffering in our checking environment prevented confirmation that this segment played. If the embed is unavailable, use the original link. The recording is not downloaded or reuploaded.
Adobe also publishes real interface examples in its official feature announcement. Look for the layer group and the original and revised poster. We link to those original screens rather than assuming permission to reproduce them.
2. Install the Beta and check your access
Sign in to your Adobe account through Adobe Home and prepare Creative Cloud desktop. Compare your Windows or macOS computer with the current system requirements. This walkthrough concerns the desktop beta.
- Open Creative Cloud desktop.
- Select Apps → Beta, then Photoshop (Beta) → Install.
- Choose Open in that list after installation. Beta is installed separately from the release app, so check the actual app name and version you launched.
- Check the Creative Cloud app subscription required for public-beta access, your entitlement and your available generative credits. For a work or school account without Beta, investigate administrator policy first.
Ten credits does not mean ten dollars. Included allowances and payment conditions depend on your account and plan. Check beta version and entitlement before buying a subscription to resolve a missing command. No paid conversion or subscription purchase was made for this guide.
3. Prepare a poster with one date to change
Save the practice PNG, or use a copy of a poster you have rights to edit. The supplied image is 1200 × 900 pixels and does not advertise a real event. Keep the source and write down this brief:
Input: practice-poster.png
Keep: BUMBLEV / FICTIONAL PRACTICE INPUT; OPEN STUDIO; 10:00 AM; FREE ENTRY
Original date: NOV 21, 2026
Replacement date: NOV 28, 2026
Working file: open-studio-date-v1.psd
Delivery file: open-studio-date-v1.png
Done: only the date changes, and its type remains editable in the PSD.
A short English date with clear contrast makes this first exercise easy to check. That choice does not establish that Korean is unsupported. Test Korean separately on a copy and inspect every character, space and font. If the original PSD still contains editable type, try opening that first; converting already editable text adds no value to this task.
4. Convert the pixel text
Use File → Open and select the poster’s text-containing pixel layer in Layers. Adobe documents Contextual Task Bar → More → Convert to text layers. Its product-manager announcement also identifies the Type menu as another entry point. These English labels are reference labels, not a claim that we inspected the current Korean translation.
Expect a new Converted text layers group with individual type layers and a text-removed Background layer; Adobe says the source image remains separate and styling is matched as closely as possible. This is reconstructed content, not proof that the original design file has been recovered perfectly. Inspect the detected characters and the reconstructed background before treating it as usable.
Run the command once, then inspect the outcome. An error or long pause is a reason to check credit and account state before submitting again. Cmd/Ctrl+Z can undo conversion. If you have already made other changes, check which operation Undo will affect.
5. Replace the date and inspect the background
Select the date’s new type layer. With the Type tool, select its characters and replace them with NOV 28, 2026. Use the Commit icon in the Options bar to confirm; Window → Options reveals that bar if hidden. Adjust the actual font, size or color in Properties when needed, while leaving the other lines alone for this first exercise.
Before saving, I would briefly hide the converted date layer and inspect the area behind it. If old numbers remain visible when the new date is moved, the result is not ready for delivery. Restore the layer’s visibility and compare against the source:
| Area | Acceptance check for this exercise |
|---|---|
| Date string | Read NOV 28, 2026 character by character; the old 21 must not remain. |
| Banner and three unchanged lines | Check spelling and placement for unintended changes. |
| Background behind the date | Enlarge it and inspect remnants, smudges or distracting repeated texture. |
| Type appearance | Correct a substituted font or altered line break rather than accepting a vaguely similar shape. |
| Original image | Confirm that you can distinguish it from the new group. |
These are proposed acceptance criteria, not a score from our test. Recovering editable type also does not grant font rights: check both font and source-image permissions before using the design publicly.
6. Save a PSD and a separate PNG, then reopen both
First use File → Save As for open-studio-date-v1.psd, retaining Layers. The PSD is your working document for later date changes. Check its destination and name so that you retain the original PNG.
Next use File → Save a Copy, choose PNG and save open-studio-date-v1.png. For this exercise choose None for Interlace and confirm the PNG options. If PNG is missing, compare the document’s color mode with Adobe’s PNG instructions. Preserve the layered PSD before changing document settings.
The two files have different jobs. Open the PNG in another image viewer and check the date and dimensions. Reopen the PSD in Photoshop Beta and verify that you can still select a character on the date layer. Reopening is a stronger completion check than simply clicking Save. Keep the unchanged source so that an unsatisfactory background reconstruction can be compared or replaced later.
7. Troubleshoot one issue at a time
| Problem | What to check |
|---|---|
| Conversion command is missing | Check Beta rather than the release app, and compare your installed version with the official 28.2 notice. |
| Command is disabled | Confirm that the selected pixel layer contains the text and work on a copy with the source preserved. |
| A line is missing | Compare every source line. This guide does not guarantee complete detection. |
| Font or Korean looks wrong | Correct the actual string, font and spacing. Korean quality was not tested here. |
| Background is damaged | Inspect the reconstructed area with the date hidden. Obtain the original design or use a separate manual repair if the reconstruction is unsuitable. |
| Letters are not selectable in the PNG | That is the delivery image; continue editing in the retained PSD. |
For a different Photoshop task, continue to the published Relight photo guide. Text conversion and generated lighting are separate edits. Checking each separately makes unintended changes easier to identify.
Sources & further reading
- https://helpx.adobe.com/photoshop/desktop/text-typography/get-started-with-text/convert-text-to-layers.html
- https://community.adobe.com/announcements-698/convert-to-text-layers-beta-1656688
- https://helpx.adobe.com/x-productkb/global/creative-cloud-beta.html
- https://helpx.adobe.com/creative-cloud/apps/manage-apps/creative-cloud-apps/beta.html
- https://helpx.adobe.com/photoshop/desktop/get-started/technical-requirements-installation/adobe-photoshop-on-desktop-technical-requirements.html
- https://helpx.adobe.com/photoshop/desktop/text-typography/get-started-with-text/edit-text.html
- https://helpx.adobe.com/photoshop/desktop/save-and-export/save-files/save-your-work.html
- https://helpx.adobe.com/photoshop/desktop/save-and-export/save-files/save-in-png-and-gif-formats.html
- https://www.youtube.com/watch?v=2t8KKZ2pU4A