Google Vids compared: Omni image animation vs photo effects
Compare generating new frames from a product photo with applying motion to the existing photo in Google Vids, using official documentation.
Last updated
Menus and supported features can change. Compare the source-check date below with your current app version.
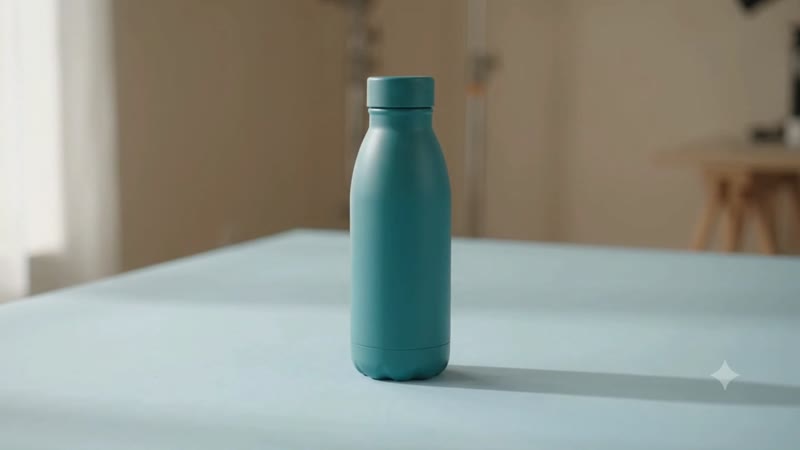
Suppose you have one photograph of a bottle and need a 15-second product video. You might want to preserve the exact bottle and label, or you might want a new movement or atmosphere that the photograph does not capture. Google Vids offers two routes. This comparison uses Google’s documentation for both image animation and photo effects. I did not run a side-by-side test with a shared photo.
Use one photo and one definition of done
Start with a landscape photograph you took or have permission to use. Leave room beside the product and above the cap so you can check framing at both ends of the shot. For this example, choose a teal bottle photographed from the front with simple lighting. The target for each route is one landscape MP4 about 15 seconds long, with the shape of the product visible at the beginning and end. Open each exported file and inspect the beginning, midpoint and end against the same original.
| Check | Omni image animation | Google Vids photo effects |
|---|---|---|
| Input | Photo and a prompt describing motion | Photo in the scene and an effect preset |
| Result | Newly generated footage based on the reference | The original photo shown with motion such as a zoom or pan |
| Inspect first | Changes to the cap, silhouette or lettering | Important details cropped out as the image moves |
| Set the length | Check the actual clip duration, then set the total on the timeline | Check scene length separately from the effect loop |
| Revise | Edit the prompt and inspect a new result | Adjust the effect, its timing or the picture placement |
Choose Omni when you need new movement
Google’s generation help describes selecting Animate, using Add image, describing the motion, generating a clip and inserting the result. The first use may bring up a consent dialog. Read it and make sure you have the necessary rights before you provide a photo. Use a clean copy without client names, shipping labels or unreleased material you are not permitted to submit.
Try this prompt as a starting point: “Keep the bottle centered on the table and move only the camera slowly closer. Keep the cap, silhouette, teal color and background consistent. Do not add text or a logo.” Inspect the generated frames instead of relying on those constraints to be followed. If the shape changes, do not use the output as an accurate product shot. A generated clip that establishes the mood may still be useful in a different scene. My direct check of this image route stopped at the first-use consent dialog.
Do not assume the image route will return a 15-second clip. At the time of checking, the English help described 3 to 10 seconds for image animation and the Korean help described an 8-second clip. The test account displayed a 15-second setting, but I did not submit a photo and cannot confirm that output length for an image. If you get a shorter clip, you can place the original photo or a title card after it to reach a 15-second timeline.
Start with photo effects when the original matters
In Google’s photo effects help, you choose a photo in a scene, open Animation, then select a photo effect. Available adjustments depend on the effect and can include direction or loop duration. Google describes photo effects as looping. They move the view of the existing picture. If you need to show the rear of the bottle, supply a rear photograph rather than expecting the effect to reveal it.
Preview the entire scene. A label visible in the first second could move out of the frame near the end. If the motion loops too soon, check whether the effect’s timing is adjustable and consider a gentler preset or a different scene length. Leave more margin around the product if a zoom crops the cap. Check small text on the exported copy, since it may be harder to read there than in the original photograph.
Check the exported file before choosing
Export an MP4 and reopen it. Compare the duration, product appearance and framing with your target. Listen for unwanted audio, especially when the export is going into a longer project. If the photo effect already communicates the product clearly, it gives you a useful result without needing a generated version. If motion in the scene is the point, judge the Omni clip by the specific movement and the details you need to preserve. This comparison does not measure generation time, success rates or Korean prompt quality.
If you do not have an image yet, follow the hands-on 15-second Google Vids tutorial to learn the editor and export process with a text prompt first. That tutorial’s clip is a text-only example, separate from either of the photo routes compared here.