ArtCraft tutorial: plan a small product image with a 2D layout
A documentation-based product-image exercise using the official 2D workflow and public canvas interface.
Last updated
Menus and supported features can change. Compare the source-check date below with your current app version.
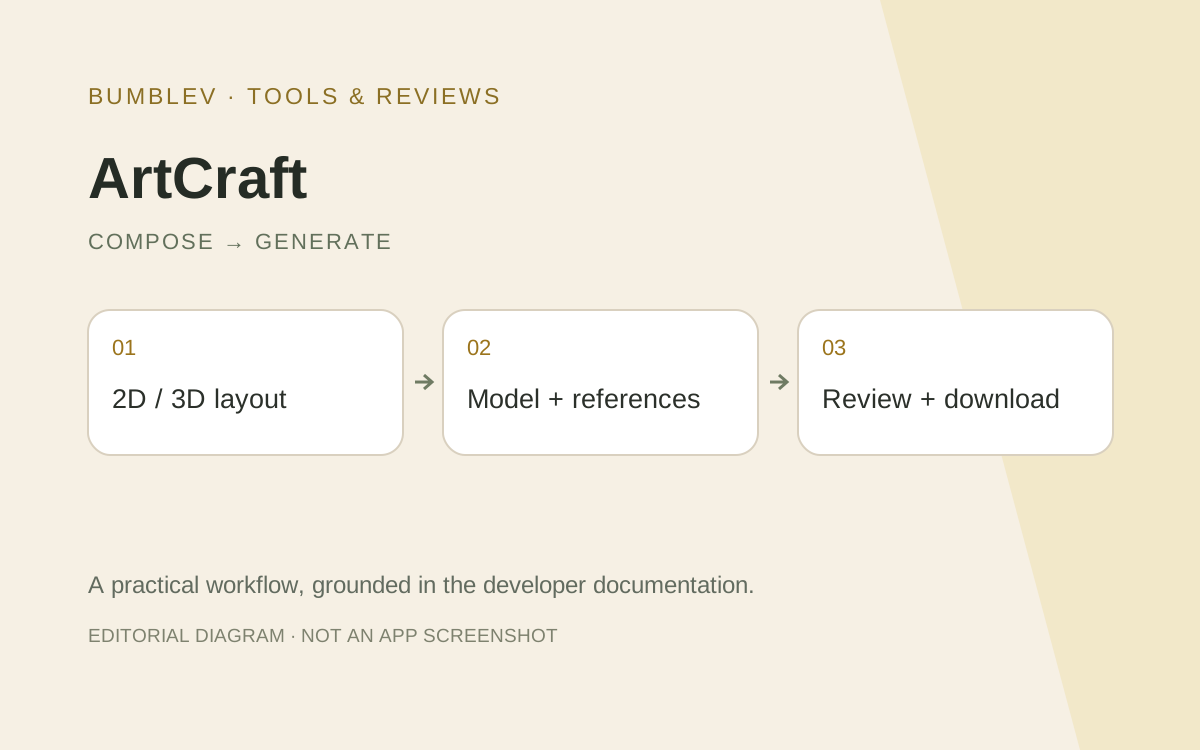
The goal is a white water bottle on the left, with clean space on the right for a later headline. This is a documentation-derived exercise using the official 2D tutorial and public UI source, not a generation result we produced.
Prepare the task
Use an official ArtCraft build, an available image-model connection and a bottle image you may upload. Check that the selected model accepts the intended reference or canvas input. Different model choices do not necessarily expose identical controls.
| Setting | Planned target |
|---|---|
| Canvas | 1,024 × 1,024 square |
| Product | Left side |
| Background | Calm blue |
| Empty region | Right side, for a later headline |
| Inspect | Placement, shape, unwanted text and output size |
1. Find the 2D canvas workflow
Start with the official 2D Editor Basics tutorial, which covers arranging canvas elements and generating from layouts. The pinned Choose Canvas Size source includes a 1,024 × 1,024 preset. Check the current build rather than assuming every release uses the same layout.
2. Prepare the reference
Upload the bottle through an input supported by the selected workflow. Record its source and dimensions. Distinguish an image supplied as a model reference from an object actually positioned on the canvas.
3. Arrange the composition
Place the product on the left and preserve clean space on the right. Check cropping and room for a soft shadow. Focus on composition before adding a final headline.
4. Check the model and prompt
Choose an image model and review reference and size support. A proposed prompt is: “A white reusable water bottle on the left, calm blue studio background, soft shadow, clean empty space on the right, no text, no logo.” Confirm that the layout is included in the selected generation path.
5. Generate once and inspect
Before submitting, check model, inputs, generation count and cost. Inspect product placement, cap and base shape, cropping and empty space. Change one variable for a later attempt rather than revising the layout and prompt together.
6. Keep the output and iteration record
Download the chosen image and inspect its actual dimensions. Preserve available editable state, references, prompt and model name separately. Open the delivered file before adding a headline in another editor.
Expected outcome and troubleshooting
The desired result is composition, not a guaranteed perfect image. We have not measured output quality, time or cost. If reference controls are missing, check the model’s supported inputs. If the layout is ignored, confirm that the canvas reaches the model rather than treating a visible canvas as proof.
For a failed generation, inspect job state and credit information before resubmitting. Distinguishing a local layout edit from a new generation request helps identify where both failures and costs arise.
Sources and scope
Checked 19 October 2026. This introduction, tutorial and comparison use the primary sources below. They contain no claim of our own app execution or measured performance. Development builds may differ from the pinned source.
Sources & further reading
- https://github.com/storytold/artcraft/blob/7a2935cf9e3922e90e4ed5f3556b1cb107013148/README.md
- https://github.com/storytold/photocraft/blob/3a896a5efca8c69ab7c00f0fd0160adfd76a6ae3/README.md
- https://github.com/storytold/filmcraft/blob/fb4cbda47a134eedabd89fe02cd59ebc69462737/README.md
- https://github.com/storytold/artcraft/blob/7a2935cf9e3922e90e4ed5f3556b1cb107013148/frontend/libs/components/pagedraw/src/lib/BlankCanvasModal.tsx
- https://github.com/storytold/artcraft/blob/7a2935cf9e3922e90e4ed5f3556b1cb107013148/frontend/libs/components/promptbox/src/lib/PromptBox2D.tsx
- https://github.com/storytold/artcraft/blob/7a2935cf9e3922e90e4ed5f3556b1cb107013148/LICENSE-MIT
- https://github.com/storytold/artcraft/blob/7a2935cf9e3922e90e4ed5f3556b1cb107013148/NOTICE
- https://getartcraft.com/tutorials/2d-editor-basics
- https://getartcraft.com/pricing
- https://getartcraft.com/press-kit