LightCraft tutorial: match the brightness of three photos and export a batch
A documented, six-step guide to match the brightness of three photos and export a batch, with source screenshots, editable files and output checks.
Last updated
Menus and supported features can change. Compare the source-check date below with your current app version.
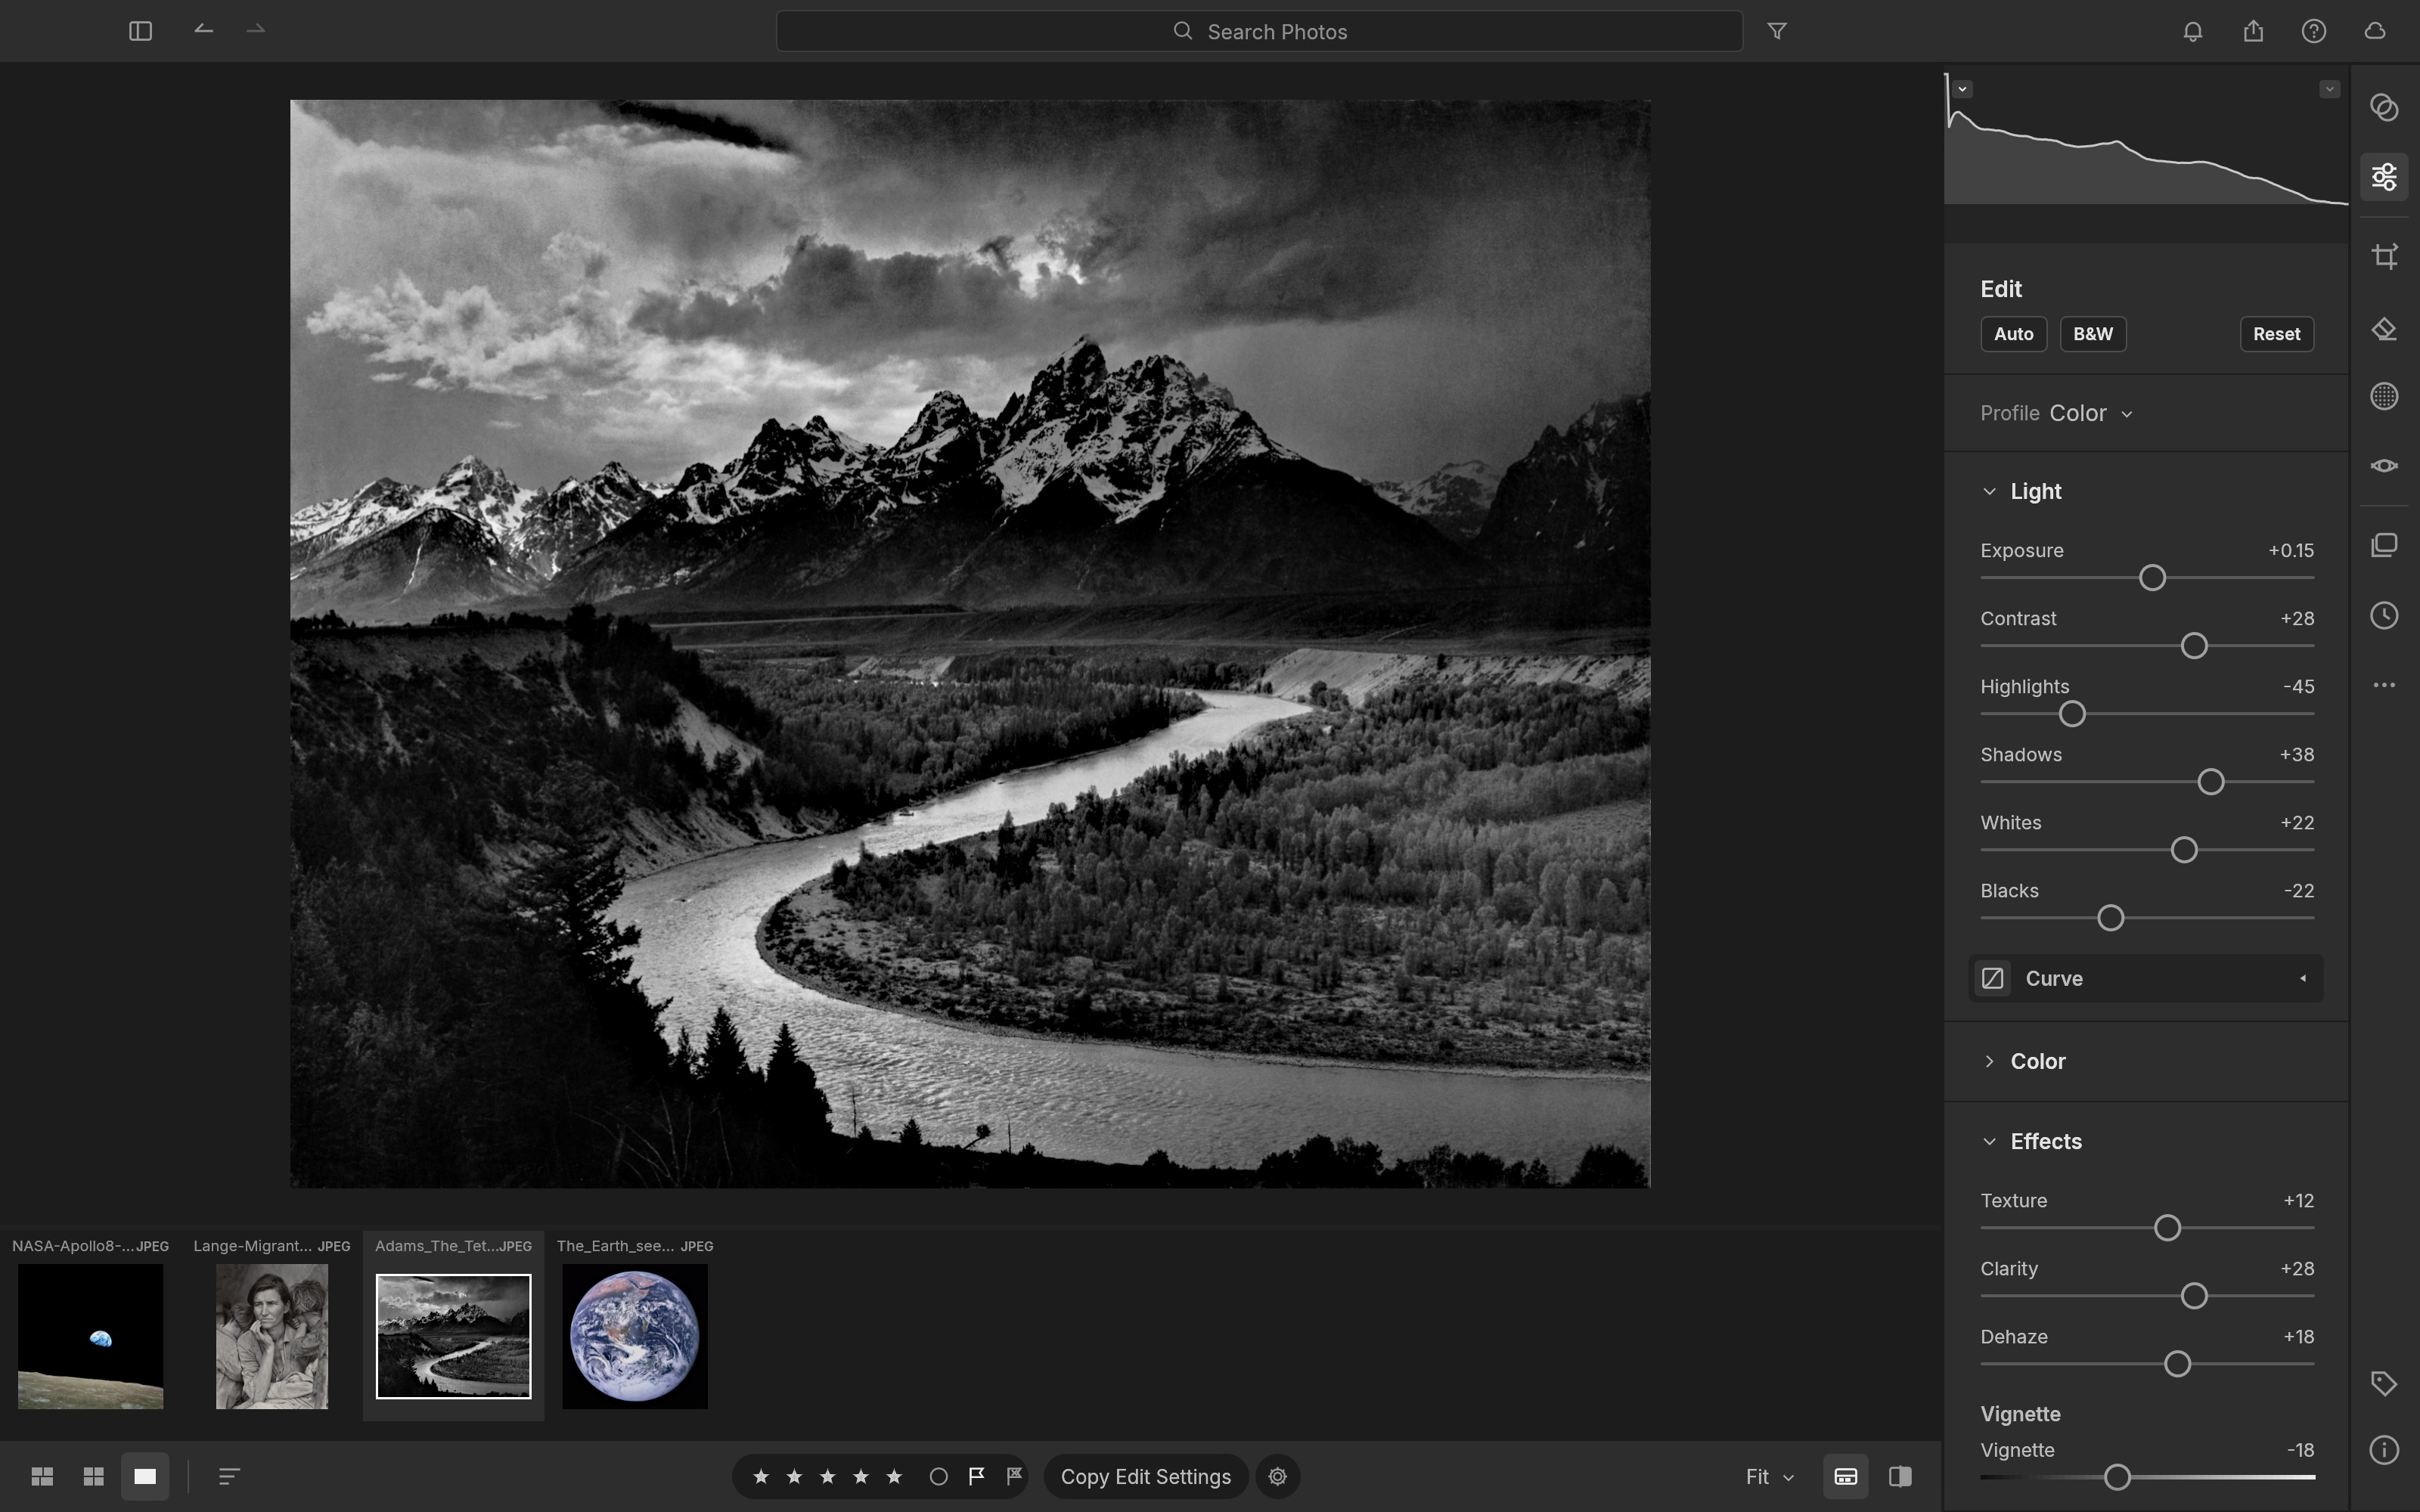
Let’s work towards one clear result: match the brightness of three photos and export a batch. The aim is to keep something you can revise and something you can actually share, rather than learn every feature at once.
This walkthrough follows the developer’s public screens and menu descriptions. I have not run it myself, so the outputs below are expected results to verify, not a tested finished example. Keep the English menu names visible while following along; they also help when your installed version differs.
Before opening the project
Prepare: Three JPGs from the same photo set, ideally with different brightness. If RAW handling is your goal, also prepare a JPG/RAW pair from your camera.
Check the official app page and release downloads for a build matching your operating system and CPU. If there is no suitable installer or the app does not start, read Get started/Quick start and known issues in the official README. Record the app version and OS when you try the task.
Use copies for the exercise and keep originals, working documents and exports in distinguishable folders. The documented stage is alpha / in development. Check the article’s source date against your installed version if a menu or supported format has changed.
Find the relevant controls
| Where to look | What it does |
|---|---|
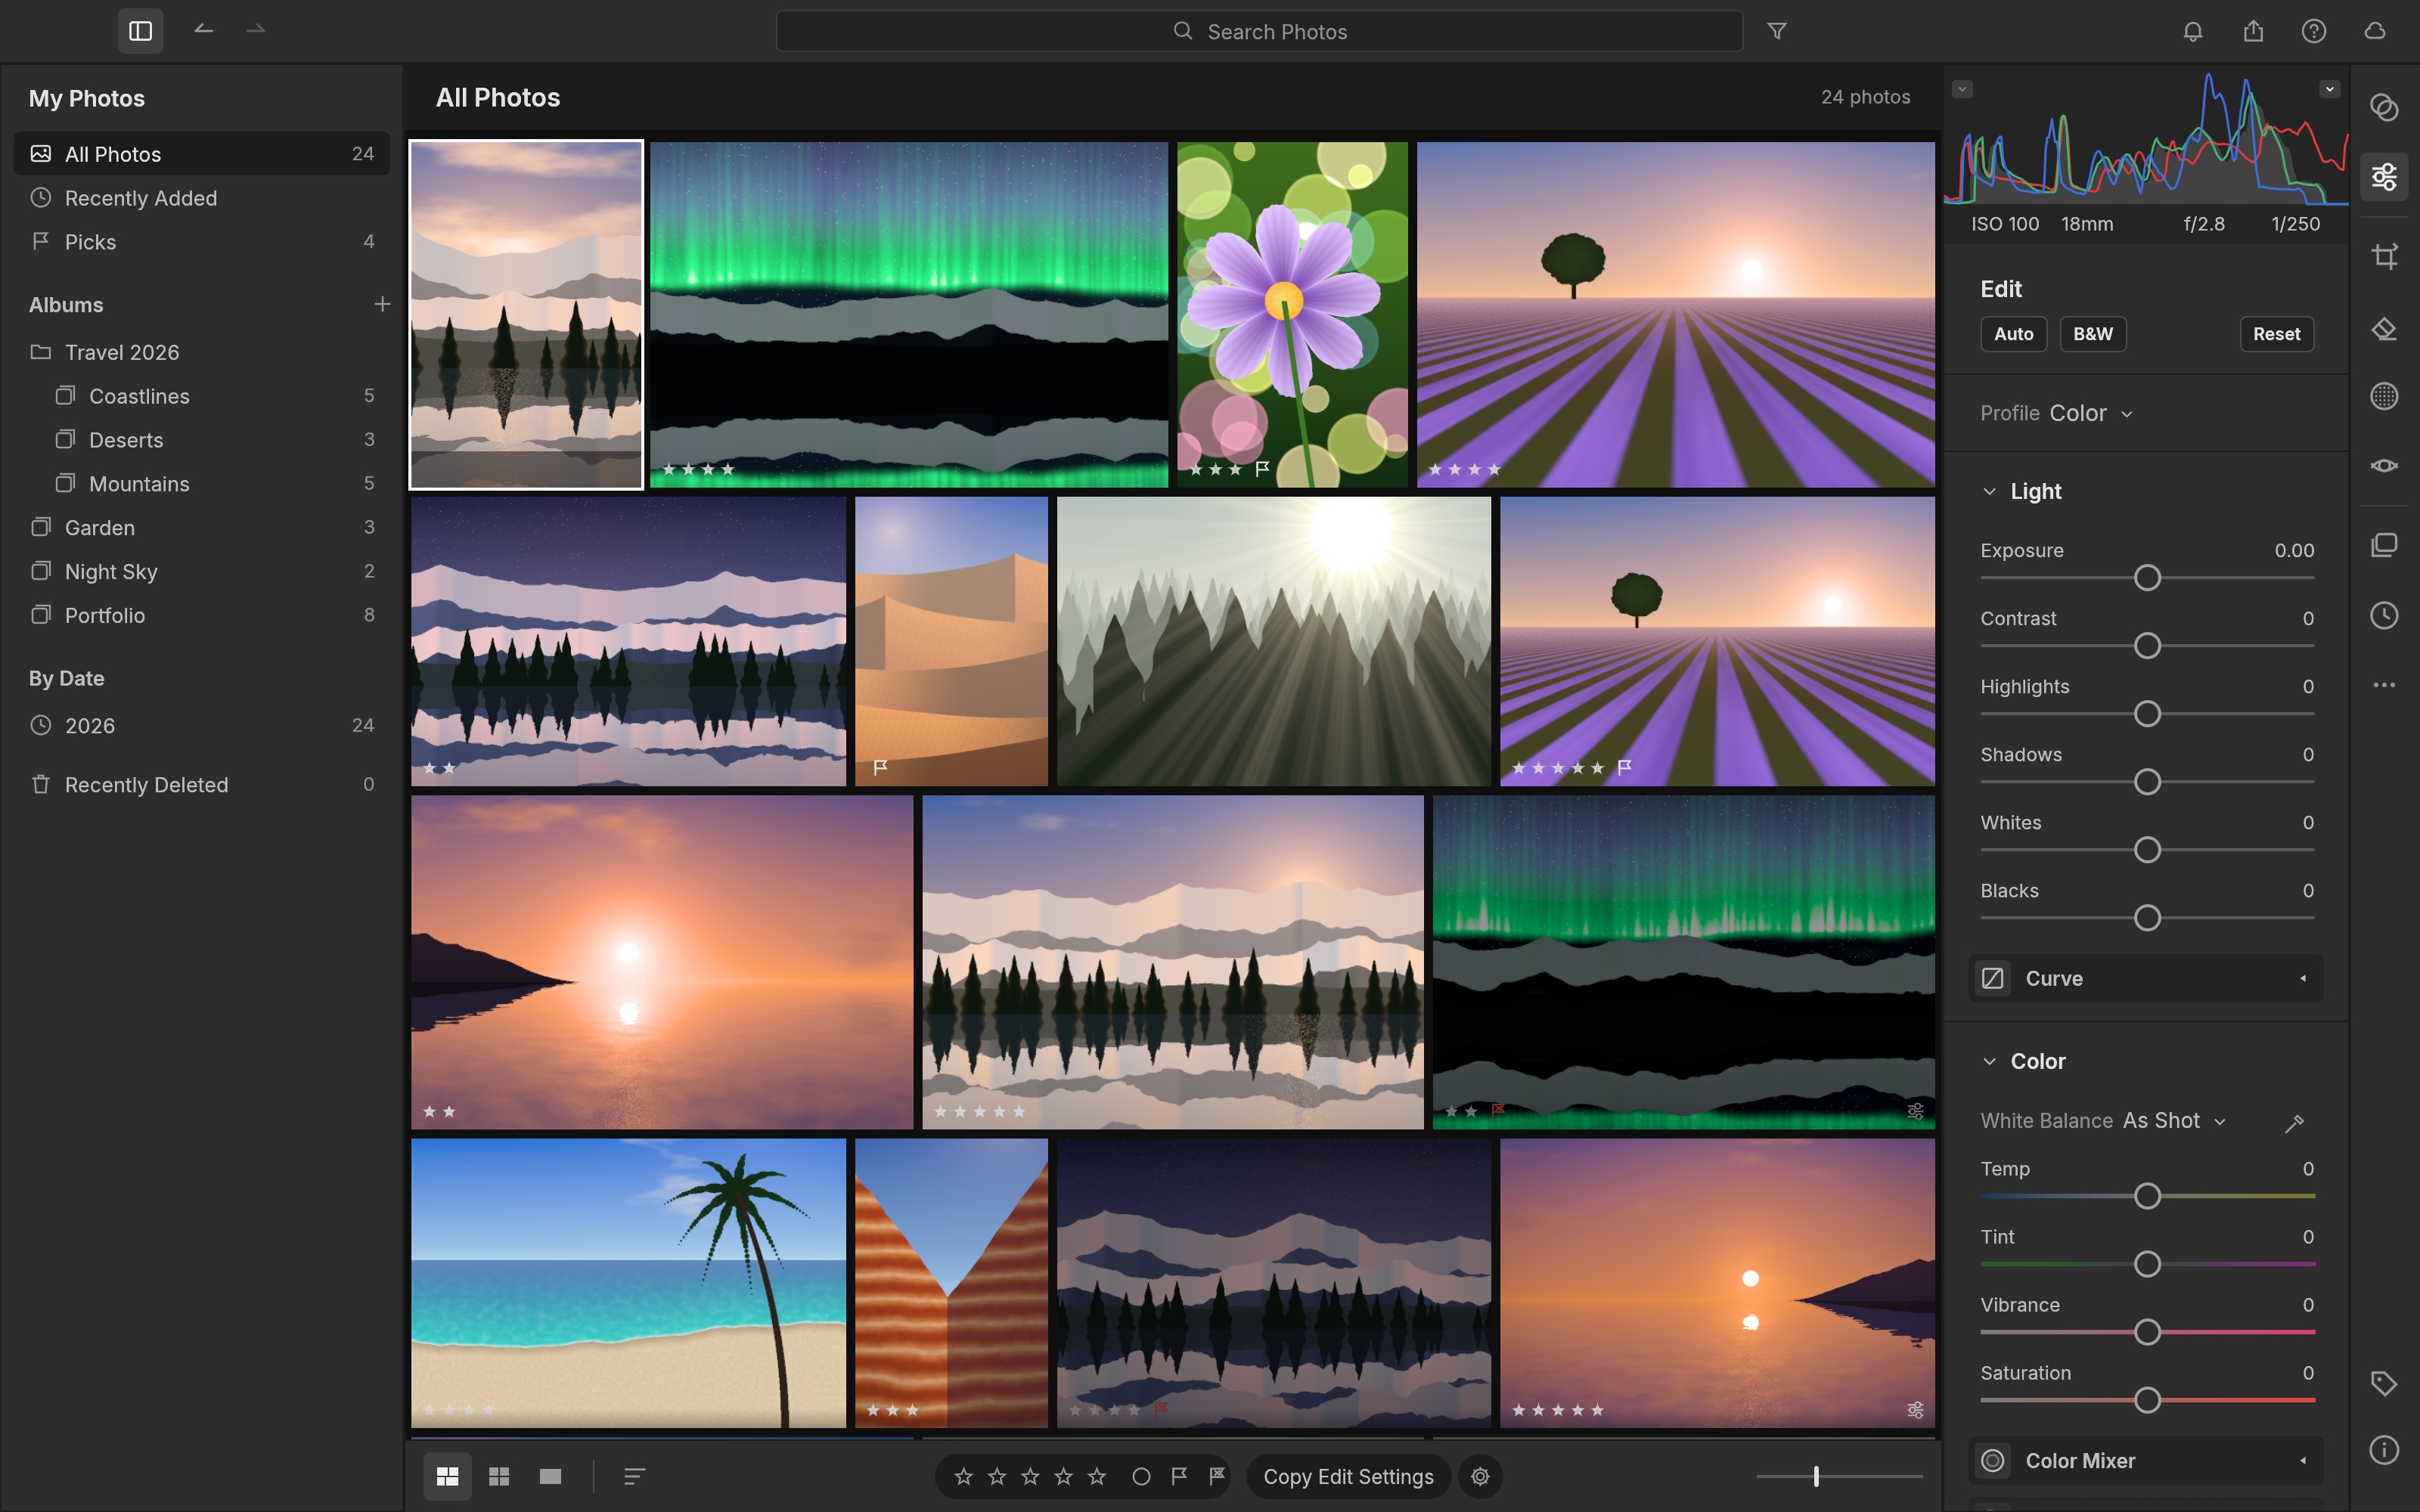
| Library and albums | Choose the set and mark a reference photo. |
| Light and Color | Adjust exposure, white balance and colour. |
| Filmstrip | Move between the photos and check each result. |
Example settings
| Setting | Example |
|---|---|
| Initial set | Three JPGs from the same shoot |
| Exposure example | Start around +0.3, then adjust by eye |
| JPEG example | 1600 px on the long edge |
| RAW check | Camera model and compression type |
Follow the task
1. Import the set
Use File → Import Photos… for three files or Import from Folder… for a test folder. Check whether the import settings move the originals to another folder before proceeding.
2. Pick a reference
Compare the photos in Library and mark one with a rating or flag. A face, white object or sky can provide a useful visual reference for brightness and colour.
3. Adjust exposure in Edit
Open the reference photo in Edit. Change Exposure gradually under Light. +0.3 is an example starting point, not a setting that is correct for every photo.
4. Inspect colour and composition
Check white balance under Color, and use Crop & Rotate (C) for composition. Use Before/After to see whether the correction has gone too far.
5. Copy the settings
Use the documented copy/synchronisation operation for the other two images. Recheck brightness and skin colour individually. The same settings cannot remove differences that were already present in the originals.
6. Export JPEGs
Select the photos and use File → Export…. Choose JPEG and the intended dimensions, save to a new output folder and compare all three in the same viewer.
Expected output and the next small revision
Keep the original photos, the saved adjustment information and the exported JPEGs separately. Record camera model and source format for a RAW test. A good-looking JPEG does not establish that a compressed RAW was processed from sensor data. Reopen the saved editing state and adjust just one image; the other originals and edits should remain identifiable.
A few JPG or DNG photos are a manageable starting point for adjustments and batch export. Camera-specific colour accuracy and moving an existing library need their own samples. The number of formats in a feature list is less informative than whether your actual file is read and edited as intended.
If you get stuck
If synchronisation makes the set look less consistent, check each source exposure first. Investigate a colour problem separately from a brightness problem. For a RAW issue, consult the source’s raw-parity documentation and compare the camera JPG with the RAW. Do not record success with a replacement JPG as success with that RAW file.
Keep the last working copy separate from the problem file. Record the exact error and the step where it appeared. Changing several settings at once makes the cause harder to find. If you replace an input file, note that it is a different test rather than declaring the original successful.
Check before scaling up
- Process matching camera JPG/RAW samples with controlled settings and compare colour and exposure.
- Record import, organisation and export time for the same set.
- Check whether compressed RAW uses sensor data or an embedded preview.
Separate selection from correction: a blurred or very dark original will not become equivalent to the others merely because the settings match. Note why you chose the reference. In a larger batch, still check output count, filenames and the brightness of each image rather than assuming synchronisation handled every difference.
Introduction · Task tutorial · Comparison: documented differences
Sources & further reading
- https://getartcraft.com/apps/lightcraft
- https://github.com/storytold/lightcraft/blob/main/README.md
- https://www.adobe.com/products/photoshop-lightroom.html
- https://github.com/storytold/lightcraft/blob/a4b53b28cc52b68d9f5bdca09fa5666cdad5ad5f/README.md
- https://github.com/storytold/lightcraft/blob/a4b53b28cc52b68d9f5bdca09fa5666cdad5ad5f/crates/ui-egui/src/menus.rs