LightCraft vs Lightroom: files, workflows and a fair comparison
Compare LightCraft with Lightroom for one practical task. Documented differences, file limitations and checks for a future hands-on test.
Last updated
Menus and supported features can change. Compare the source-check date below with your current app version.
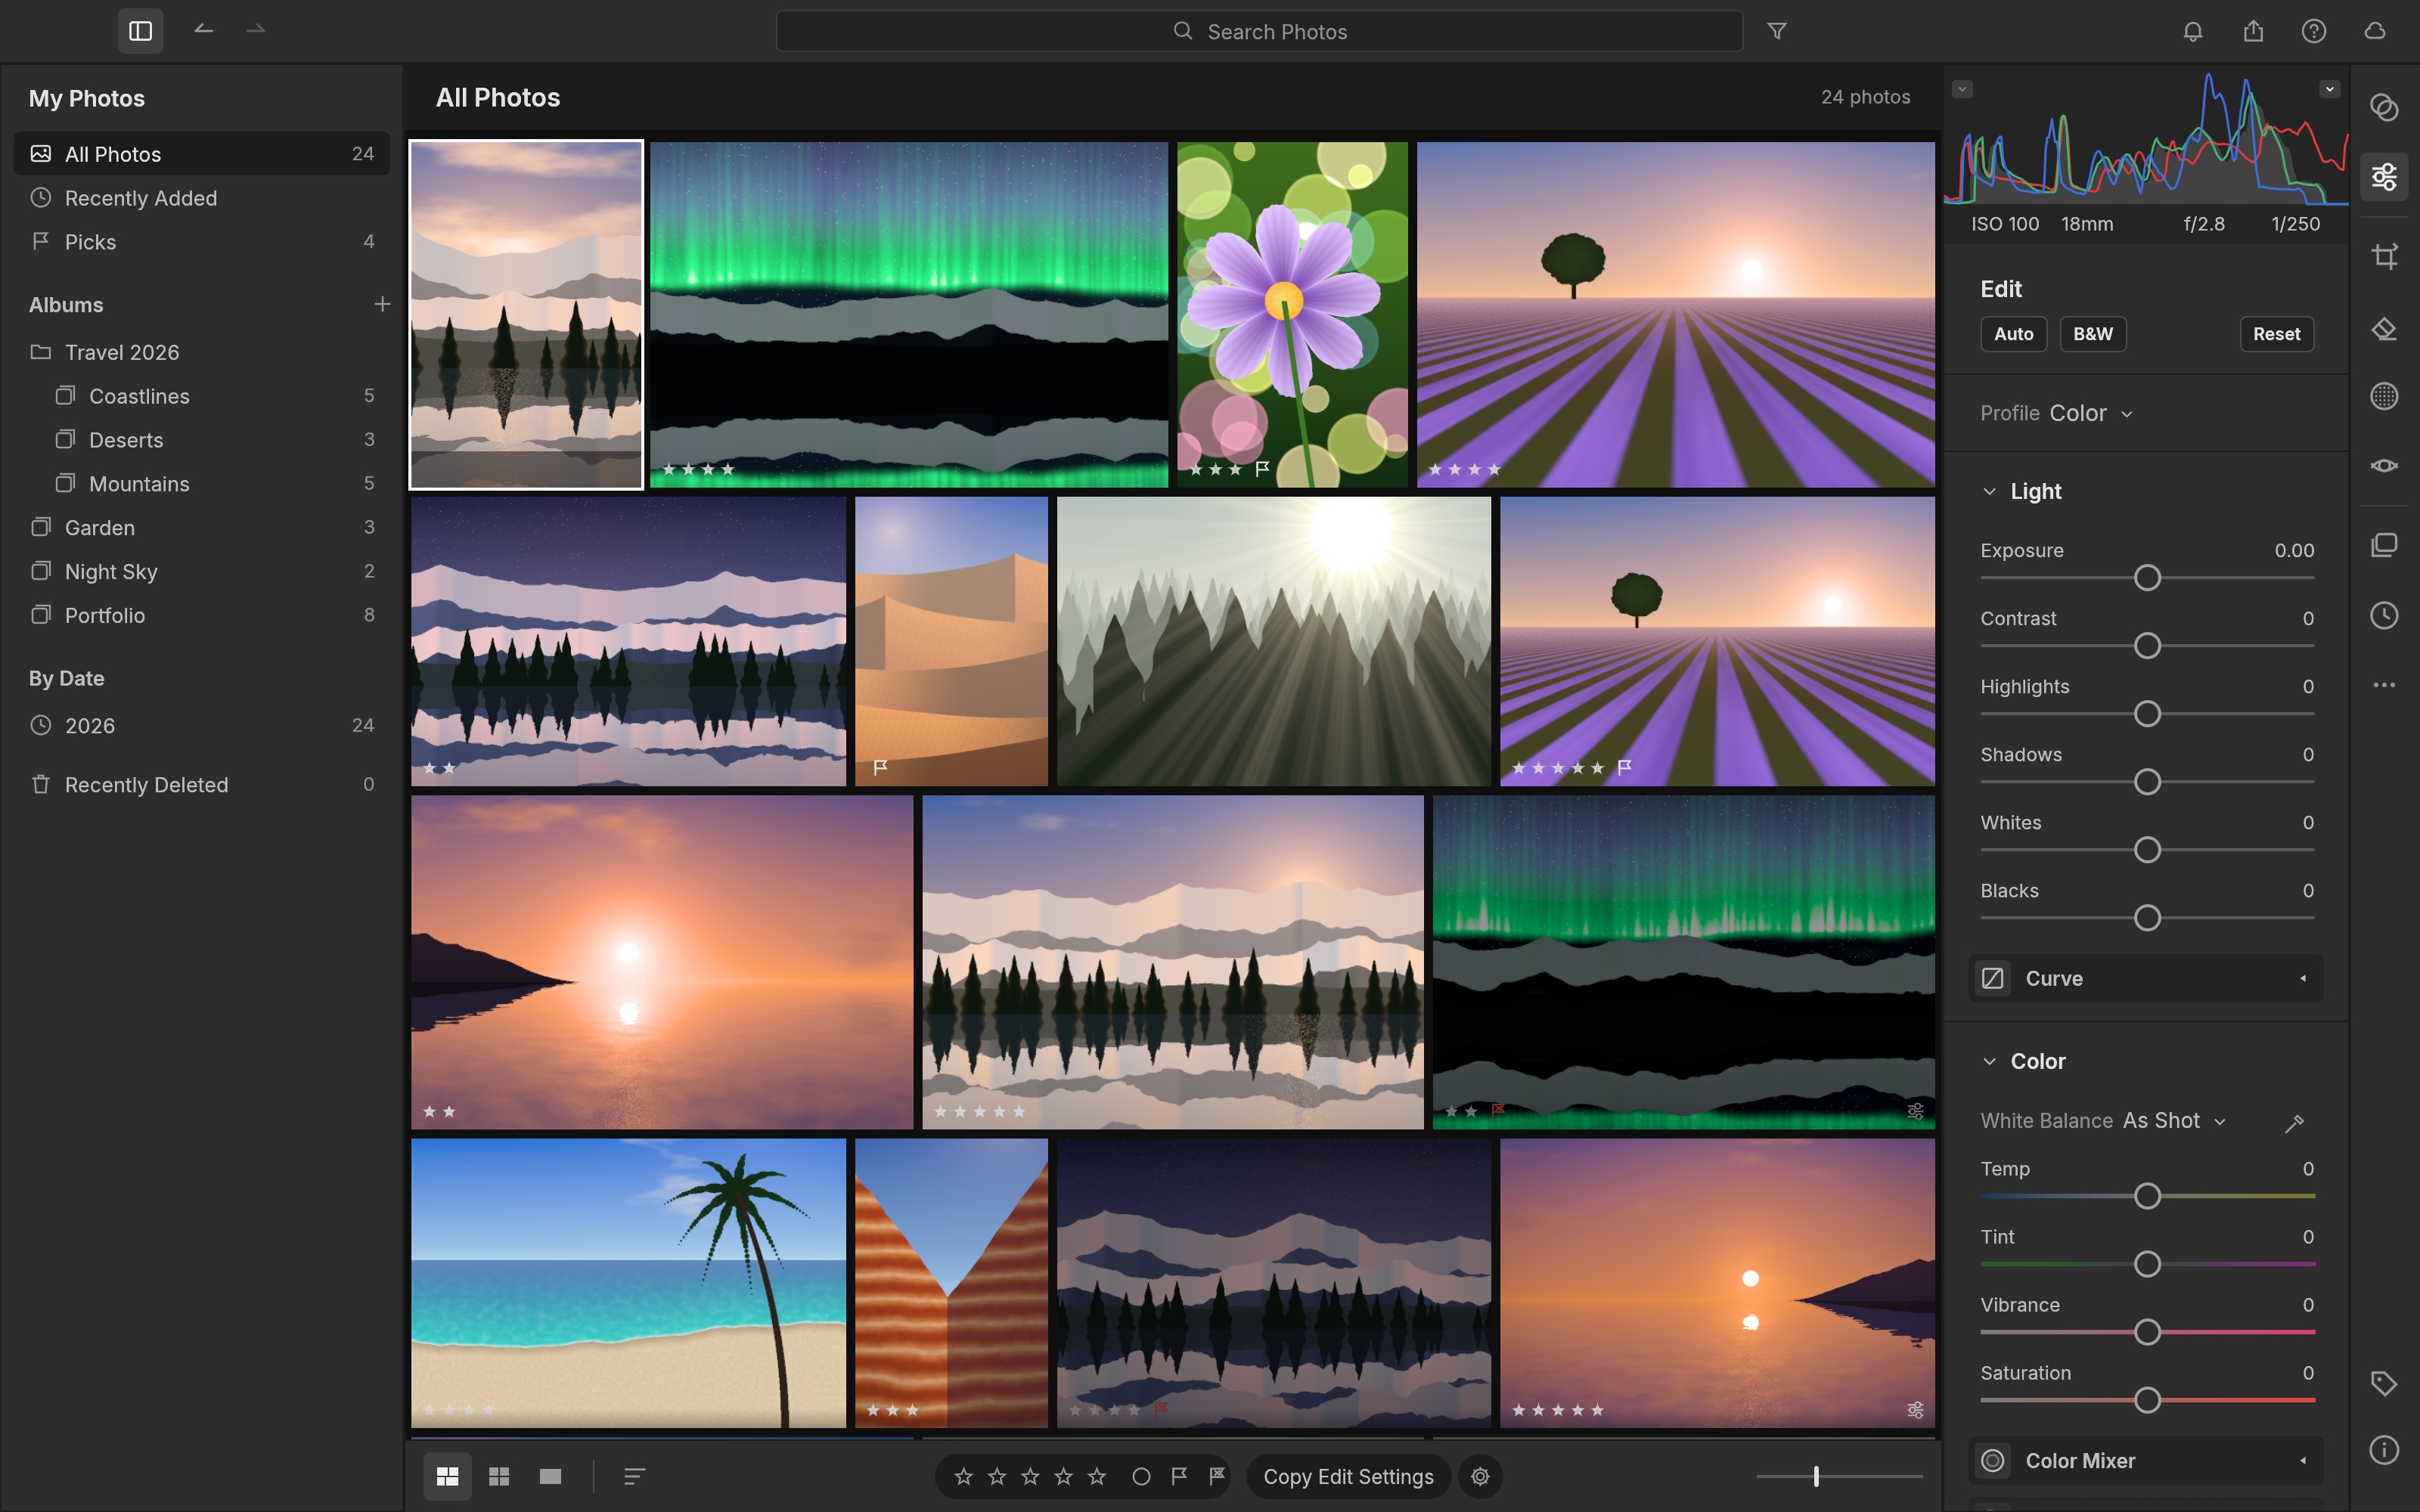
Is LightCraft a useful option beside Lightroom? I would decide that around an actual job rather than the resemblance of the interface. For this comparison, the task is to match the brightness of three photos and export a batch.
This is a comparison of public documentation. I have not installed both apps and measured them side by side. There is no verified winner, speed advantage or compatibility score in this article. The table separates what is documented from what still needs testing.
What changes in the workflow?
Local organisation, copying edits and camera-specific RAW handling are the useful starting points for a Lightroom comparison. RAW files hold camera source data, so opening a filename is not enough: it matters which data was read. Library management, ordinary adjustments and generative editing should not be treated as one interchangeable feature.
| Question | LightCraft | What to check against Lightroom |
|---|---|---|
| Development stage | alpha / in development | The required behaviour in the actual version used |
| Delivery model | Developer describes free, open-source, local work | Official product/plan terms and your workflow requirements |
| Automation | Documented command/agent-control paths | Manual correction needed after a repeated operation |
| Files and results | Supported routes have the limitations discussed below | Process matching camera JPG/RAW samples with controlled settings and compare colour and exposure. |
An open-source release lets you inspect the code, but it does not remove time spent learning, checking exports or repairing incompatible files. I have not calculated total cost. Use the linked official baseline page for the relevant regional terms instead of assuming one price applies to everyone.
The file limitation that matters here
The README describes gaps in camera colour calibration, some compressed RAW formats and display HDR. Some subject/sky selection uses classical heuristics, meaning predefined rules rather than the same AI-mask behaviour as Lightroom. Check your camera model and compression format. A RAW file may use an embedded preview instead of decoded sensor data.
How I would make the comparison fair
Use the same inputs in both tools: Three JPGs from the same photo set, ideally with different brightness. If RAW handling is your goal, also prepare a JPG/RAW pair from your camera.
Keep the output settings, computer, OS and app versions in the record. If one app cannot complete an operation, record where it stopped; do not quietly give only that app an easier input. Separate installation, editing, revision and export time. Errors and manual recovery are part of the workload, even when the final image or document looks good.
| Check | Matched task | Current result |
|---|---|---|
| RAW colour | Process matching camera JPG/RAW samples with controlled settings and compare colour and exposure. | Not hands-on compared |
| Batch work | Record import, organisation and export time for the same set. | Not hands-on compared |
| Support coverage | Check whether compressed RAW uses sensor data or an embedded preview. | Not hands-on compared |
Agree on what counts as finished
Three photos from the same outing can look like three different sets when their exposure is uneven. LightCraft combines a local photo library with adjustment tools. I would start by choosing a reference photo, correcting it and checking the other two after synchronising settings. Applying the same numbers is convenient, but it is not the same as producing a consistent-looking set.
Keep the original photos, the saved adjustment information and the exported JPEGs separately. Record camera model and source format for a RAW test. A good-looking JPEG does not establish that a compressed RAW was processed from sensor data. Reopen the saved editing state and adjust just one image; the other originals and edits should remain identifiable.
Producing a delivery file is only one part of completion. Reopening the editable version and making one small change checks whether the next revision remains possible. Keep the first output and the revised one so the difference can be inspected. A source-format round trip also needs a test in the app where the file will actually be received.
Where I would start, and where I would pause
A few JPG or DNG photos are a manageable starting point for adjustments and batch export. Camera-specific colour accuracy and moving an existing library need their own samples. The number of formats in a feature list is less informative than whether your actual file is read and edited as intended.
Separate selection from correction: a blurred or very dark original will not become equivalent to the others merely because the settings match. Note why you chose the reference. In a larger batch, still check output count, filenames and the brightness of each image rather than assuming synchronisation handled every difference.
The review can be updated with a hands-on result once there is a record of the installed version, source files, matched settings and failures as well as successes. For now, these are practical comparison criteria based on the checked documents, not observations from a completed benchmark.
Introduction · Task tutorial · Comparison: documented differences
Sources & further reading
- https://getartcraft.com/apps/lightcraft
- https://github.com/storytold/lightcraft/blob/main/README.md
- https://www.adobe.com/products/photoshop-lightroom.html
- https://github.com/storytold/lightcraft/blob/a4b53b28cc52b68d9f5bdca09fa5666cdad5ad5f/README.md
- https://github.com/storytold/lightcraft/blob/a4b53b28cc52b68d9f5bdca09fa5666cdad5ad5f/crates/ui-egui/src/menus.rs