Gemini Notebook guide: add sources, review an outline, and save slides
Follow a fictional event brief from first access and source checks to outline review, slide generation, PDF export, and reopening.
Last updated
Menus and supported features can change. Compare the source-check date below with your current app version.
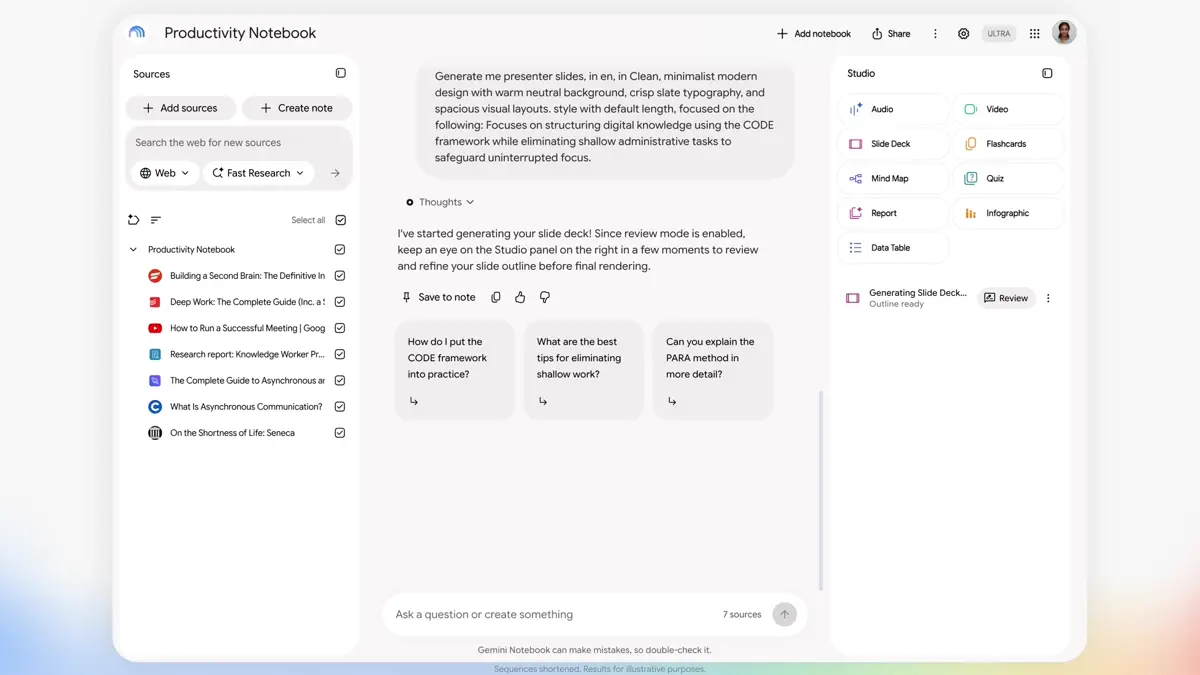
You have the facts, but turning them into a presentation is another task. This walkthrough uses one short event brief to build a five-slide introduction for first-time participants. You will prepare the source, check its facts, plan the slides, generate a deck, and open a downloaded PDF.
This guide follows official documentation checked on October 26, 2026. The event and prompts below are original practice examples, not a real announcement or a record of a generation we performed. Google renamed NotebookLM to Gemini Notebook; the older name refers to the same standalone product. Name-change announcement
Decide what a finished result means
Our practice event is a neighborhood photo walk. A useful deck should let a new participant find the schedule, meeting point, supplies, and cancellation rule without guessing.
Treat the exercise as complete when:
- Every date, time, location, and supply matches the source.
- Missing fees, contact details, and parking information remain unresolved.
- You have checked the actual slide count against your five-slide request.
- The downloaded PDF opens without clipped text.
- You can find the deck again in its notebook.
Five slides is an instruction for this exercise, not a guaranteed output count. Generated layouts and wording can vary.
1. Open the web version and check access
Open Gemini Notebook in a desktop browser and sign in with the Google account you intend to use. This web workflow needs no desktop installation. For a work or school account, check that the service is available to you.
Slide help requires age 18+ and editing access. It lists Ultra for co-creation, despite a broader rollout announcement. Use review when visible; otherwise use the chat-outline path below. Slide help · Rollout announcement
Check Settings → Usage before generating. Use the allowance and reset information shown for your account instead of assuming that a subscription means unlimited output. Usage controls
2. Prepare a small source you can verify
Start with material short enough to check yourself. Copy this original brief into a text file named photo-walk-brief.txt, or use the source panel’s pasted-text option.
The unresolved items are deliberate. They let you check whether an attractive presentation quietly invents useful-looking details. If you later replace this exercise with a real event, review the fictional label and unresolved fields first.
3. Create the notebook and check the import
Choose Create new notebook, then upload the brief. Pasted text is also supported; give it a descriptive source title. Select the imported source and make sure the final sentence arrived too. Keep this first notebook limited to the practice brief so unrelated information cannot be mistaken for the event’s facts. Create a notebook · Add sources
Before asking for slides, try this check:
Use only the selected participant brief. Make a fact table with:
date, time, location, audience, supplies, schedule, cancellation rule,
and unresolved details. Write “not in the source” when appropriate.
Include supporting citations where available.
Open a citation to compare the response with its source passage. Check at least one time and one unresolved detail yourself. This gives you a small reference table to use during the final review. Chat citations
4. Configure the deck and choose one generation path
Open Studio → Slide Deck. Set format, language, length, and sources, then enter your request. Use English and the practice brief for this example. Generation settings
This original prompt identifies the reader and the information they need:
Create a five-slide English presentation from the selected participant brief.
The audience is adults attending for the first time.
Slide 1: Event name and purpose
Slide 2: Date, time, and meeting point
Slide 3: The three things to bring
Slide 4: The schedule in chronological order
Slide 5: Rain cancellation and unresolved details

Give each slide one main idea. Use a light background, large headings,
and short body text. Do not invent fees, contact details, parking,
or a booking link. Preserve the fictional-practice label.
Choose one of the following paths.
Review option visible: Enable Review outline notes, select Generate now, then open the ready outline with Review in Studio. Submit corrections together. Outline controls
For example, if the outline says the event is free, give a precise correction:
Replace “free admission” with “participation fee undecided.”
Remove the indoor backup location: it is not in the source.
Keep the schedule chronological and put unresolved items on slide 5.
When ready, select Proceed. This generates the finished deck; continue to section 5 when it completes. Review-to-render workflow
Review option unavailable: First ask in chat for “the outline and key sentence for each slide” using the same assignment. Check it against the brief, then return to the Slide Deck setup and include the corrected outline with your request. This is our suggested preparation method. Select Generate now once for the deck. Basic generation
5. Inspect the completed deck
Look at the information before refining the decoration. Compare the original brief with the actual result:
| Check | Required fact | Result that needs correction |
|---|---|---|
| Time | 10–11 a.m. | Afternoon time or missing end time |
| Supplies | Phone, shoes, water | A new equipment purchase |
| Rain rule | Cancel | An invented indoor venue |
| Fee | Undecided | Free admission or a definite price |
| Status | Practice event | A real recruitment notice |
If one slide is crowded, note which words to shorten and which explanation you could give aloud. For example, the three supplies could remain short labels while a separate note holds the explanation. Finish this inspection before deciding whether a revision is needed.
6. Save a PDF and reopen it
Download PDF from the result menu; use PowerPoint if offered. Reopen the deck from its notebook’s Studio. Downloads and reopening
Name this practice export photo-walk-slides-v1.pdf. Open the downloaded file on your device and check every page. Confirm the original times, look for clipped words, and make sure the draft label is clear. Keeping the source file and final prompt beside the PDF makes your next revision easier to trace.
Troubleshoot the specific failure
No review control: Use the access note above and the chat-outline preparation path. Check your account’s current explanation before changing a subscription.
Facts changed: Compare the correction with the original. Revisions do not consult sources, according to current help. Revision limitation
Usage limit: Read the allowance and reset message. While waiting, shorten the source or clarify the prompt so the next attempt answers a smaller question. Usage help
For a second exercise, keep the same facts but change the audience to the event organizer. Decide what the organizer needs to check before guests arrive. This makes the next task about communicating to a different reader, with a clear standard for reviewing the result.
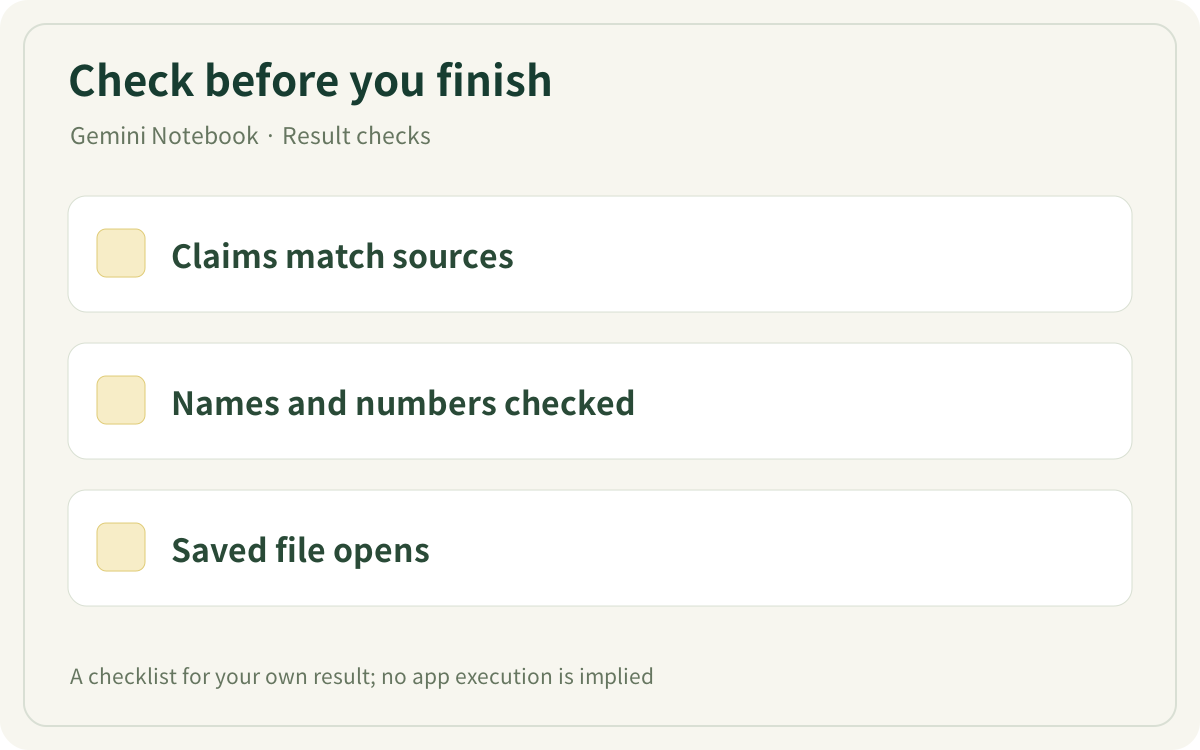
This original checklist helps you inspect your own result. It is not an app screenshot or a generated result.
Sources & further reading
- https://blog.google/innovation-and-ai/products/gemini-notebook/notebooklm-gemini-notebook/
- https://notebook.google.com/
- https://support.google.com/gemininotebook/answer/16757456
- https://workspaceupdates.googleblog.com/2026/10/gain-more-creative-control-over-slide-Decks-and-Video-Overviews-in-Gemini-Notebook.html
- https://support.google.com/gemininotebook/answer/17670842
- https://support.google.com/gemininotebook/answer/16206563
- https://support.google.com/gemininotebook/answer/16215270
- https://support.google.com/gemininotebook/answer/16179559
- https://blog.google/innovation-and-ai/products/gemini-notebook/co-create-slides-videos/