Gemini CLI: One-task guide
Gemini CLI v0.65.0 is an open-source AI agent that brings Gemini models directly into your terminal for code manipulation, file operations, and MCP extension.
Last updated
Menus and supported features can change. Compare the source-check date below with your current app version.
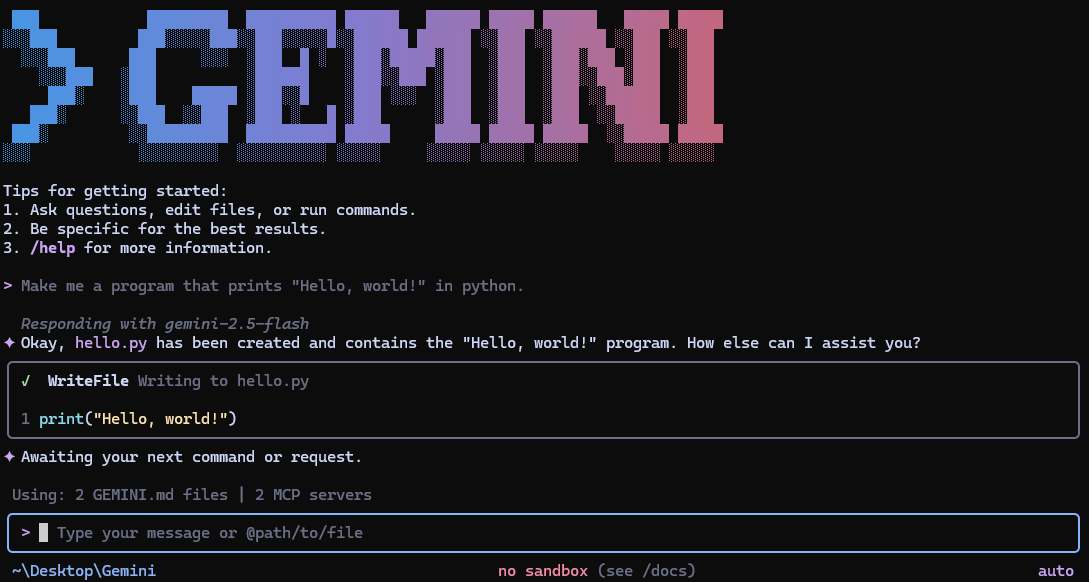
Gemini CLI: Explaining Local Codebases Without Edits
This article covers the Gemini CLI v0.65.0 official release, published on 2026-10-20 (UTC). The source documents were checked on 2026-10-21.
Introduction to Terminal AI Assistants
Gemini CLI is an open-source AI agent that brings the power of Gemini directly into your terminal, giving you a lightweight and direct path from your prompt to the model F1, F3. For developers who live in the command line, this tool offers a quick way to interact with codebases without needing a heavy graphical user interface D2. Version 0.65.0 includes a specific fix to enforce read-only workspace settings when operating in untrusted folders, a change to workspace settings rather than a guarantee that every file is read-only F2. Whether you want to understand complex project layouts or query files on the fly, running queries straight from your shell keeps your development momentum going.
Working directly inside the terminal also eliminates context-switching friction between your code editor and external browser chat windows. Because the interface is text-driven, you can easily pipe outputs, script repetitive tasks, or request explanations of local repositories. This guide focuses on a single core task: explaining a local codebase without requesting any file edits. By utilizing the non-interactive scripting capabilities of the command line, you can generate structured output files for team sharing, documentation, or local review without asking the model to edit the source tree; check the working files separately F7.
Prerequisites and System Setup
Before running any commands, you need to ensure your environment meets the basic technical requirements for installation and execution. Gemini CLI can be installed globally using Node.js package managers or run instantly using npx without a permanent installation D2. For most individual developers signing in with a personal Google account, the tool provides a generous free tier of 60 requests per minute and 1,000 requests per day F3. If you use a paid Google Code Assist license, remember to export your specific Google Cloud Project identifier in your shell environment before launching the application D2.
Authentication options also include using a direct Gemini API key from AI Studio or configuring Vertex AI for enterprise security and higher rate limits D2. Note that free or open-source availability of the client software does not automatically mean all cloud inference or advanced model usage is free beyond the documented tiers D2. Review your account limits and ensure your local Node.js environment is up to date before proceeding with the codebase explanation task outlined in this guide.
Step-by-Step Codebase Explanation Workflow
To explain a local codebase without making any modifications, you will use the documented non-interactive script mode with structured JSON formatting F7. Open your terminal, navigate to the target project directory, and prepare your execution command F4. The non-interactive flag passes the question directly instead of opening the ordinary chat session; the flag itself is not a file-write protection F7.
This workflow is especially helpful when you need to generate automated documentation snapshots or share architectural overviews with team members. Remember that this article is based entirely on official documentation and represents a documentation-based workflow rather than a firsthand test record D2. Always verify your target directory path before executing shell commands to ensure the AI agent reads the correct project files.
Executing the Query and Saving Output
To perform the task, use the exact shared example input string to query your codebase structure. In your terminal, execute the command with the documented non-interactive flag and the JSON output format option F7.
Example input:
Explain the architecture of this codebase.The following combines the documented prompt and output flags F7:
gemini -p "Explain the architecture of this codebase." --output-format jsonExpected result: The command line returns JSON-formatted output with the requested explanation. The fetched README documents the JSON option but does not establish a complete field schema F7. To preserve this response for later review, use ordinary shell redirection to save the terminal output into a file named architecture.json D2. Explicitly distinguish this shell-created output file from any native project export generated by your application code D2.
gemini -p "Explain the architecture of this codebase." --output-format json > architecture.jsonVerifying and Reopening the Result
Once the shell redirection completes, you need to check and reopen that JSON file to ensure the data was captured correctly. You can use standard terminal text viewers or your preferred code editor to open the newly created file and inspect its contents D2.
Completion criteria:
- The file architecture.json exists in your current working directory.
- The file contains valid, parseable JSON output representing the codebase explanation F7.
- Check the source files separately for unexpected changes; the selected release’s workspace-setting fix is not proof that a particular run left every file unchanged.
Open the saved file using your terminal tool of choice, such as the cat command or a lightweight text reader:
cat architecture.jsonReview the structural layout within the JSON payload to check whether its explanation names real paths and describes their roles accurately. If the file appears empty or truncated, verify that your API authentication is active and that your rate limits have not been exceeded D2.
Troubleshooting and Documented Limitations
If you encounter execution errors or unexpected halts while running non-interactive commands, check your terminal output stream and authentication credentials D2. Preview releases published each week on Tuesdays may occasionally contain regressions or outstanding issues, so consider switching to stable release tags if you experience instability F5. When working in untrusted folders, version 0.65.0 includes the documented fix for read-only workspace settings in untrusted folders; do not interpret that narrower change as a blanket file-write guarantee F2.
This guide is documentation-based. No command, response, elapsed time or saved file was observed in our environment. Treat the output as an expectation and complete the checks above on your own project before depending on it.
Original BumbleV reading guide illustration; not a product screenshot or a result from our testing. Official release behind this illustration · CC BY 4.0 · 2026-10-21

Sources & further reading
- https://github.com/google-gemini/gemini-cli/releases/tag/v0.65.0
- https://raw.githubusercontent.com/google-gemini/gemini-cli/6006c14a4decfe4b891c6263ad6ad5992e404b5b/README.md
- https://raw.githubusercontent.com/Aider-AI/aider/5dc9490bb35f9729ef2c95d00a19ccd30c26339c/README.md
- https://api.github.com/repos/google-gemini/gemini-cli