SoundCraft tutorial: balance a voice recording with background music
A documented, six-step guide to balance a voice recording with background music, with source screenshots, editable files and output checks.
Last updated
Menus and supported features can change. Compare the source-check date below with your current app version.
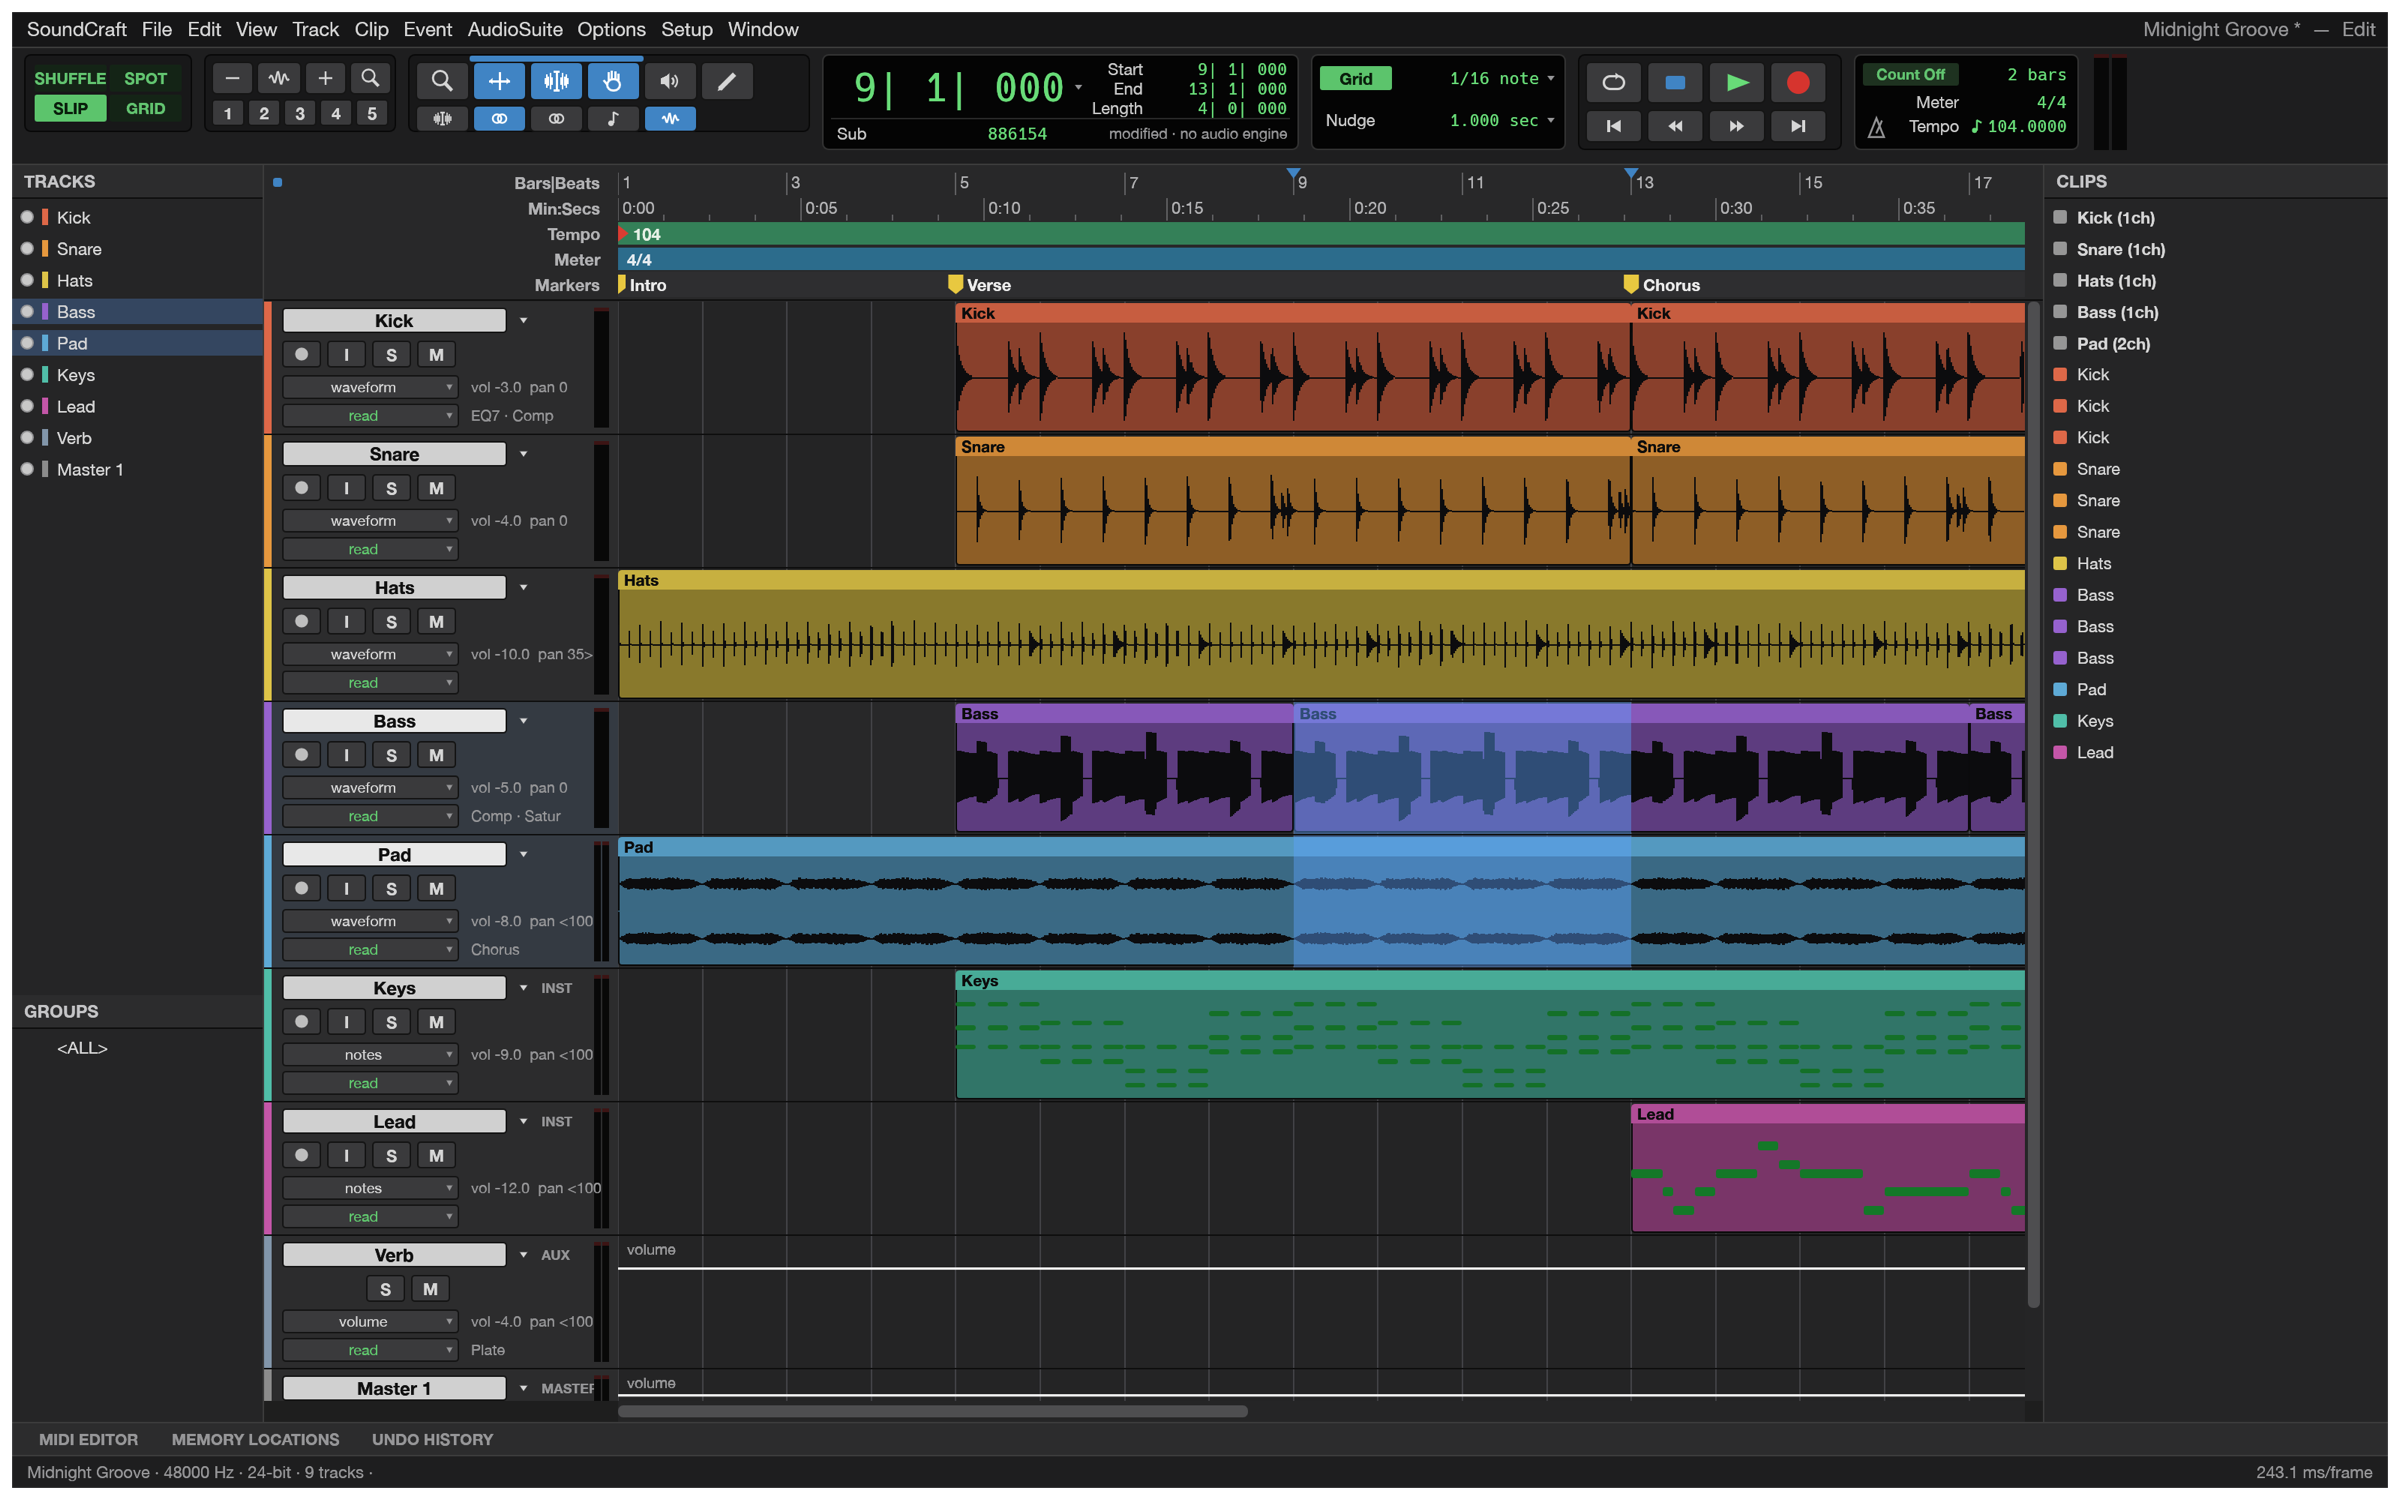
Let’s work towards one clear result: balance a voice recording with background music. The aim is to keep something you can revise and something you can actually share, rather than learn every feature at once.
This walkthrough follows the developer’s public screens and menu descriptions. I have not run it myself, so the outputs below are expected results to verify, not a tested finished example. Keep the English menu names visible while following along; they also help when your installed version differs.
Before opening the project
Prepare: A 30-second voice WAV and music you have permission to use. Place them on separate tracks and keep the original audio files.
Check the official app page and release downloads for a build matching your operating system and CPU. If there is no suitable installer or the app does not start, read Get started/Quick start and known issues in the official README. Record the app version and OS when you try the task.
Use copies for the exercise and keep originals, working documents and exports in distinguishable folders. The documented stage is pre-alpha / in development. Check the article’s source date against your installed version if a menu or supported format has changed.
Find the relevant controls
| Where to look | What it does |
|---|---|
| Edit | Trim clips and arrange the voice/music timing. |
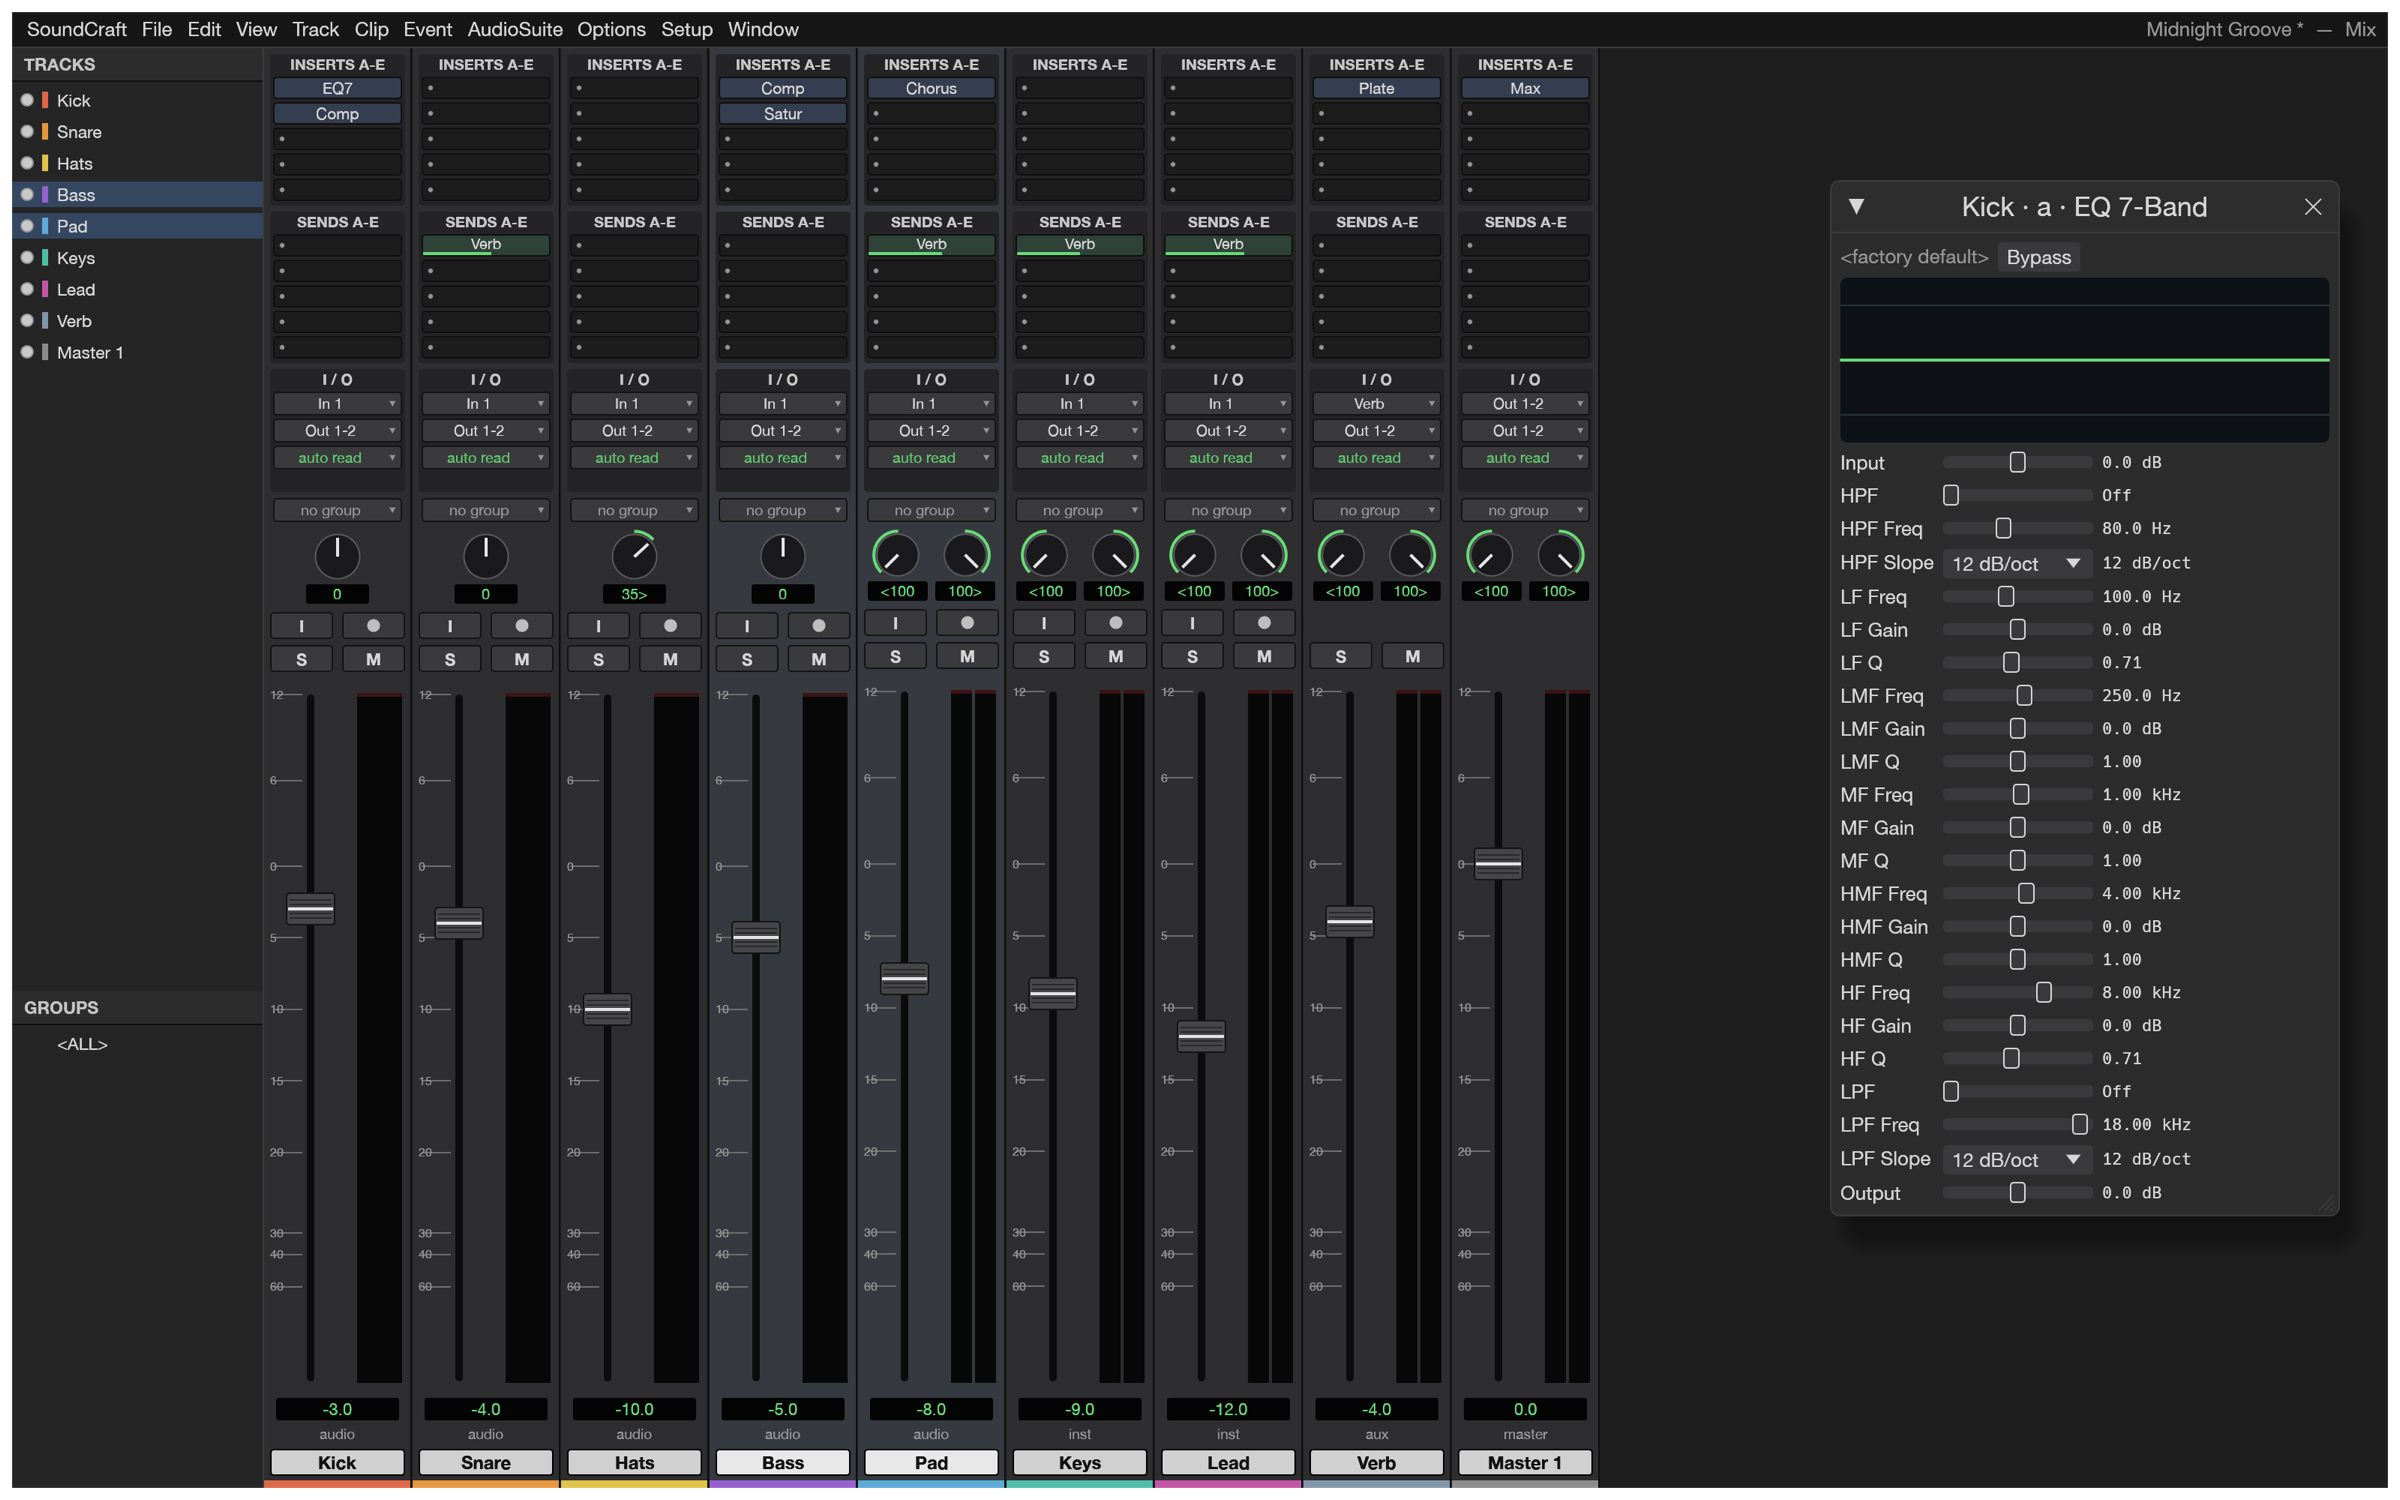
| Mix | Adjust track faders, pan and meters. |
| Bounce Mix | Produce the single audio file for listening. |
Example settings
| Setting | Example |
|---|---|
| Inputs | 30-second voice WAV and permitted music |
| Tracks | One voice and one music track |
| Priorities | Clear speech, no interruptions or clipping |
| Keep | Session and exported audio |
Follow the task
1. Create a session
Use File → New…. Start with existing recordings so you can evaluate file editing separately from audio-interface setup or microphone levels.
2. Import the audio
Use File → Import → Audio… for voice and music, putting them on different tracks. If their sample rates differ, inspect the imported playback duration and result.
3. Arrange in Edit
Trim unwanted material before and after the voice, and align the music start/end. Use Space to play and stop. Listen rather than judging balance from waveforms alone.
4. Balance in Mix
Lower the music with its track fader until the speech is clear. Inspect the master meter for excessive peaks and clipping. There is no universal correct level for every recording and playback device.
5. Add volume automation
Fade the music at the beginning and end and lower it during speech. Inspect the changes over time, following the kind of Automation shown in the developer demo.
6. Save and bounce
Use File → Save Session As…, then File → Bounce Mix…. Listen in another player and check duration, the voice starting point and any interruptions.
Expected output and the next small revision
Keep the session with its source audio for changing voice and music independently. A bounced mix combines them into one listening file, so changing only the music later is harder if that is all you saved. Reopen the session and inspect track levels and any plug-in settings before making another version.
A small mix from existing recordings is a useful first exercise. Hardware recording and AAF/OMF interchange are different goals, with documented missing features. Successful playback of one file also does not establish that every plug-in loads, saves its state and plays correctly.
If you get stuck
For distortion, check excessive peaks and clipping at the master and identify the offending track. Do not raise voice and music together just because both appear quiet. This test does not exercise device/buffer selection or controller MIDI recording. Inspect exported start points and interruptions outside the editor; plug-in settings also need a reopen test if used.
Keep the last working copy separate from the problem file. Record the exact error and the step where it appeared. Changing several settings at once makes the cause harder to find. If you replace an input file, note that it is a different test rather than declaring the original successful.
Check before scaling up
- Compare loudness, clipping and duration for the same voice/music mix.
- Record available input, output and buffer controls for the same interface.
- Check loading, saved state and playback for the plug-ins actually needed.
Include the listening device and player in a comparison record. A meter reading and speech intelligibility are related but different checks. If you replace the music, record the new input rather than treating it as the same experiment. Begin with placement and levels before adding effects, so their influence stays identifiable.
Introduction · Task tutorial · Comparison: documented differences
Sources & further reading
- https://getartcraft.com/apps/soundcraft
- https://github.com/storytold/soundcraft/blob/main/README.md
- https://www.avid.com/pro-tools
- https://github.com/storytold/soundcraft/blob/c0cb99340891d306e216582db465f3594b89dc1d/README.md
- https://github.com/storytold/soundcraft/blob/c0cb99340891d306e216582db465f3594b89dc1d/crates/engine/catalog/menus.txt