glTF Transform: resize and compare textures in a GLB
Use three commands to resize a public toy-car model to 512 pixels and compare the resulting GLB file size and render.
Last updated
Menus and supported features can change. Compare the source-check date below with your current app version.
If a large GLB takes a while to open in a browser, try making a copy with smaller textures. Textures are images that describe details like surface color, raised patterns, and gloss. glTF Transform can list the images inside a model and save a separate file with a maximum texture size. You can then look at the original and the resized file in your viewer before choosing which one to ship.
Demo with a public sample
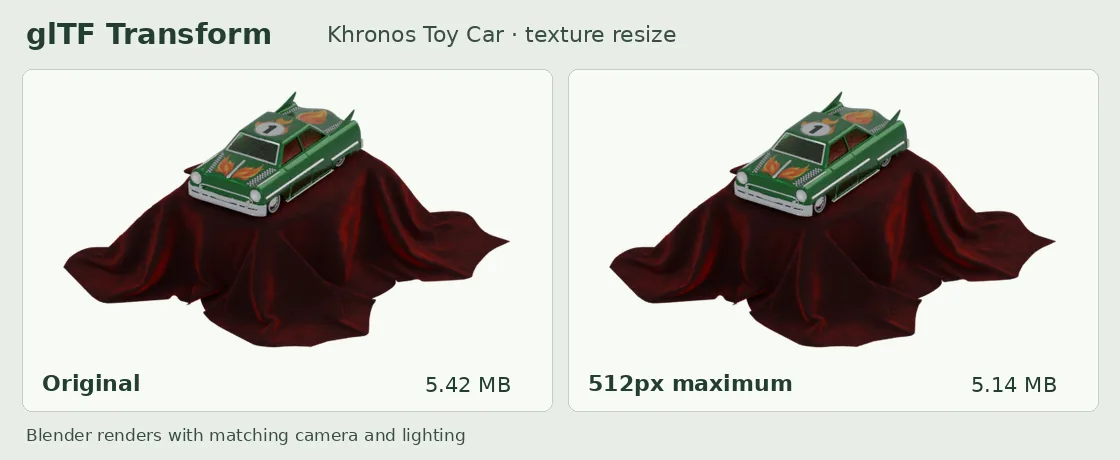
I used Khronos’s Toy Car sample and resized its textures to a maximum of 512 pixels. The GLB went from 5.42 MB to 5.14 MB, a reduction of about 5.3%. I opened both files in Blender and rendered them with the same camera and lighting so you can compare the paint and wheels at the same distance. These measurements are for this sample.
Try a quick test
Use Download GLB in the official sample folder to save ToyCar.glb. On a computer with Node.js LTS installed, open a terminal in the directory where you saved it. On first use, npm fetches version 4.5.1 of the glTF Transform CLI, the version used here. The resize step gives its output a different filename so you can compare both copies.
npx --yes @gltf-transform/cli@4.5.1 inspect ToyCar.glb
npx --yes @gltf-transform/cli@4.5.1 resize ToyCar.glb ToyCar-512.glb --width 512 --height 512
npx --yes @gltf-transform/cli@4.5.1 inspect ToyCar-512.glb
Look at the resolution column in the TEXTURES tables from the first and third commands. The original had six 1024×1024 images and two 512×512 images. All eight were 512×512 in the exported file. Compare the two file sizes in your file explorer. Then open both in the viewer you intend to use and check the same angles. Zoom in on paint edges, lettering, and small surface details to see where the lower resolution matters.
Check both size and appearance
| Settings | GLB size | Change from original |
|---|---|---|
| Original | 5,422,412 bytes | Baseline |
| 512px maximum | 5,137,136 bytes | 5.3% smaller |
| 1024px maximum | 6,096,716 bytes | 12.4% larger |
The original Toy Car textures were already 1024 pixels or smaller. Saving with a 1024px maximum kept the same resolutions, and re-encoding the PNG textures made the resulting GLB larger. Comparing both files helps you catch this. Results also depend on how much of the GLB is taken up by textures. If the mesh accounts for most of the bytes, resizing images alone may save little.
Start with the 512px copy if the model will appear as a small object in a scene. On a product page where people can zoom in, compare both copies at the largest size they will actually see. Look for blurry labels or lost surface details, then use the smallest file that still looks right at that distance.
Try it on your own model
If you have a .gltf file, make sure its referenced images and .bin files are still in place. A single GLB is simpler for a first test. Put double quotes around filenames that contain spaces.
If the 512px copy looks too soft, start from the original and make a separate 1024px copy. Change the output to ToyCar-1024.glb and set both dimensions to 1024 in the resize command. Upscaling the small export cannot bring back texture detail that was lost during the first resize.
glTF Transform CLI documentation · Source code and MIT license · Toy Car sample license